Steps
1. Place the chassis on a plane surface.
2. Align the display assembly with the screw holders on the system.
3. Replace the six display hinge bracket screws (M2.5x5) to secure the display assembly to the system.
4. Lift the system and close the display.
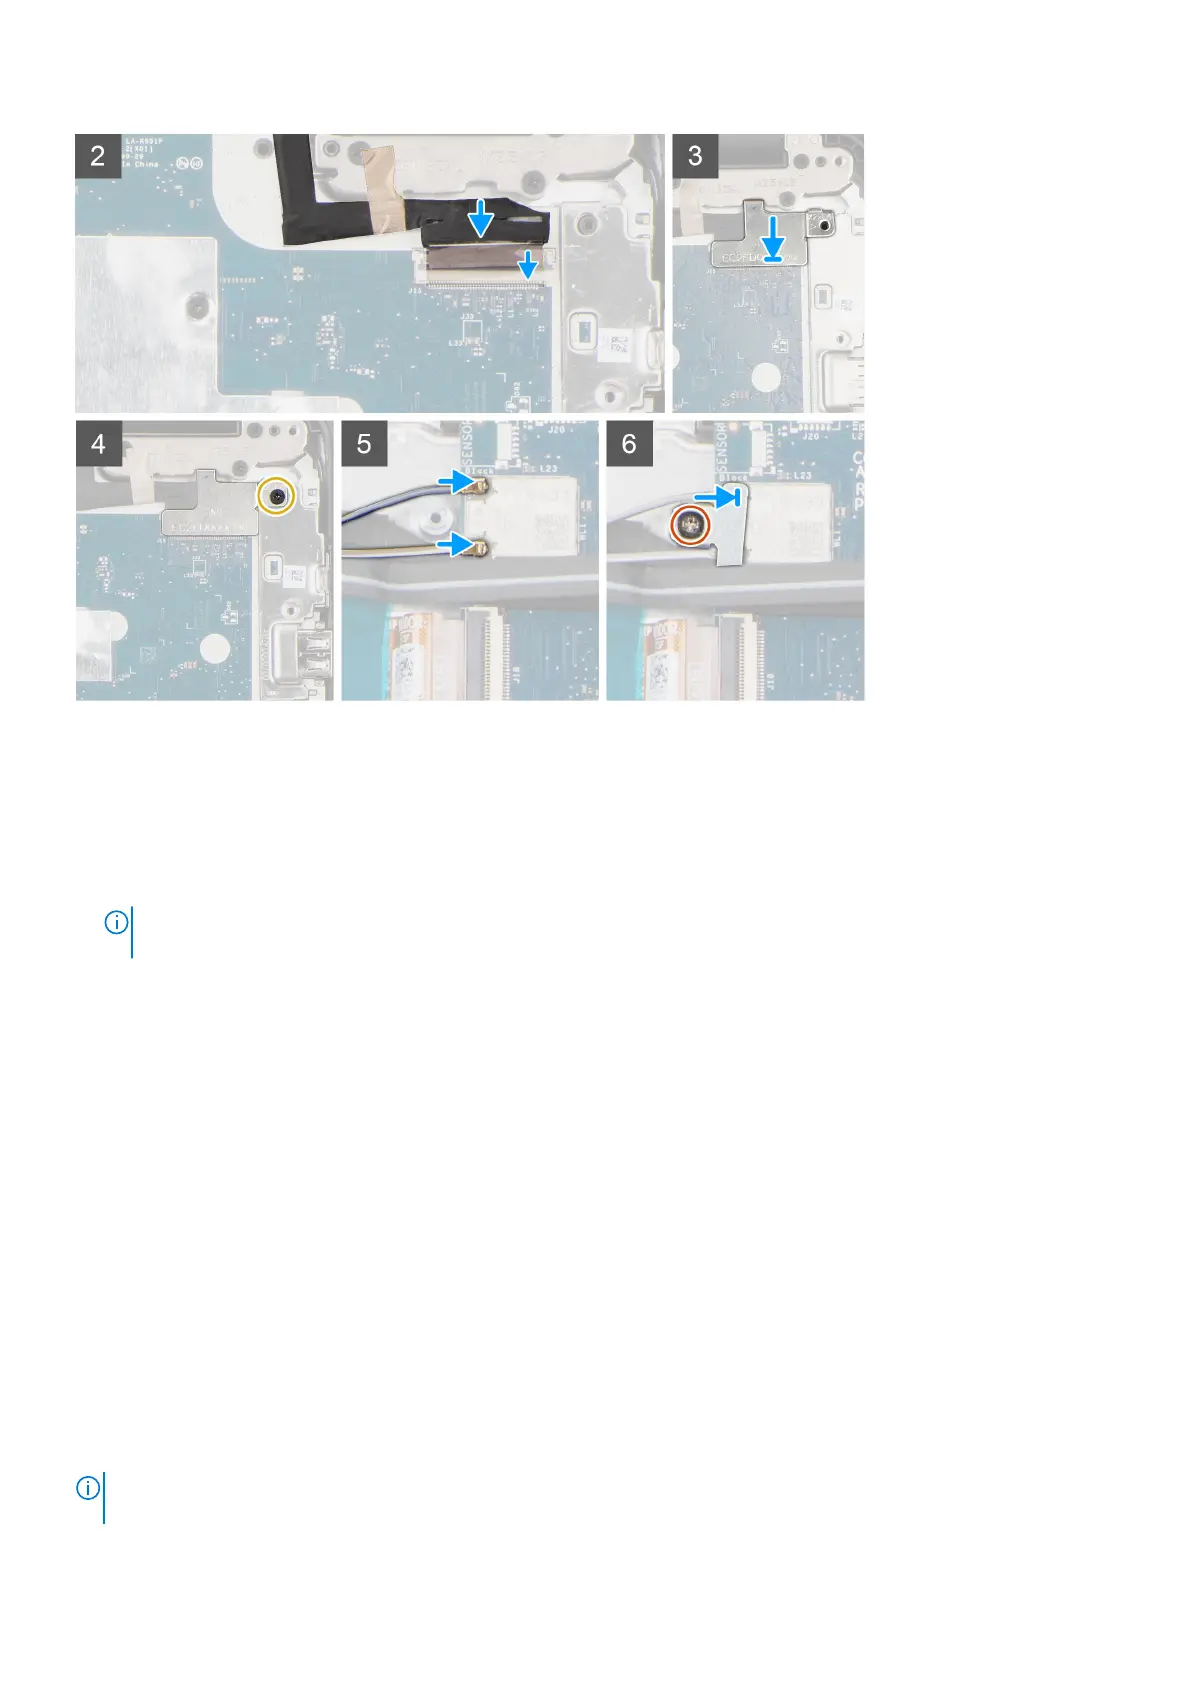
5. Adhere the conductive tape to secure the display cable to the system board.
NOTE:
For Chromebook 3100 models with LTE capabilities, the piece of conductive tape on display cable must be
adhered onto display hinge bracket and the display cable must be adhered onto the system board.
6. Connect the display cable to the connector on the system board and close the lock.
7. Place the display cable bracket to secure the display cable.
8. Replace the single (M2x4) screw that secures the display cable bracket to the system.
9. Connect the two antennas to the WLAN module
10. Align and place the WLAN bracket on the system board.
11. Replace the screw (M2x3) to secure the WLAN bracket on the system board.
Next steps
1. Install the WWAN card for 4G LTE enabled systems.
2. Install the base cover.
3. Follow the procedure in after working inside your computer.
Input Output board
Removing the Input Output board
Prerequisites
NOTE:
Not all systems are configured with the Input Output board component. The Input Output board component
depends on the configuration being ordered.
Removing and installing components 31
 Loading...