Steps
1.
NOTE:
The bezel screws are covered with disposable cosmetic mylar stickers that must not be peeled off before bezel
screw removal.
Use a blade to peel the four bezel sickers covering the screw.
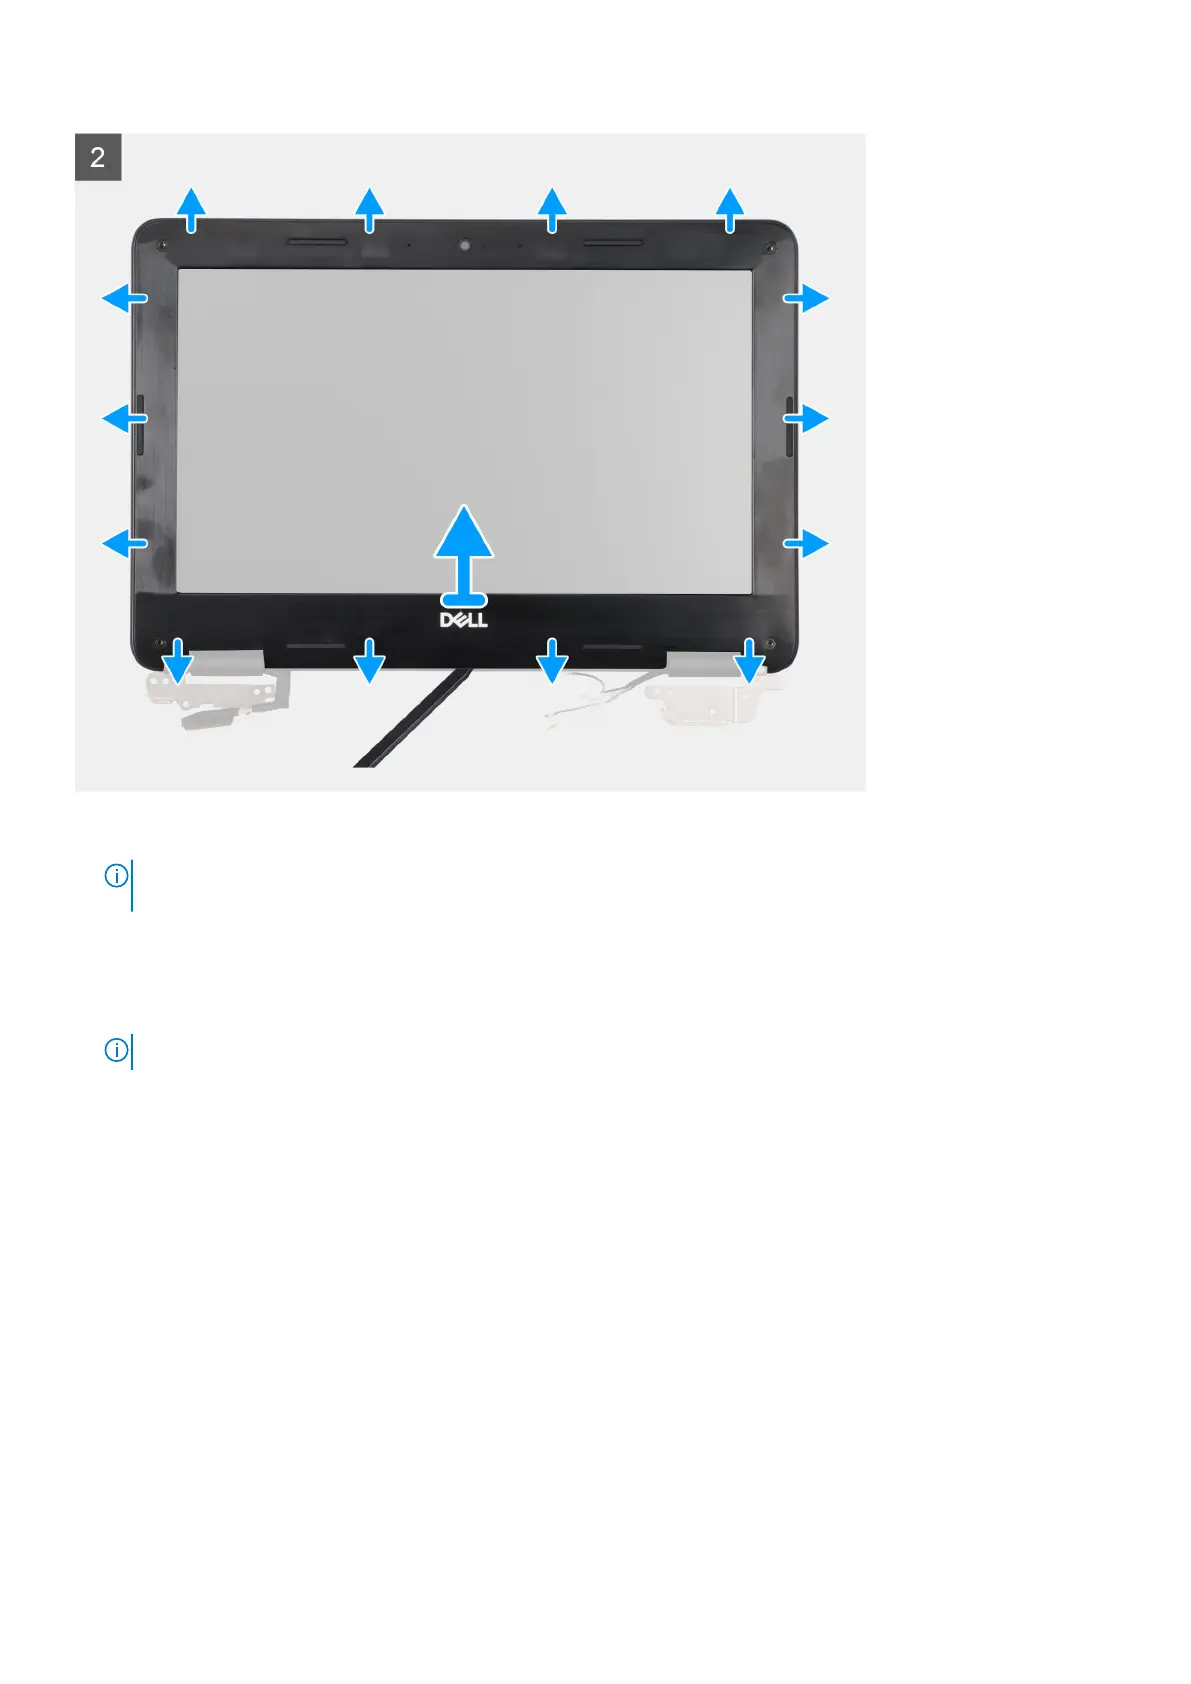
2. Remove the four screws (M2.5x3.8) that secure the display bezel on the display assembly.
3. Use a plastic scribe to carefully pry open the upper right or upper left corners of the outer edge of the display bezel.
4. Use the scribe to pry open the outside edge of the top, left, and right sides of the display bezel.
NOTE: Carefully pry the display bezel as peeling the adhesive on display bezel can damage the display panel.
5. Use the scribe to pry open the inside edge of the top, left, right, and bottom side of the display bezel.
6. Lift and remove the display bezel from the display assembly.
Installing the display bezel
Prerequisites
If you are replacing a component, remove the existing component before performing the installation procedure.
About this task
The following images indicate the location of the display bezel and provide a visual representation of the installation procedure.
44
Removing and installing components
 Loading...