Replacing the Display Assembly
1. Place the display assembly in position and replace the two screws that secure the display assembly to the computer base.
2. Route the Mini-Card cables and connect them to the Mini-Cards, if applicable (see Replacing the Mini-Card).
3. Replace the system board (see Replacing the System Board).
4. Replace the AC adapter connector (see Replacing the AC Adapter Connector).
5. Replace the USB and SIM card board (see Replacing the USB and SIM Card Board).
6. Replace the palm rest bracket (see Replacing the Palm Rest Bracket).
7. Replace the hard drive (see Replacing the Hard Drive).
8. Replace the palm rest (see Replacing the Palm Rest).
9. Replace the keyboard (see Replacing the Keyboard).
10. Replace the battery (see Replacing the Battery).
Display Bezel
Removing the Display Bezel
1. Remove the display assembly (see Removing the Display Assembly).
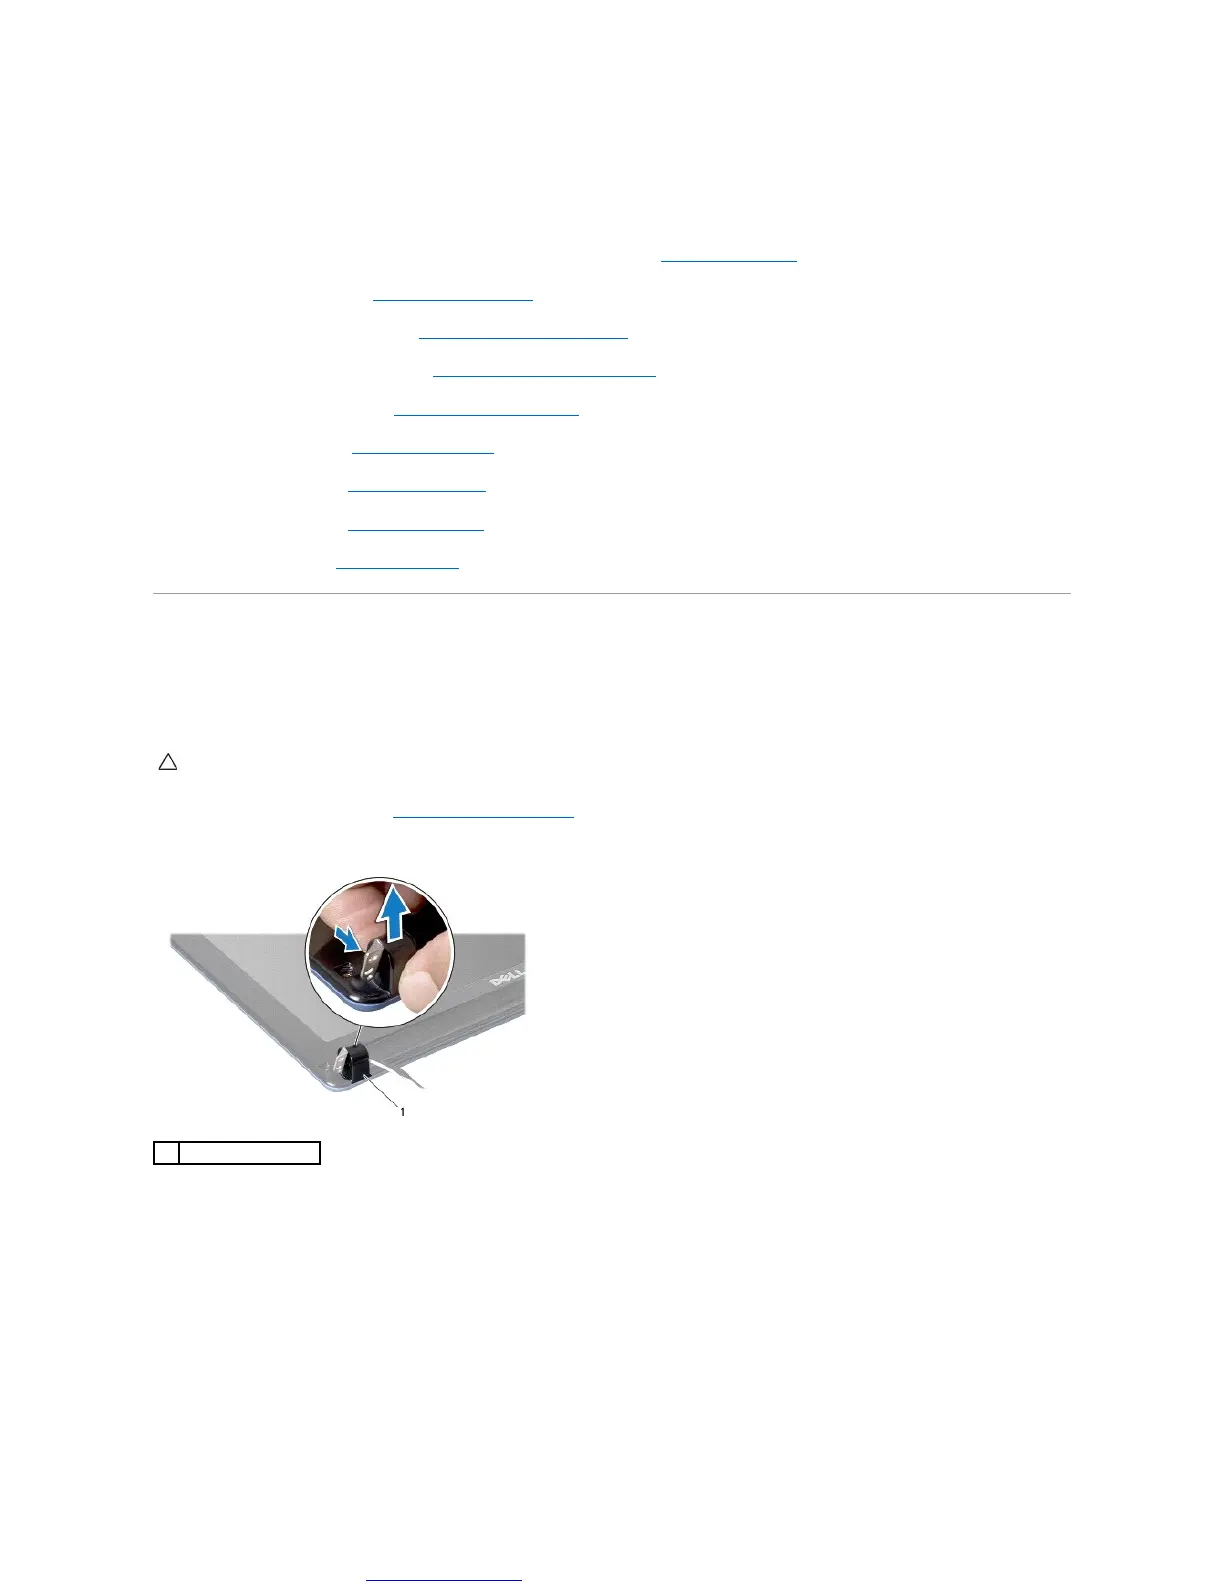
2. Press and remove the hinge cover caps (one on each side).
3. Remove the two rubber pads (one on either side) on the display bezel screws.
4. Remove the two screws on the display bezel.
5. Using your fingertips, carefully pry up the inside edge of the display bezel.
 Loading...