Installing the front bezel
1. Hook the right end of the bezel onto the chassis.
2. Fit the free end of the bezel onto the system.
3. Secure the bezel with the keylock.
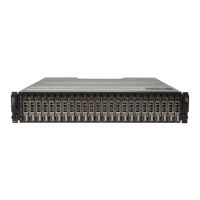
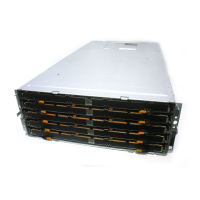
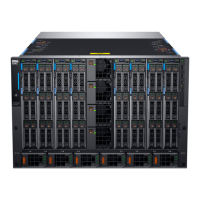
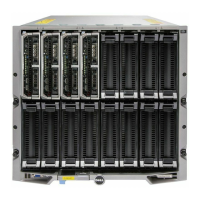
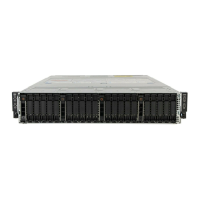
Hard disk drives
Safety: Models AMT, E03J, and E04J
Models AMT, E03J, and E04J are intended for installation only in restricted access locations as defined in
cl 1.2.7.3 of IEC 60950-1:2005.
On the basis of your configuration, your enclosure either supports up to up to 12 3.5-inch SAS hard disk
drives in internal drive bays. Hard disk drives are connected to a backplane using hard disk drive carriers
and are configured as hot-swappable.
CAUTION: Do not turn off or reboot your enclosure while the hard disk drive is being formatted.
Doing so can cause a hard disk drive to fail.
When you format a hard disk drive, allow enough time for the formatting to complete. High-capacity
hard disk drives can take many hours to format.
Removing a hard disk drive blank
CAUTION: To maintain proper system cooling, make sure all empty hard disk drive bays have
blanks installed.
1. If installed, remove the front bezel. See Removing the front bezel.
2. Press the release tab and pull the hard disk drive blank out until it is free of the hard disk drive bay.
13
 Loading...