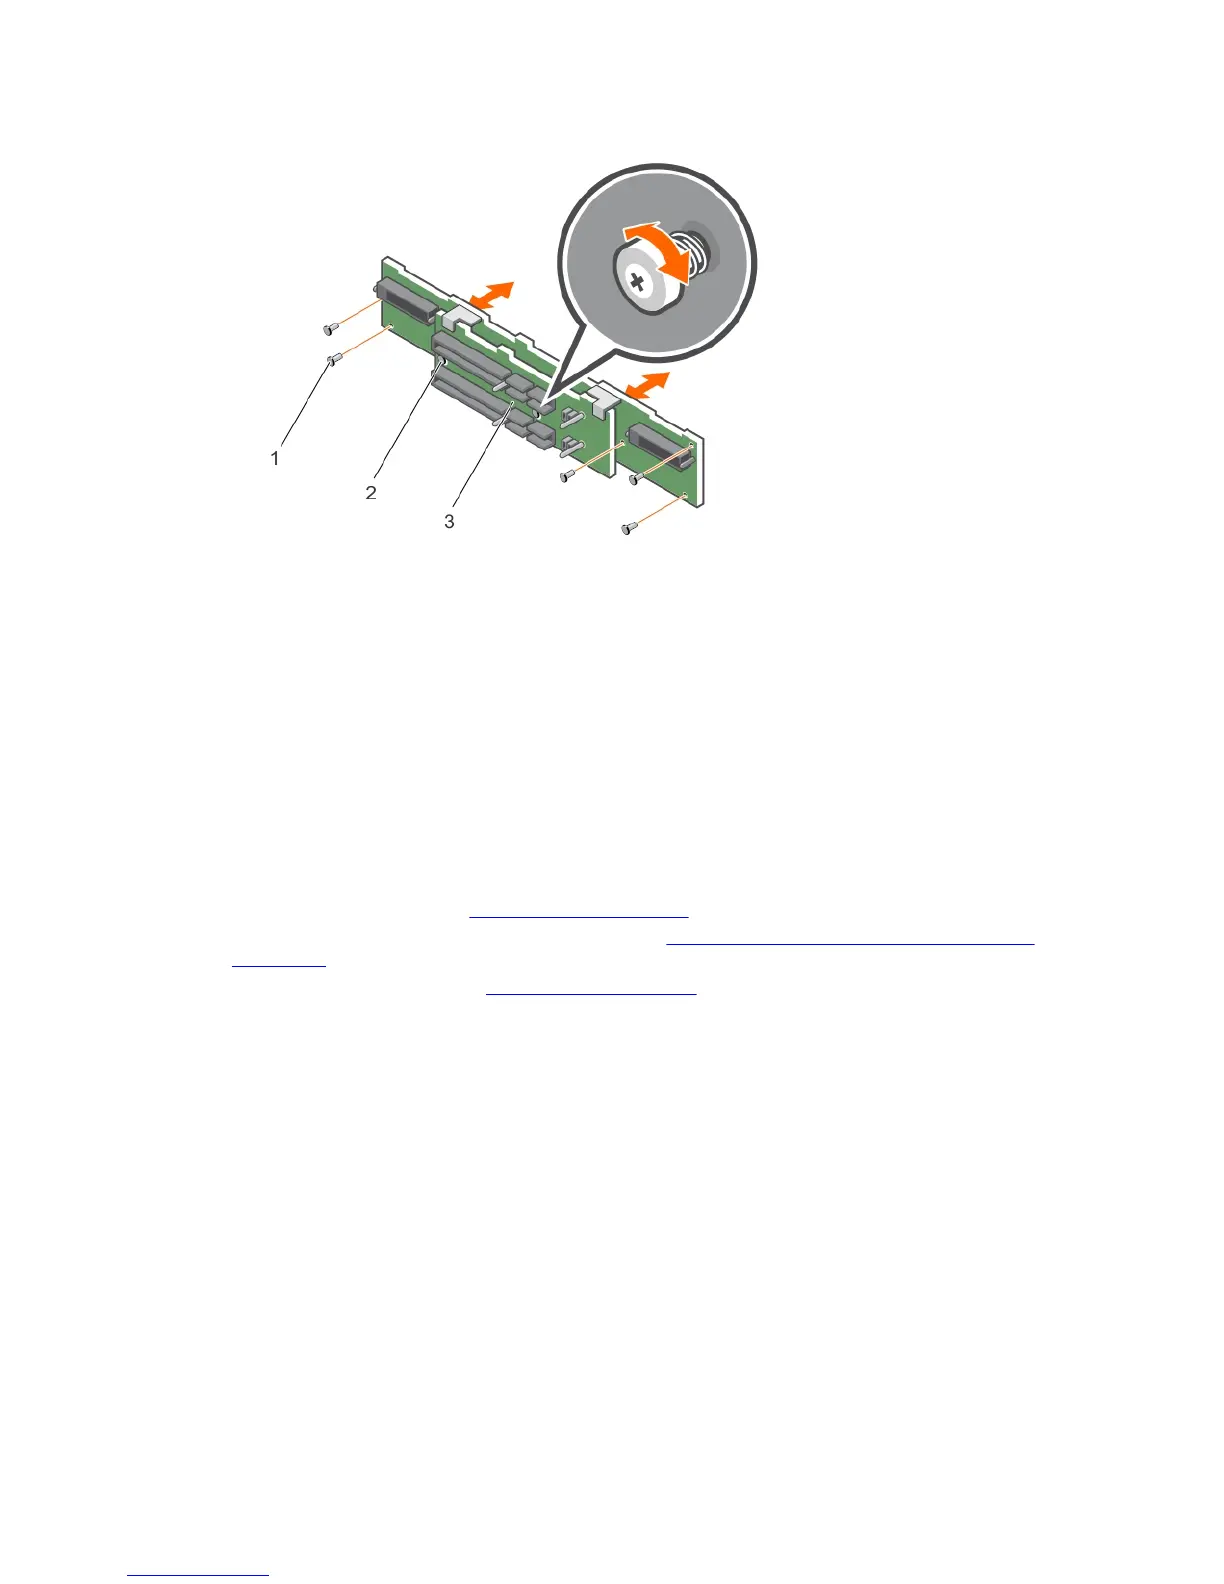
Figure 23. Removing and installing the backplane
1. screws (5) 2. captive screws (2)
3. backplane
Installing the backplane
1. Align the holes on the backplane with the holes on the enclosure.
2. Tighten the captive screw to secure the backplane to the chassis.
3. Replace the screws that secure the backplane to the chassis.
4. Align the slots on the EMM or power supply cage with the tabs on the chassis.
5. Push the EMM or power supply cage toward the front of the enclosure.
6. Replace the screws that secure the EMM or power supply cage to the chassis.
7. Install the control panel. See Installing the control panel.
8. Install the power supply or cooling fan modules. See Installing an AC power supply unit or cooling
fan module.
9. Install the hard disk drives. See Installing a hard disk drive.
10. Connect all the cables to the enclosure.
11. Turn on the enclosure and the host server.
31