3. Remove the hard disk drives. See Removing a hard disk drive.
4. Remove the EMMs. See Removing an EMM.
5. Remove the power supply or cooling fan modules. See Removing an AC power supply unit or
cooling fan module.
6. Remove the control panel. See Removing the control panel.
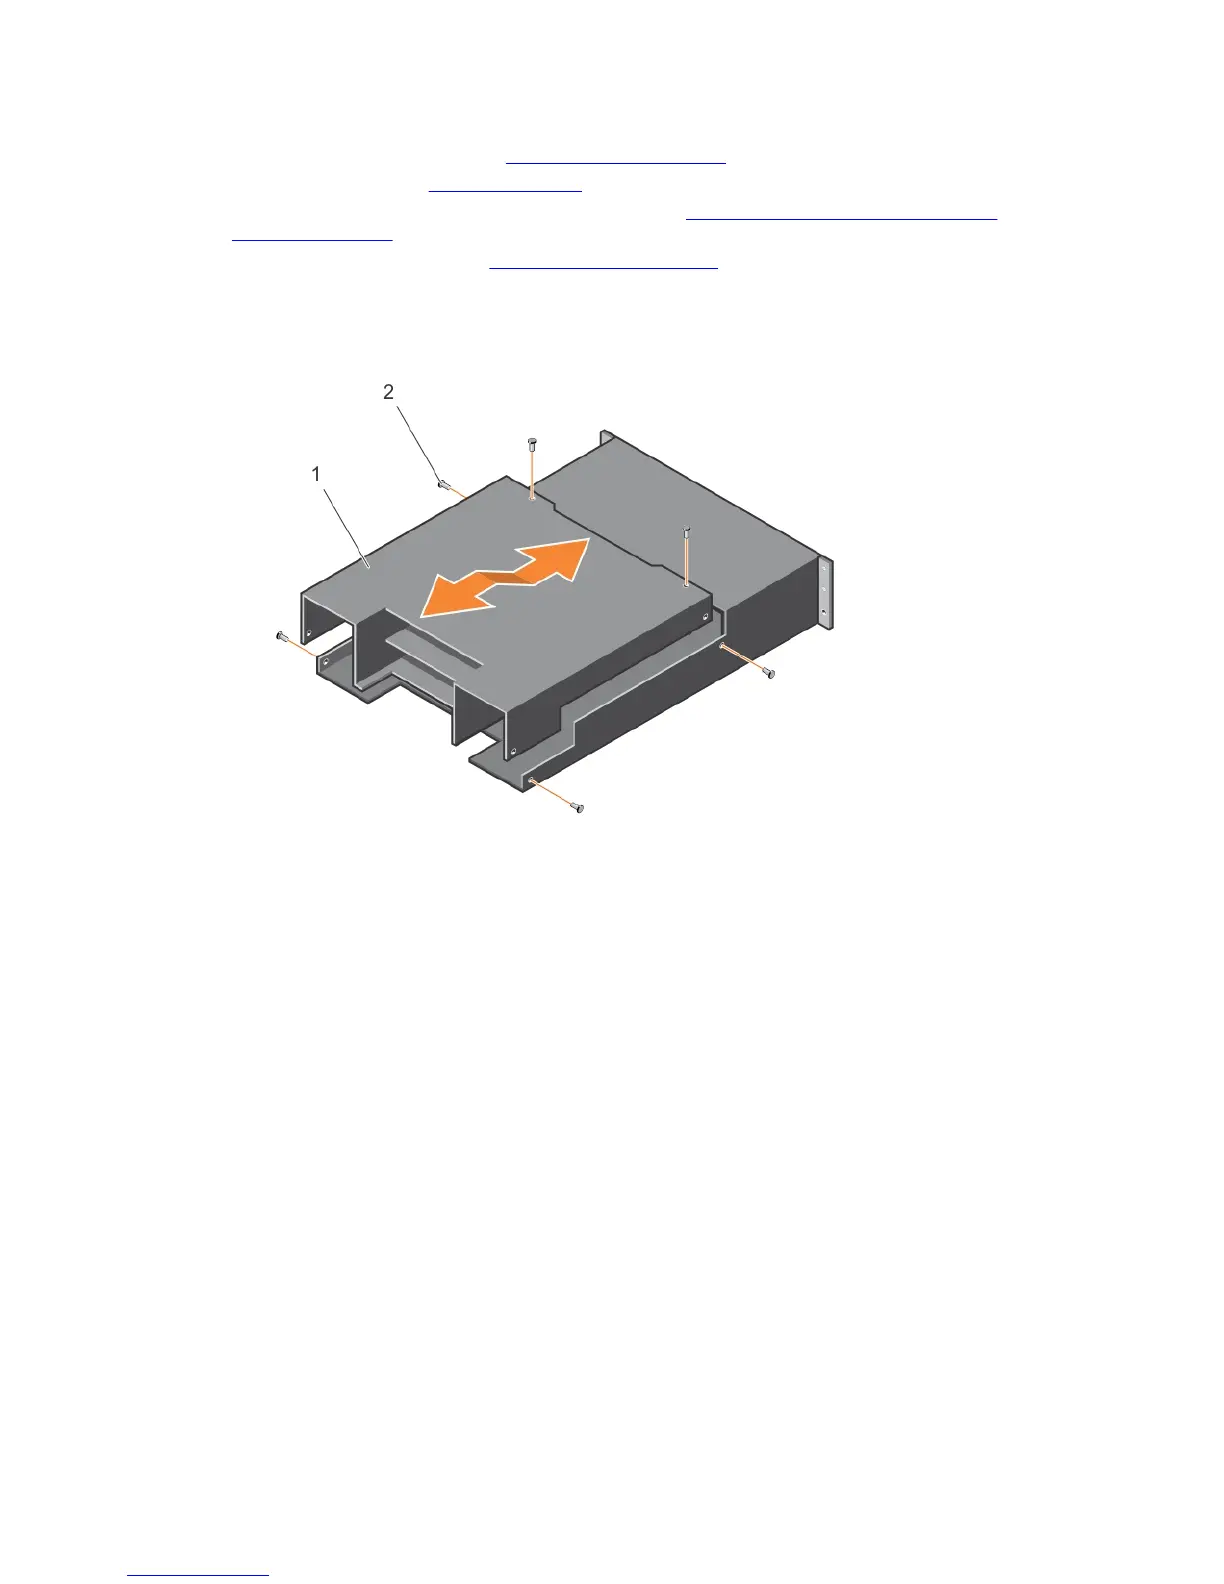
7. Remove the screws that secure the EMM or power supply cage to the chassis.
8. Hold the cage removal ring at the bottom center of the enclosure and pull the EMM or power supply
cage toward the back of the chassis.
Figure 22. Removing and installing the EMM or power supply cage
1. EMM or power supply cage 2. screws (6)
9. Lift the EMM or power supply cage away from the chassis.
10. Loosen the captive screw that secures the backplane to the chassis.
11. Remove the screws that secure the backplane and pull the backplane out of the enclosure.
30
 Loading...