DVM-500Plus Installation Guide 002-0501-02 REV C Page 10
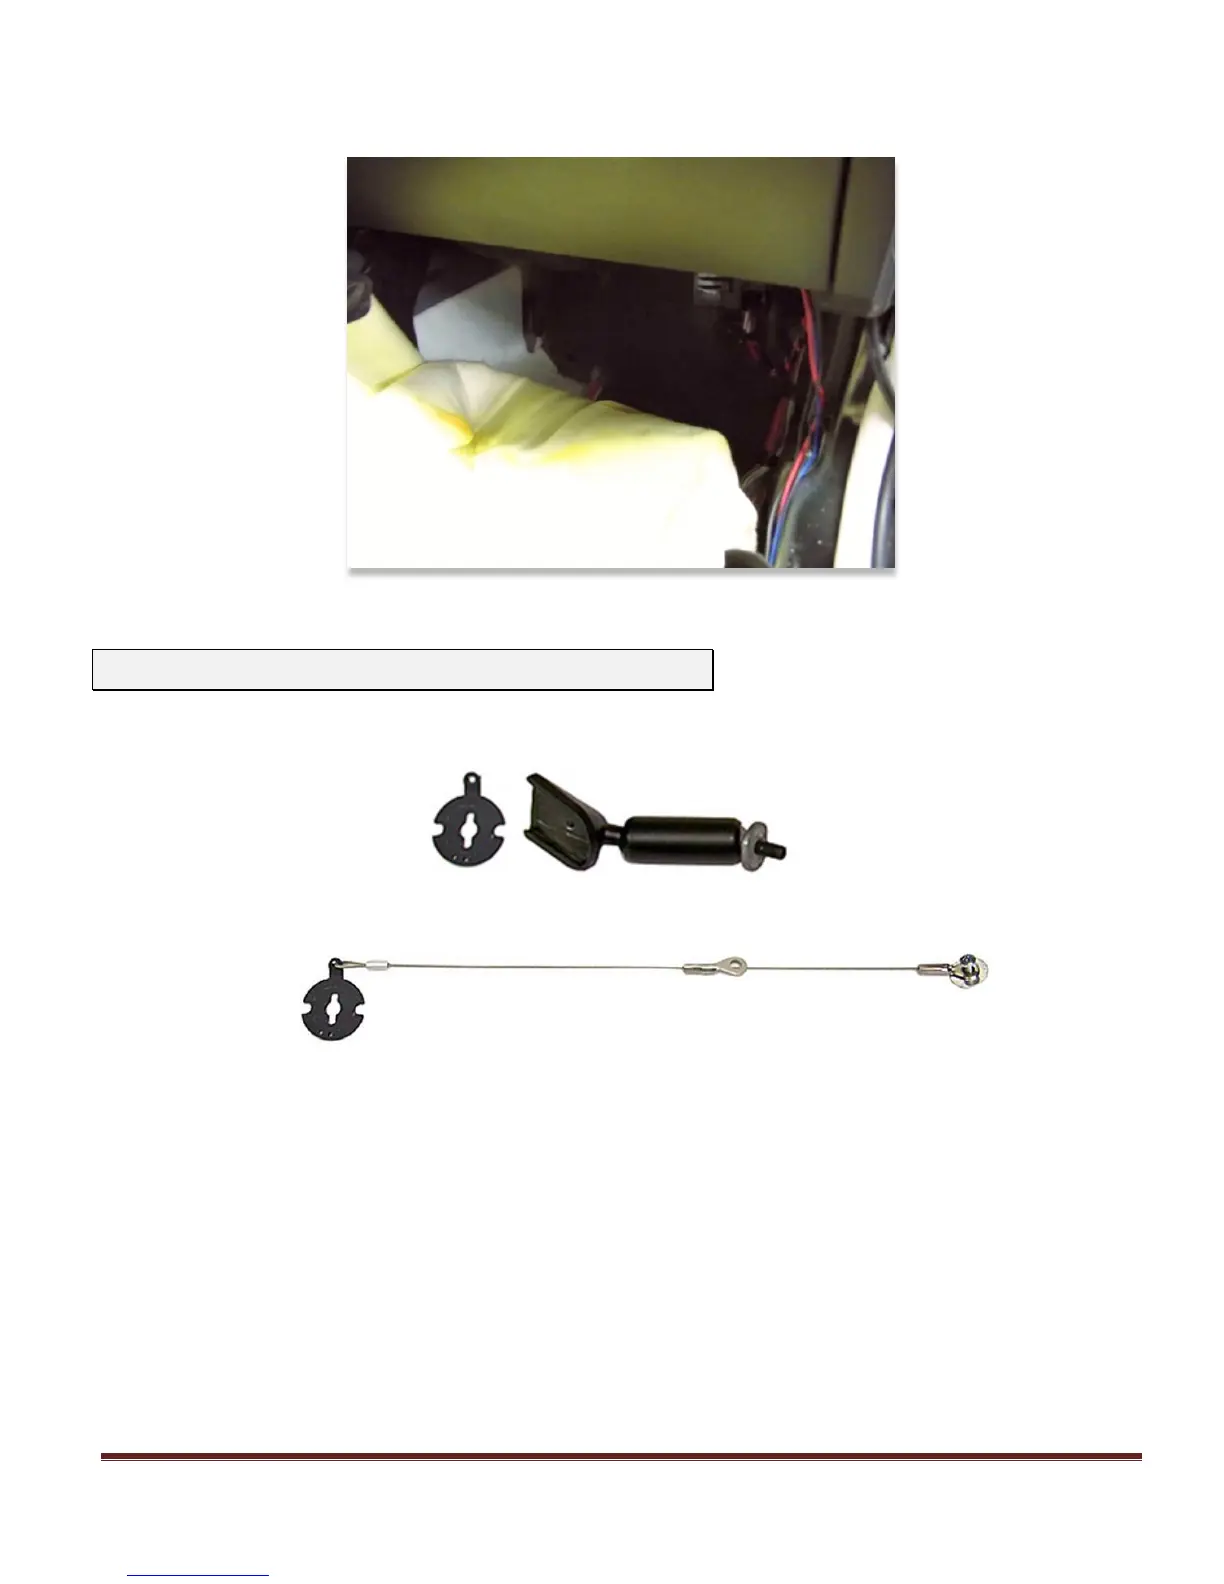
5. Remove the passenger side kick panel & pull back the carpet to expose the vehicle chassis
1. Standard Mount
There are two types of adapter plates included in the mirror mounting kit. One that has an optional
stainless steel lanyard attached and one that does not. After you have determined which one you
prefer to use, the steps required to mount them are the same.
The optional adapter plate with the stainless steel lanyard is enclosed for those departments that wish
to attach the retaining lanyard to the vehicle. If properly attached to the vehicle, the lanyard should
help prevent the possibility of the DVM from coming loose within the vehicle in the event of a wreck or
a similar situation.
* The DVM has been mounted in several vehicles that have been involved in wrecks and we are not
aware of any issues of it coming loose within the vehicle. However, to safeguard against this
possibility we have enclosed the optional adapter plate with stainless steel lanyard and two mounting
rings for permanent attachment to your vehicle.
 Loading...