10
579 & 595 Installation Instructions
shown in FIG. 10A, 10B and 10C.
F. PLACING THE AIR CONDITIONER ON THE
ROOF
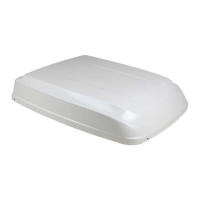
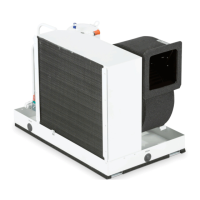
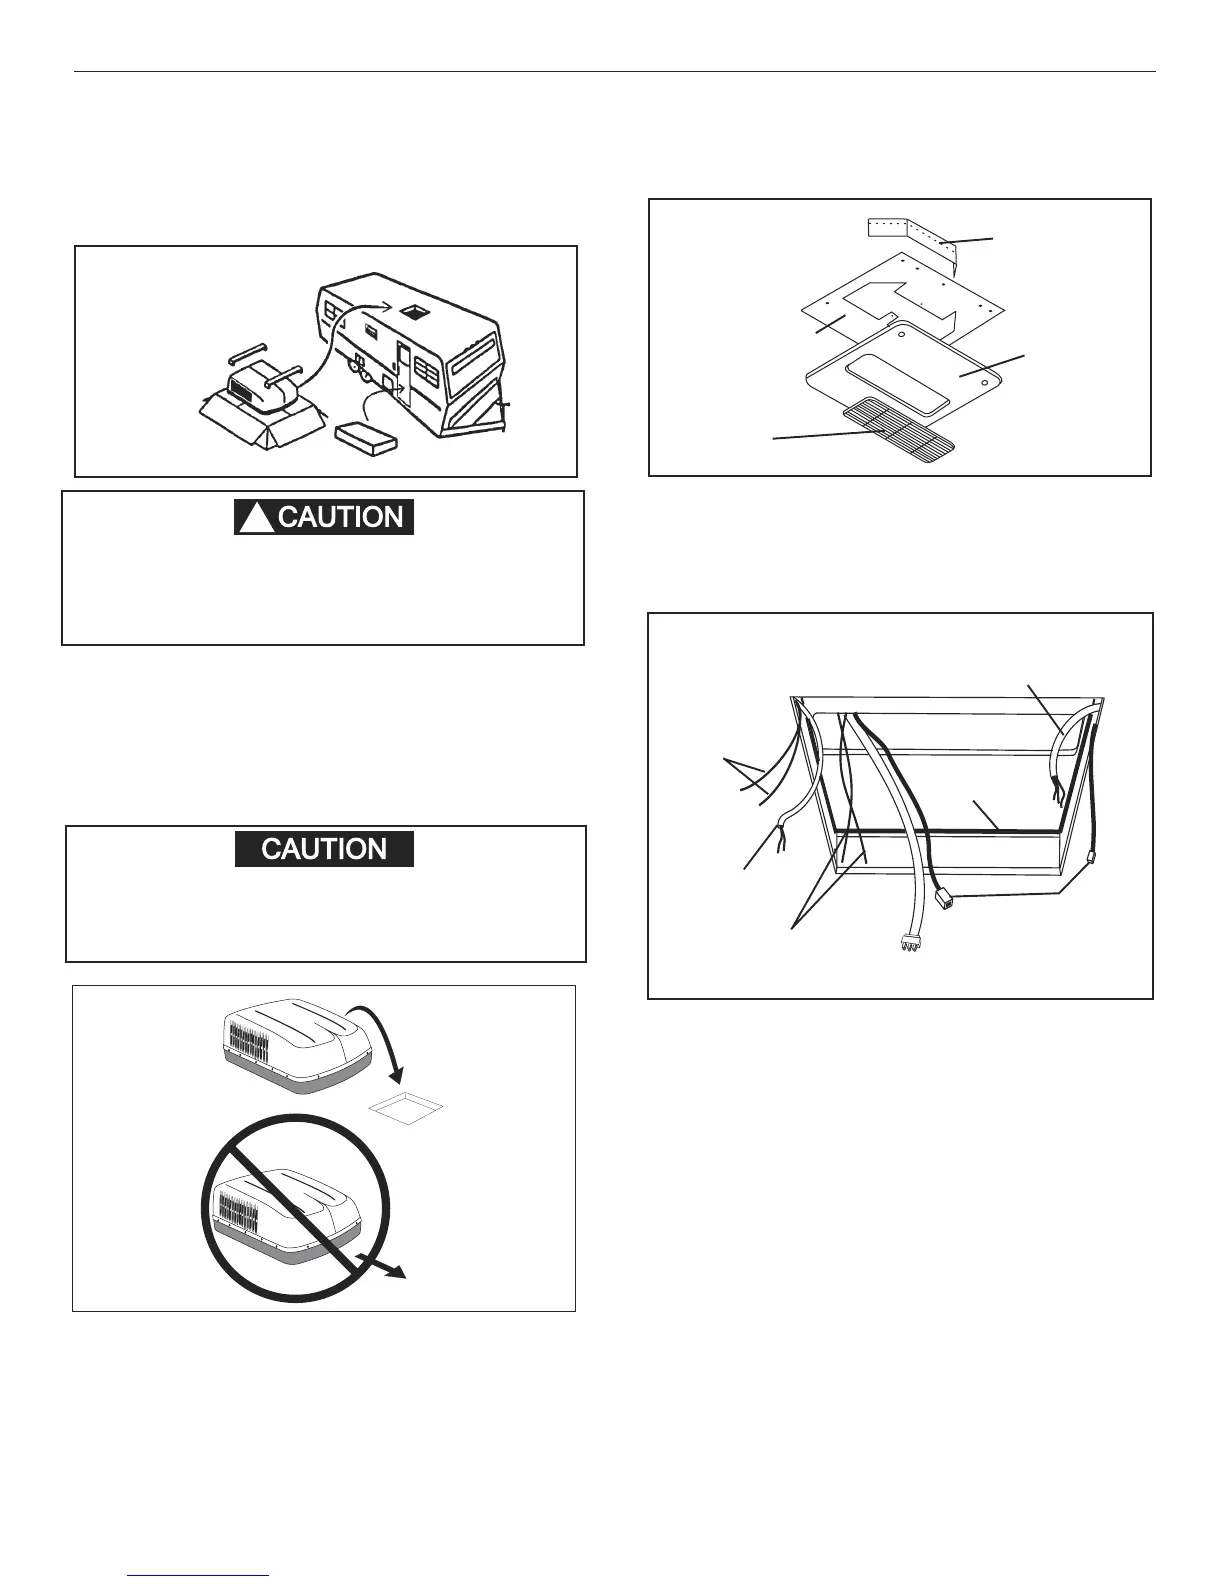
1. Remove the air conditioner from the carton . The unit
mounting bolts and literature are in a separate
plastic bag. Be sure to place this information in the
FIG. 11
Please Return to
Dometic All Return-
able Cartons Or
Recycle All Card-
board Cartons
RV.
2. Place the air conditioner on the roof.
3. Lift and place the unit over the prepared opening
using the gasket on unit as a guide. The roof
gasket on the bottom of the base pan goes
toward the front of the RV. Sliding the unit on the
This unit weighs approximately 100 pounds.
To prevent back injury, use a mechanical hoist
to place air Conditioner on roof.
!
Do not slide the unit. This may damage the
roof gasket attached to the bottom and create
a leaky installation.
roof will damage the roof gasket. See FIG. 12.
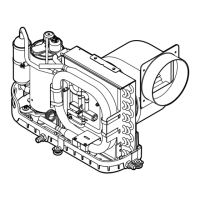
G. Installing Air Conditioner
Installing unit with 3105007 or 3105935 Return Air
Cover. For unit with Genesis Air Filtration System
FIG. 13
Divider Plate
Ceiling Template
Return Air
Cover
Return Air
Grill
ing. See FIG. 14.
b. Remove return air cover and ceiling template
from the 3105007 or 3105935 kit carton.
c. Locate the four (8" x 1/4-20) unit mounting bolts
packaged with the 3308417 control kit.
d. Reach up into the return air opening and pull
the unit electrical cord down. See Section "H.
Wiring the system".
e. Route AC power supply wires through the
Romex connector in the control box.
f. Connect the 6 pin plug to the control box. The
plug is polarized and will only fin in one direc-
see page 12.
1. Installation Of Ceiling Template
a. Check gasket alignment of the air conditioner
over the roof opening and adjust if necessary.
Unit may be moved from below by slightly lift-
Lift And Place
Do Not Slide
FIG. 12
Front
AC Power
Supply
Pull Electrical
Cord Down
Center Unit From Below
Roof
Gasket
FIG. 14
DC Power
Supply
Receiver
Leads
Furnace
Furnace
Tstat Con-
nection
From A/C
 Loading...