15
EN
Value Air Distribution Box (ADB), Mechanical Installation
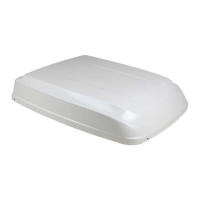
4. Li and place the rooop component over
the prepared opening using the gasket on the
rooop component as a guide.
I
The outside work is complete. Minor adjustments
can be made from inside the RV if required.
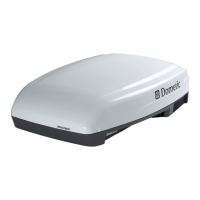
6.5 Preparing to Work Inside the RV
This section describes the interior preparation.
1. Bring the ADB kit inside the RV. The box contains the
mounting hardware for the ADB that will be used
inside the RV.
q
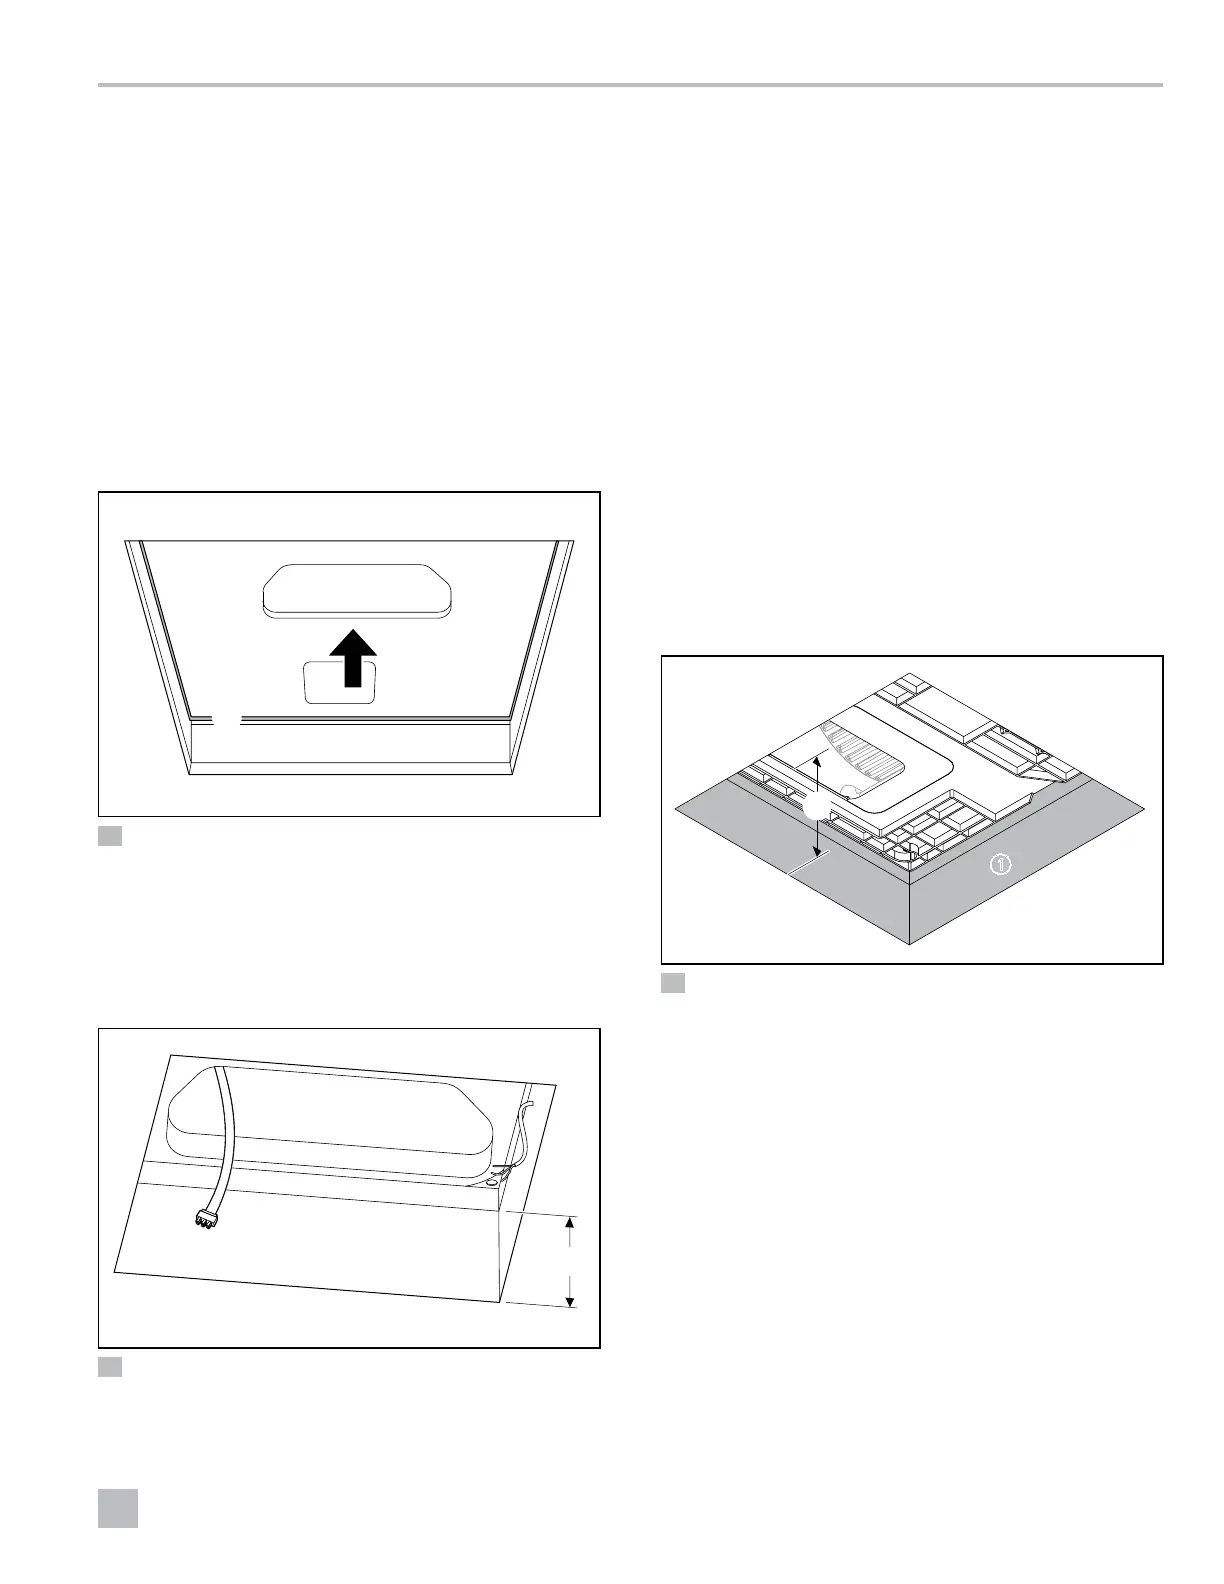
18 Centering the Rooop Model Unit from Inside the RV
q
Roof Gasket
2. From inside the RV, check the gasket alignment of
the rooop component over the roof opening. If
necessary, adjust the rooop component from below
by slightly pushing up.
q
w
19 Return Air Opening
q
Electrical Cord
w
Ceiling Thickness
3. Reach up into the return air opening of the
rooop component and pull the rooop component
electrical cord down for later connection.
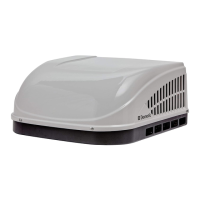
4. Remove the ADB and the mounting hardware from
the carton. See “ADB Components” on page4
for the parts configuration.
7 Installation
7.1 Installing the Foam Dividers
Roof thicknesses vary among RVs and the ADB
installation may require additional foam to fill any gaps in
thicker roofs.
This section describes how to determine if additional
foam dividers are required, the number required, and
the installation method.
w
q
e
20 Measuring the Roof Thickness for Foam Divider Installation
q
Ceiling Opening
e
Roof Thickness
w
Rooop Model Unit
Basepan
1. Measure the roof thickness, from a flat surface of the
installed rooop component’s basepan to the ceiling
opening inside the RV.
 Loading...