TEC 30 12
user’s manual
GB
2.1 Instructions for fixing the generator
Warning
Make sure there is enough space around the casing of the generator for cooling, leaving at least 70 mm of free space between the casing and the
surrounding walls or parts. If the air intake of the generator remains behind a wheel of the vehicle, make sure that in the case of rain the wheel will
not spray water onto or into the generator taking preventing measures if necessary (ex. antispray guards).
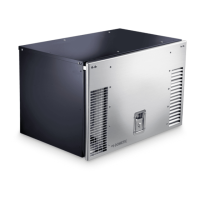
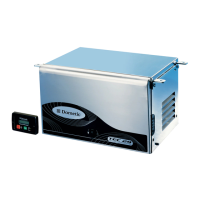
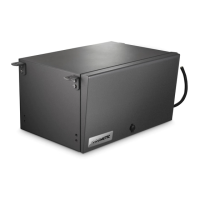
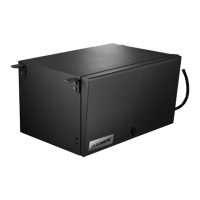
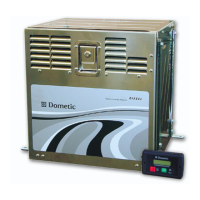
There are two different installation solutions to mount your generator unit: outdoor hanging installation (A TYPE) or installation in a separate
compartment (B TYPE).
An “A TYPE” installation may be preferable for the following: smaller overall dimensions, quick installation, ease of access for ordinary and ex-
traordinary maintenance. A “B TYPE” installation instead allows for further soundproofing of the generator unit compartment.
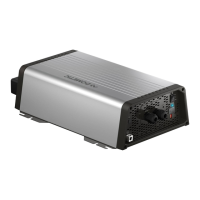
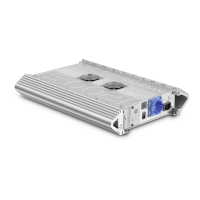
For “A TYPE” installation (hanging installation) the generator unit is fitted with item AG129 (available upon request) consisting of hanging brackets
(ref. no. AG129/ST) and a bent exhaust pipe (ref. no. 4205), as shown in the figure. Dismount the hanging brackets and reassemble them upside
down (see figure).
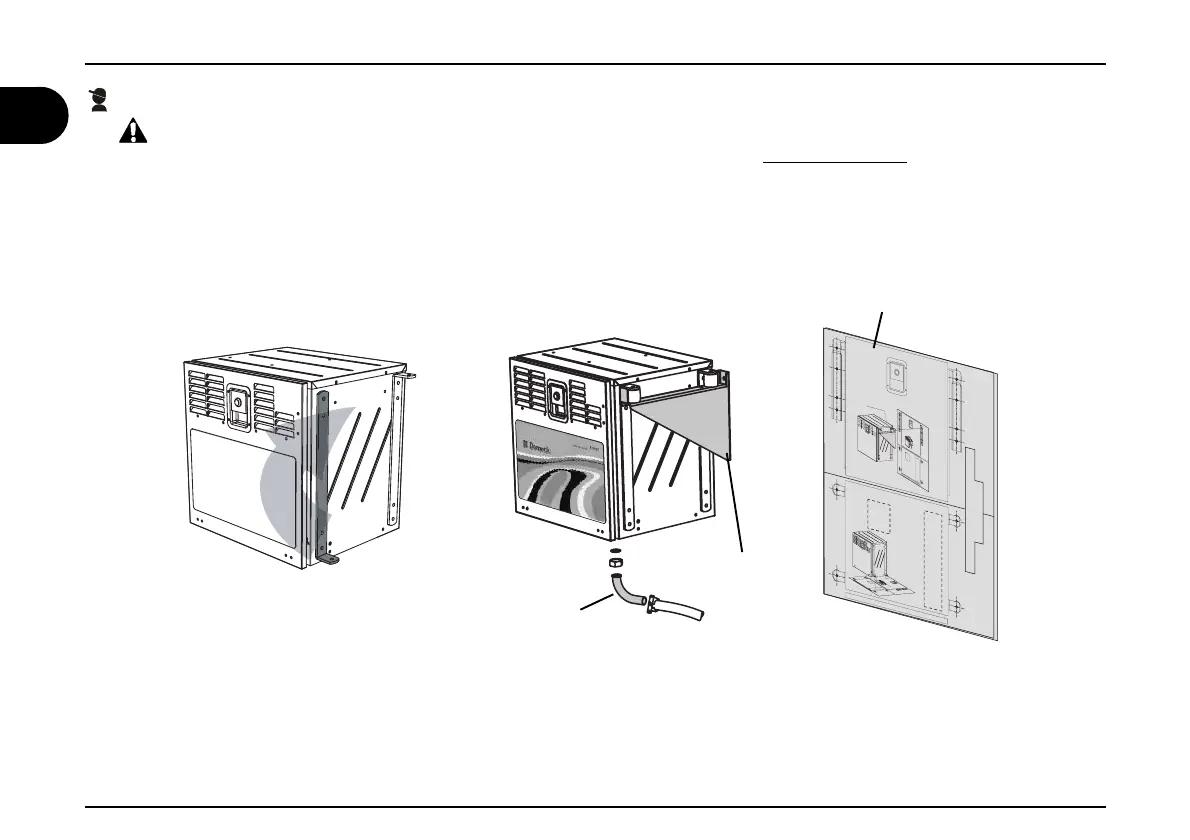
Use the pre-printed cardboard sheet supplied with the package as a shape template to secure AG129/ST brackets onto the supporting wall.
Secure the generator unit onto the hanging brackets with the vibration dampers supplied.
Mount the bent exhaust pipe and secure the flexible connecting pipe with clamps to the additional muffler
2 Installation instructions
A Type
AG129
AG129/ST
shape template
INSTALLATION TYPE B
(inside a compartment)
fixing
holes
fixing
holes
fixing
holes
AG129
Drain Hole
Drain
Hole
SEE USER'S MANUAL
REMOVE THIS CARTON AFTER INSTALLATION
INSTALLATION TYPE A
(hang up underneat)
FRONT
TOP
INSTALLATION TYPE B
(inside a compartment)
fixing
holes
fixing
holes
fixing
holes
AG1
29
Drain Hole
Drain
Hole
SEE USER'S MANUAL
INSTALLATION TYPE A
(hang up underneat)
FRONT
TOP
INSTALL
ATI
ON T
YPE B
(inside a c
ompar
tmen
t)
fixing
holes
fixing
holes
AG
1
29
Dra
in Hole
Dra
in
Hol
e
SEE USER'S MA
NU
AL
INSTALL
ATI
ON T
YPE A
(hang up under
nea
t)
FRONT
TOP
4205
 Loading...