10
EN
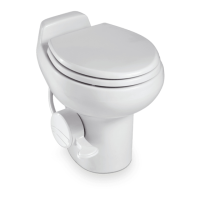
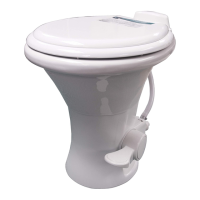
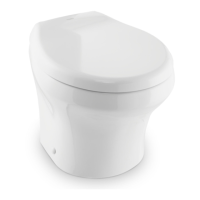
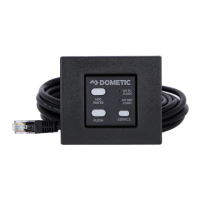
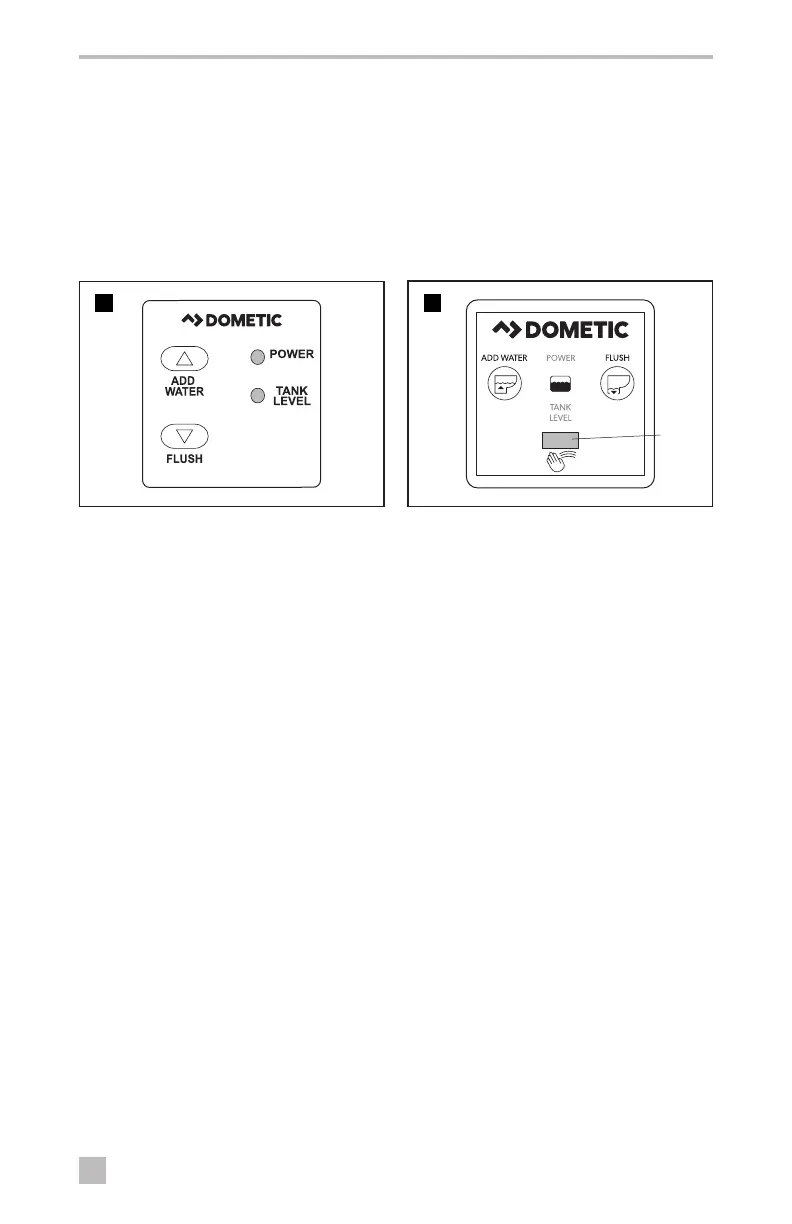
Flush Controls
7.2 Operating the DFS, DFP, DFSHW switches (8000 and 9000 Series)
Toilet system startup
➤ Turn ON electrical power and water supply to the toilet.
➤ Flush the toilet by pressing the Flush button or waving a hand over the motion sensor
(DFSHW only). Allow the flush cycle to complete.
➤ Toss several sheets of toilet tissue into the bowl and flush the toilet again. The bowl should be
completely clear.
➤ 9000 Series: If the bowl is not completely clear aer flushing, adjust the rim and jet water flow
timing on the toilet control module to a higher setting. Repeat the flush test aer each adjustment.
12
Normal toilet operation (DFS, DFP, and
DFSHW)
➤ Press and hold the Add Water button
until the desired water level is achieved in
the bowl.
➤ Press the Flush button to flush the toilet.
➤ Press the Add Water button twice quickly
to toggle through backlight modes:
– Always ON (full brightness, default)
– Always ON (dim) (DFSHW only)
– Energy saving (ON when motion is
sensed) (DFSHW only)
– Always OFF
13
Motion
Sensor
Using the hand wave feature (DFSHW)
I
The motion sensor range is 4”
(10 cm).
➤ Hold your hand in front of the Motion
Sensor to fill the bowl with water. Water
will start to flow aer three seconds.
Continue to hold your hand in front of the
motion sensor until the desired water level
is achieved.
➤ Wave your hand in front of the Motion
Sensor to flush the toilet.
➤ The handwave function can be toggled
on/off by holding in BOTH the le
and right buttons for 5 seconds. A
backlighting fade sequence will follow
indicating the handwave operation has
been toggled:
– Backlight fade‑to‑on indicates
handwave has been toggled to
‘enabled’.
– Backlight fade‑to‑off indicates
handwave has been toggled to
‘disabled’.
 Loading...