5 CUSTOMIZING YOUR NGAUGE
Custom background images are not customizable for the end user. This feature may be added in the future.
5.1 INSTALLING FILES FROM SD CARD
Drag and drop the newest firmware .ng file from your pc to the SD card
Insert the SD into the nGauge as directed
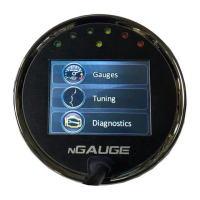
From the Main Menu tap on [Diagnostics].
Select [Settings.]
Scroll down using the down arrow on the left to update from SD
Tap screen for [Update from SD]
nGauge will search SD card for newest firmware
Follow on screen prompts to update new firmware.
** Do not turn off key or unplug device during a firmware update*
Important note: The firmware update file must be named FIRMWARE-XXX.ng where XXX is the version number.
Do not delete your previous firmware’s files from the SD card until AFTER you update to the new firmware – they are still needed until
the new firmware is installed.
5.2 INSTALLING FILES FROM PC OR MAC
Connect PC to nGauge via mini USB cable
Select Diagnostics.
Scroll down and TAP [USB SD]
PC will “ding” once PC recognizes device
Open window with computer drives i.e. C:, D:, etc.
Identify the letter for nGauge.
Drag and drop the file onto the correct drive associated with the nGauge
Copy and Paste can also be used
Allow the file to transfer
After the file has transferred, use the PC’s function to “Safe Eject” the drive to make sure that all transfers have completed. Usually, you
can right-click on the nGauge’s drive icon and select “Safe Eject”.
Select settings within diagnostics
Press Update from SD
nGauge will search SD card for newest firmware
Follow on screen prompts to update new firmware.
** Do not turn off key or unplug device during a firmware update*
Important note: The firmware update file must be named FIRMWARE-XXX.ng where XXX is the version number.
Do not delete your previous firmware’s files from the SD card until AFTER you update to the new firmware – they are still needed until
the new firmware is installed.
 Loading...