8
2000 Series Disc Valve Motors
2000 SerieS diSc valve geroler motor C-MOLO-TM010-E1 June 2018 www.eaton.com
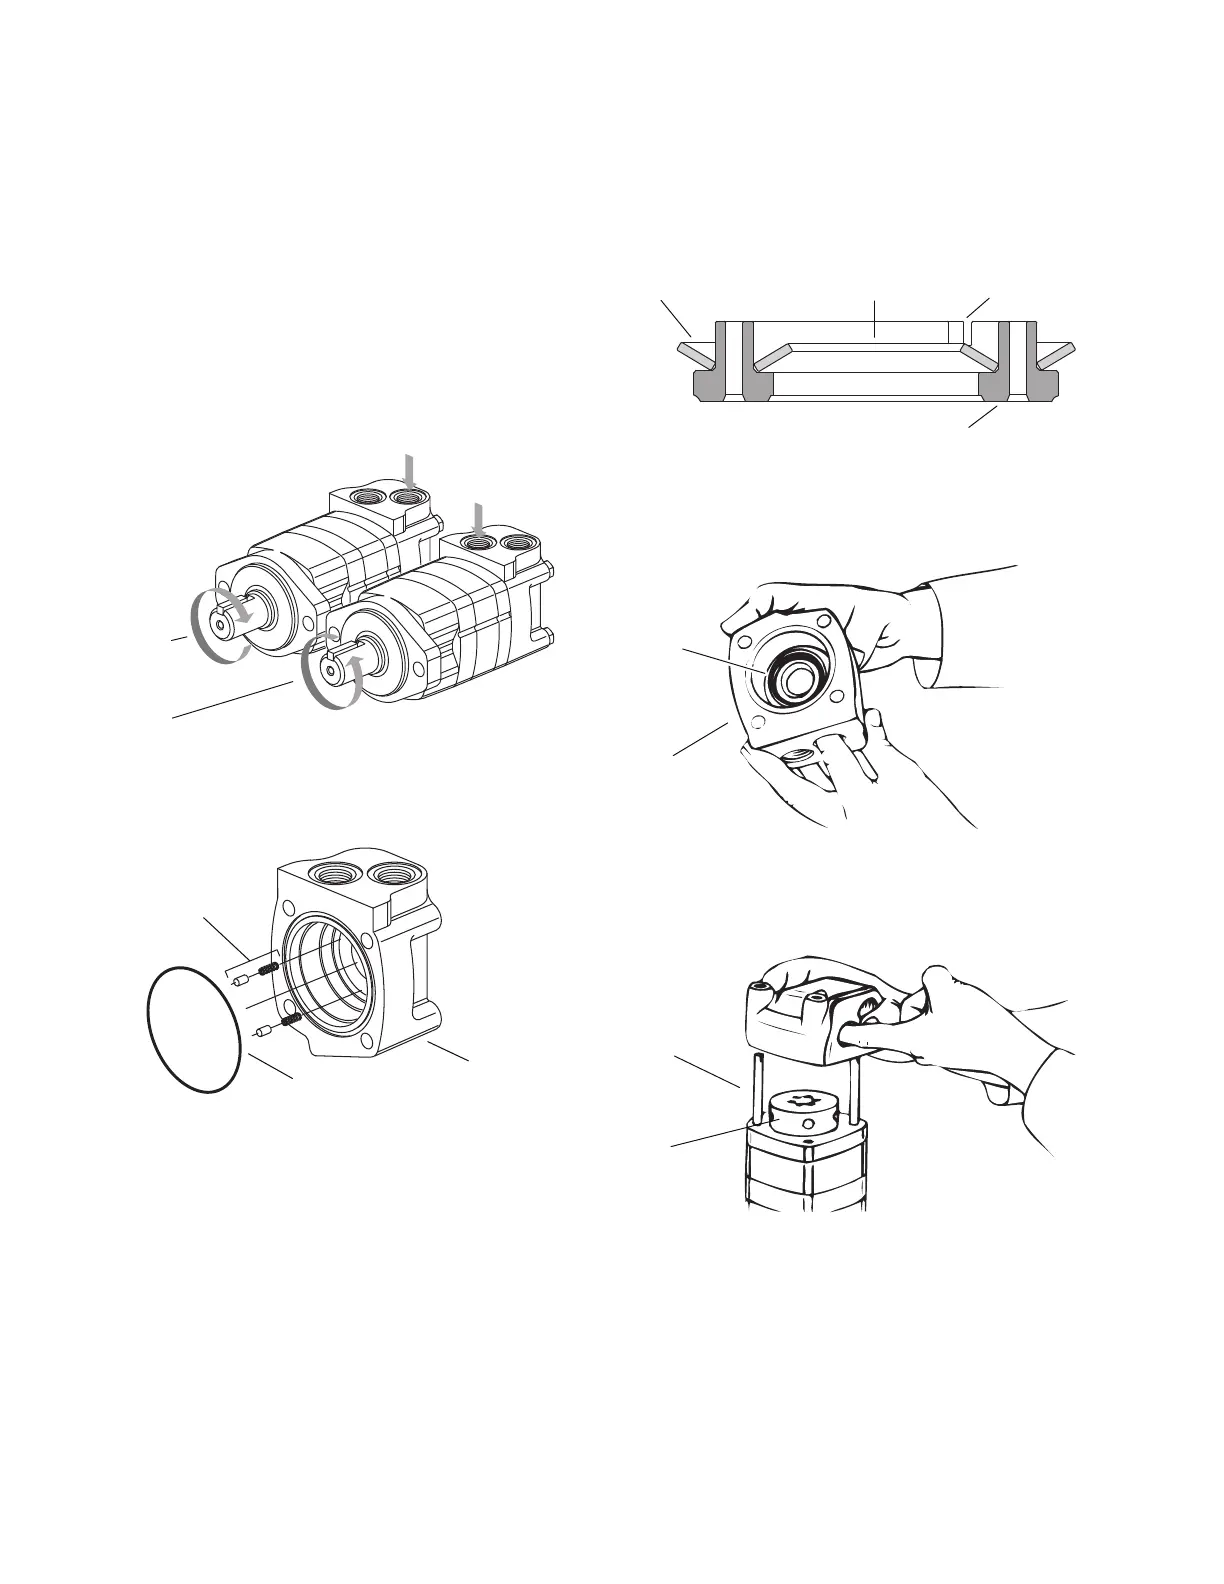
34. Align the notch on the outside of the valve plate with
the notch on the Geroler as shown in Figure 12.
Timing Step # 2 — Locate the slot opening in the valve
plate which is in line with the largest open pocket of
the Geroler.
Timing Step # 3 — Locate any one of the side openings of
the valve and align this opening with the open slot of the
valve plate that is in line with the largest open pocket of the
Geroler. Install the valve by rotating it clockwise until the
spine teeth engage (1/2 spine tooth max.). This will provide
the proper rotation when pressurized as shown in Figure 13.
Clockwise
Rotation
Counter
Clockwise
Rotation
Spring and Pin
Seal
Valve
Housing
35. Install 2 springs and 2 pins in the holes located in the
bore of the valve housing, as shown in Figure 14.
36. Apply a light film of petroleum jelly to the 76,0 [3.00]
diameter seal. Install seal in the valve housing.
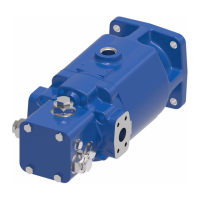
37. Apply petroleum jelly to inner and outer face seals.
Install seals on balance ring as shown in Figure 15.
Important: Install face seals in the positions shown in
Figure 15, or the motor will not operate properly. Do not
force or bend the face seals. Any damage to these seals will
affect the operation of the motor.
Balance Ring
Inner Seal Pin NotchOuter Seal
38. Align pin notches in balance ring with pins in bore of
valve housing. Install balance ring assembly in valve
housing.
Alignment
Studs
Balance
Ring
Valve
Housing
Valve
Plate
39. Insert your finger through port of valve housing.
Apply pressure to side of balance ring as shown in
Figure 16. Hold ring in position until valve housing is
in place against valve plate (see Figure 17).
ote:N After installing the valve housing on the valve plate
check for proper placement. Push down on the valve
housing. You should get a slight spring action.get a
slight spring action.
Reassembly
Figure 16.
Figure 13
.
Figure 14.
Figure 15.
Figure 17.
 Loading...