IB01602002E
Page 12
Effective 10/02
SECTION 4: INSTALLATION AND WIRING
4.1 GENERAL
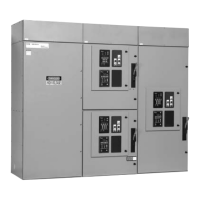
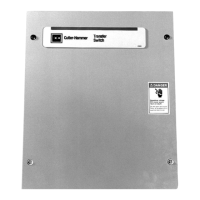
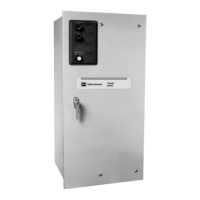
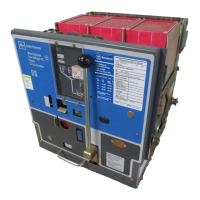
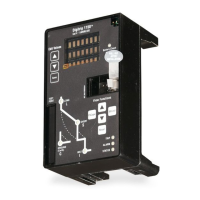
Transfer switches are factory wired and tested.
Installation requires solidly mounting the enclosed unit
and connecting power cables and auxiliary pilot circuits.
Physical mounting procedures and power cable connec-
tions are covered in this section. All other required
wiring or electrical connection references are covered in
a separate Customer Wiring Booklet packed with the
transfer switch. Locate the wiring booklet, review it, and
keep it readily available for reference purposes during
installation and testing. Once a transfer switch is proper-
ly installed and wired, it should be mechanically and
electrically checked for proper installation and operation.
The procedures for these initial mechanical and electri-
cal checks are outlined in Section 6 of this instruction
manual.
BE CERTAIN THAT THE SOLID STEEL POWER
PANEL SHIELD IS PROPERLY INSTALLED BEFORE
TRANSFER SWITCH EQUIPMENT IS PUT INTO SER-
VICE. THE SHIELD PROVIDES PROTECTION FROM
DANGEROUS VOLTAGES AT THE LINE AND LOAD
TERMINALS WHEN THE EQUIPMENT IS IN OPERA-
TION. FAILURE TO DO SO COULD RESULT IN PER-
SONAL INJURY OR DEATH.
4.2 MOUNTING LOCATION
Choose a location that offers a flat, rigid mounting sur-
face capable of supporting the weight of the enclosed
transfer switch equipment. Avoid locations that are
moist, hot, or dusty. Enclosure designs are, however,
available for special environments. If there are any
doubts as to location suitability, discuss it with your
Cutler-Hammer representative.
Check to make certain that there are no pipes, wires, or
other hazards in the immediate area that could create a
problem. The panels provide ample room for rear cable
entry from top, bottom, and sides. At no time should
cable be routed to retard the action of relays or cover
the logic in a way that restricts adjustments. Maintain
proper electrical clearances between live metal parts
and grounded metal.
For installation and maintenance purposes, the primary
and secondary sources must have an overcurrent pro-
tective device upstream of the transfer switch, unless
overcurrent protection is integral to the switch.
Dimensions of the transfer switch are an important con-
sideration in determining proper location selection.
4.3 UNPACKAGING AND INSPECTION
SINCE THE ENCLOSED TRANSFER SWITCH MUST
BE LIFTED INTO PLACE FOR MOUNTING, BE CER-
TAIN THAT ADEQUATE RESOURCES ARE AVAIL-
ABLE FOR LIFTING TO AVOID PERSONNEL
INJURIES OR EQUIPMENT DAMAGE.
Cable entry holes are not part of the enclosure when
shipped from the factory and must be provided in the
field, either before or after mounting the enclosure.
Proceed with the following four steps:
Step 1: Carefully uncrate the transfer switch. If damage
is visible, please contact your local Cutler-
Hammer sales representative or the factory at
800-354-2070.
Step 2: Open the door and visually verify that there are
no broken or damaged components or evidence
of distorted metal or loose wires as a result of
rough handling.
Step 3: A label on the baseplate provides specifications
for your transfer switch. Verify that these specifi-
cations comply with your requirements.
Step 4: Remove any braces or packing used to protect
the transfer switch or internal components dur-
ing shipping.
EXTREME CARE SHOULD BE TAKEN TO PROTECT
THE TRANSFER SWITCH FROM DRILL CHIPS, FIL-
INGS, AND OTHER CONTAMINANTS WHEN MAK-
ING THE CABLE ENTRY HOLES AND MOUNTING
THE ENCLOSURE TO PREVENT COMPONENT DAM-
AGE OR A FUTURE MALFUNCTION.
4.4 MOUNTING PROCEDURE
With the enclosed transfer switch equipment unpacked
and ready for mounting, proceed with the following steps:
Step 1: Mounting and cabling access is best provided
by removing side and rear covers (when applic-

 Loading...