IB01602002E
Page 23
Effective 10/02
7.3 COVER REMOVAL AND REPLACEMENT
Many of the maintenance procedures outlined in Table
7.1 require the removal and replacement of side and
rear covers. For all NEMA 1 enclosed transfer switches,
see Section 7.3.1 for cover removal and replacement
instructions. For 600-2000A NEMA 3R enclosed trans-
fer switches, see Section 7.3.2. For 2500-4000A NEMA
3R enclosed transfer switches, rear access is provided
via double doors. Side access is not provided.
7.3.1 NEMA 1 COVER REMOVAL AND
REPLACEMENT
A 3/8” wrench is required to perform this procedure.
Cover Removal
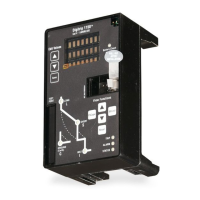
Step 1: Locate the screws used to secure the cover to
the frame and remove them with the 3/8”
wrench. Remove the top screws last while
holding the cover in place (Figure 7-1).
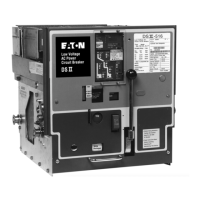
Step 2: Hold the bottom of the cover in place with your
foot and allow the top of the cover to slowly tilt
away from the enclosure frame (Figure 7-2).
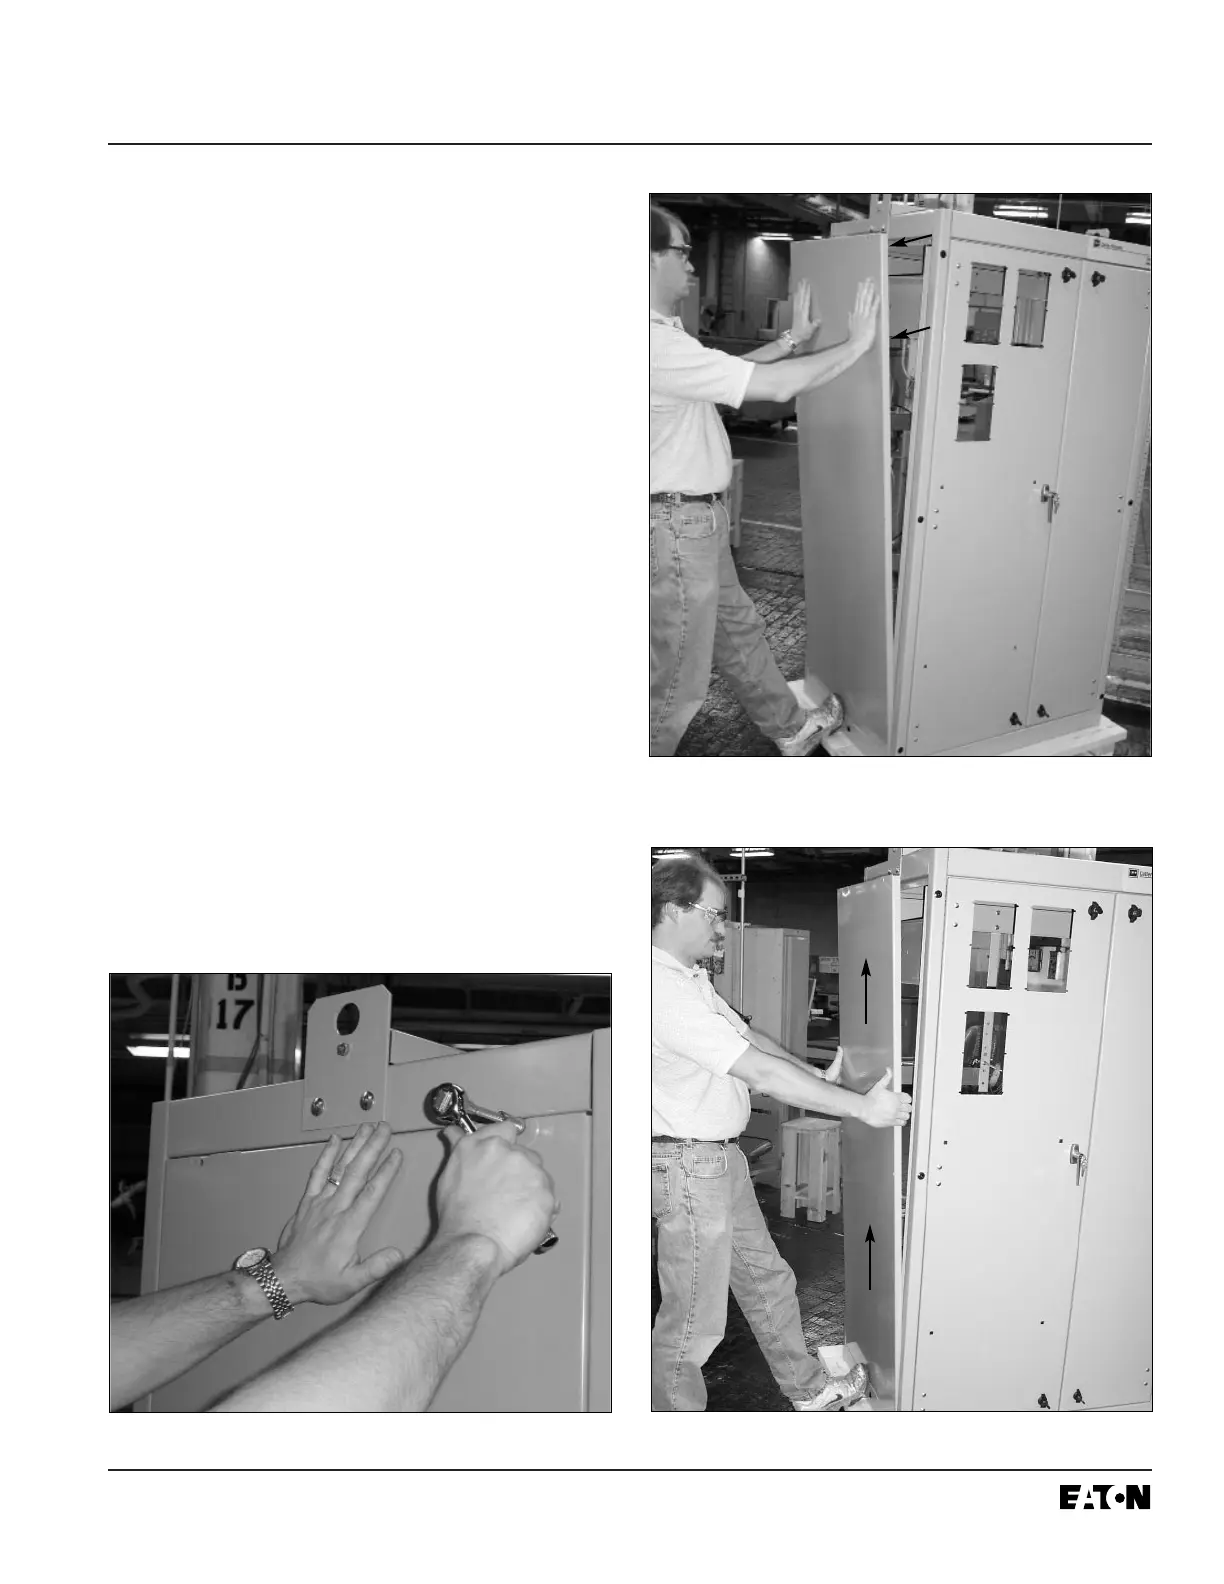
Step 3: Move your hands around to the sides and lift the
cover free (Figure 7-3).
Figure 7-1 Screw Removal
Figure 7-2 Slowly Tilting Cover Away
Figure 7-3 Lifting Cover Free

 Loading...