C. Unpacking and Setting up ∃DISON PRO
C2 Setting up your ∃DISON PRO
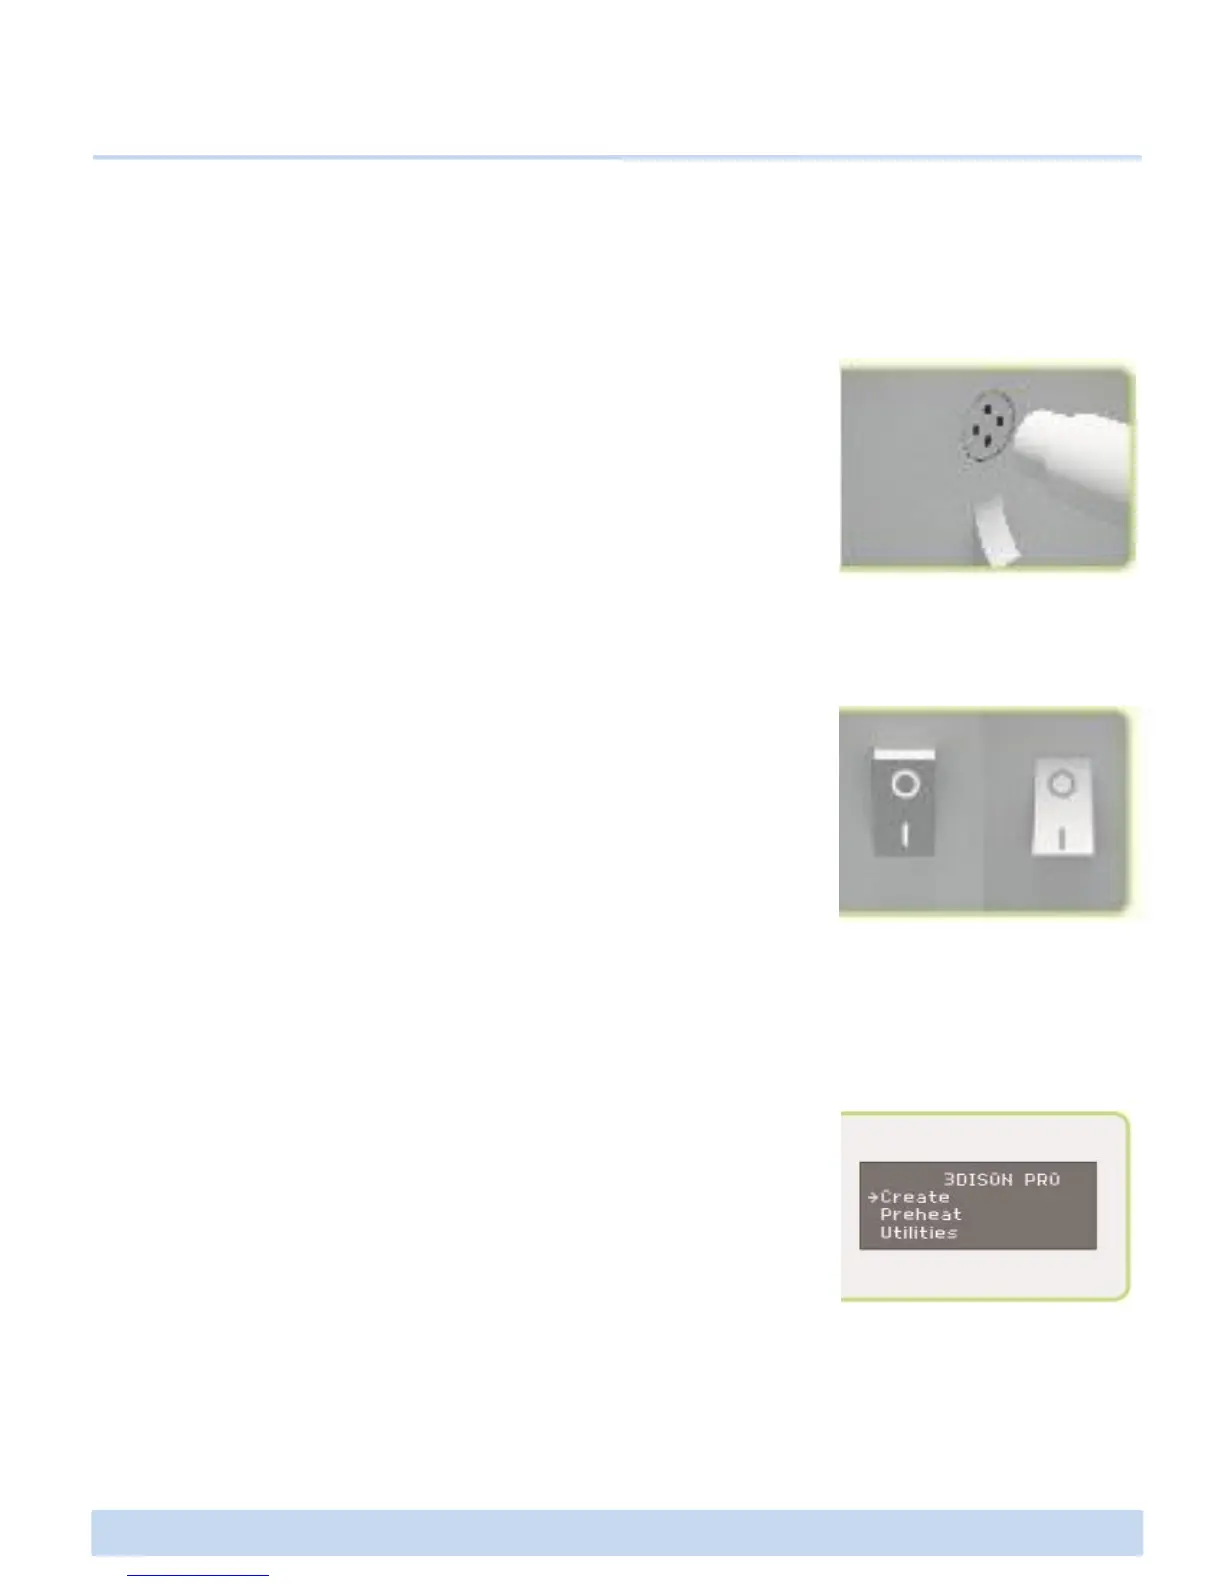
1. Make sure the power switch is Off. Locate the power cord and
plug it into the power input port at the back of the ∃DISON
PRO. Plug the power cord into an electrical outlet.
NOTE : The socket outlet must be located near the equipment and must be
easily accessible.
2. The on/off button (‘– | O’) of the ∃DISON PRO is located in
the upper part on the back of the machine. The ’O’ represents
off and the ‘–’ represents on. When the switch ON ‘–’ the
∃DISON PRO is turned on and should start up. Press the power
button to start.
NOTE : It is recommended to only turn off the ∃DISON PRO when it is NOT
in use.
ㅡ : ON ○ : OFF
∃DISON PRO User Manual V.1 9
3. Once you see the LCD display as shown in the picture, load
filament and level your the printing bed for the first time. You
can load or unload filament, or adjust the horizontality of the
printing bed by selecting the concerned menu Utilities.
Tip. LCD Display
• Four Arrow buttons surround a central OK button. Use the arrows to
navigate through the LCD menus.
• OK button is to make selections.
• The left arrow allows you to go back or cancel an action.
 Loading...