Chapter 5 Troubleshooting
5-1. No Picture
Problem Possible cause and remedy
1. No picture
• Power indicator does not light up.
• Check whether the power cord is connected properly.
• Turn on the main power switch on the rear side of the monitor.
• Touch
.
• Turn o the main power switch on the rear side of the monitor, and
then turn it on again a few minutes later.
• Power indicator is lighting white. • Increase “Brightness”, “Contrast”, or “Gain” in the Setting menu (see
“Color Adjustment” (page 18)).
• Power indicator is lighting orange. • Switch the input signal.
• Turn the setting “On” for “Compatibility Mode” on the “Administrator
Settings” menu (see “Compatibility Mode” (page 26)).
• Move the mouse or press any key on the keyboard.
• Check whether the PC is turned on.
• Turn o the main power switch on the rear side of the monitor, and
then turn it on again.
• Power indicator is ashing orange
and white.
• This symptom may occur during DisplayPort input. Use a signal
cable recommended by us for the connection. Turn the monitor o
and on.
• Check the connection and condition of the USB devices connected
to the monitor.
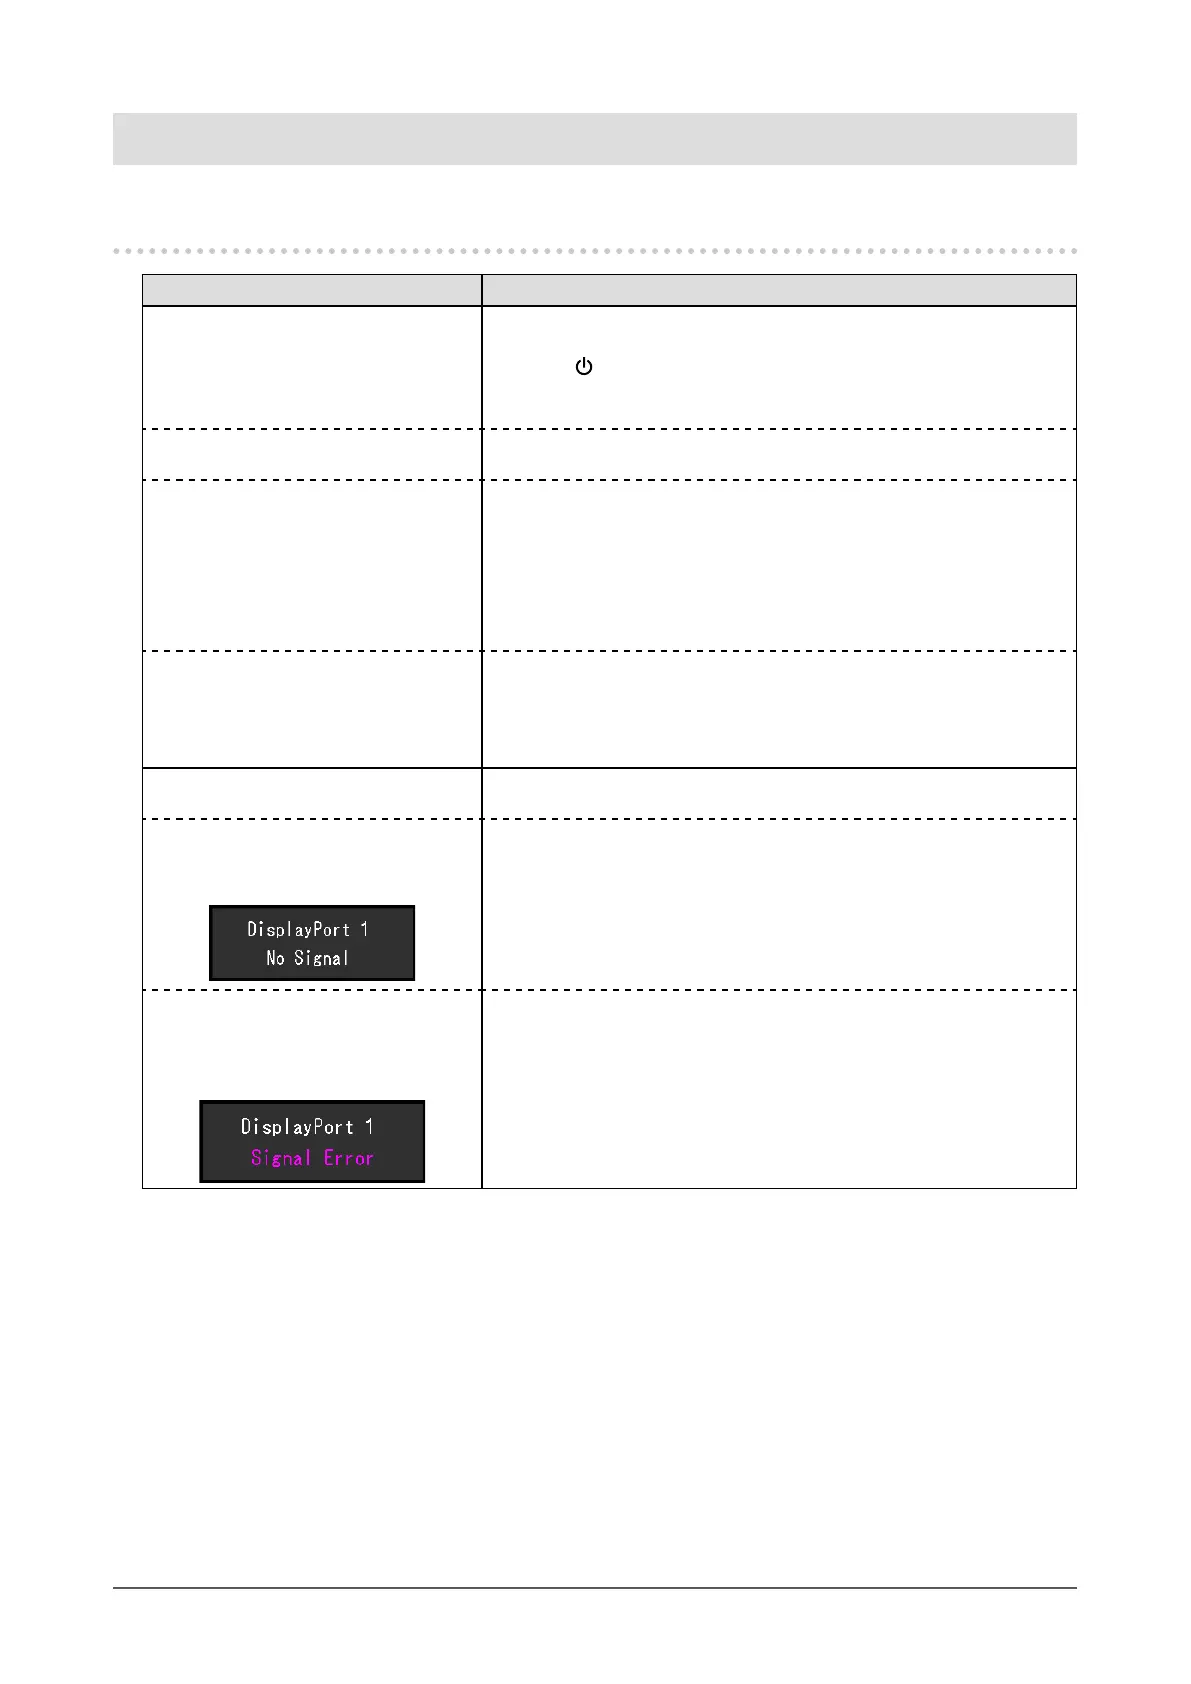
2. The message below appears. This message appears when the signal is not input correctly even
though the monitor is functioning properly.
• This message appears when no
signal is input.
Example:
• The message shown left may appear, because some PCs do not
output the signal immediately after power-on.
• Check whether the PC is turned on.
• Check whether the signal cable is connected properly.
• Switch the input signal.
• Turn o the main power switch on the rear side of the monitor, and
then turn it on again.
• The message shows that the
input signal is out of the specied
frequency range.
Example:
• Check whether the PC is congured to meet the resolution and
vertical scan frequency requirements of the monitor (see “1-3.
Supported Resolutions” (page 10)).
• Reboot the PC.
• Select an appropriate setting using the graphics board’s utility. Refer
to the User’s Manual of the graphics board for details.
28
Chapter 5 Troubleshooting
 Loading...