15
8. Slowly pour new oil into the reservoir through the oil drain/
fill port. Continue pouring until excess oil begins flowing
from the concentric vents around the oil drain/fill port. This
indicates that the reservoir is full.
9. After adding oil, wipe the oil drain/fill plug with a clean rag
and reinstall it. Torque to 13-16 ft-lb [17.6-21.7 Nm].
10. Place the pump in the normal (horizontal) operating position,
with the carrying handle facing up.
11. Check the oil level indicator. Verify that the oil level is up to
the FULL mark and that the reservoir is not overfilled. Refer
to Figure 8.
• If the pump was previously operated with a very low oil level or
run until the reservoir was emptied, perform the pump priming/
air purging procedure before using the pump. Refer to Section
11.5.
• If reservoir is accidentally overfilled (oil level above full mark),
drain excess oil before using the pump.
11.4 Oil Change
1. Be sure that hydraulic torque wrench is fully retracted.
2. Be certain that pump is o and that all hydraulic pressure is
fully relieved. Refer to Section 10.0 for additional information.
3. Disconnect pump AC power cord from electrical outlet.
4. Disconnect hydraulic hoses from pump.
5. Place the pump on a on a stable and level work surface.
6. Place a suitable pan or container of appropriate capacity
under the oil drain/fill plug.
• Pump total oil capacity (including reservoir and pump element
housing) is approximately 1.14 gallons [4.33 liters]. Be sure the
pan or container used is large enough to hold all the drained
oil.
• DO NOT operate the pump motor to drain the oil. Serious
permanent damage to pump internal components may result.
Such damage is not covered under warranty.
• Remove and dispose of used hydraulic oil in accordance with
all applicable laws and regulations.
7. Remove the oil drain/fill plug. Allow all used oil to drain
completely from the reservoir into the pan or container. It
may be necessary to tilt the pump slightly forward to drain
all the used oil.
8. Refill the reservoir with new hydraulic oil as described in
Section 11.3.
9. Perform the pump priming/air purging procedure. Refer to
the instructions in Section 11.5.
11.5 Pump Priming/Air Purging
Always perform the pump priming/air purging procedure after
completing an oil change.
This procedure should also be performed if the pump reservoir
has been refilled with oil after being accidentally run dry (with
little or no oil remaining in reservoir).
The pump will typically make a slapping, sloshing or
whirring noise if air pockets are present inside the pump element
housing. If the pump is not primed, there will be either very little
noise or an erratic sounding noise.
Perform the pump priming/air purging procedure as described in
the following steps:
1. Be certain that pump is o and that all hydraulic pressure is
fully relieved. Refer to Section 10.0 for additional information.
2. Disconnect hydraulic hoses from pump couplers.
3. With hoses disconnected, start and run the pump for
approximately 10 seconds at a pressure setting of 3,250 psi
[225 bar] or higher. This will remove any air trapped in the
pump element housing.
4. Stop the pump. Verify that hydraulic pressure gauge
indicates zero (0) psi/bar.
5. Repeat steps 3 and 4 as needed (typically 2-3 times).
6. Reconnect hydraulic hoses. Verify that pump operates
without making abnormal noises and that torque wrench
movement is smooth.
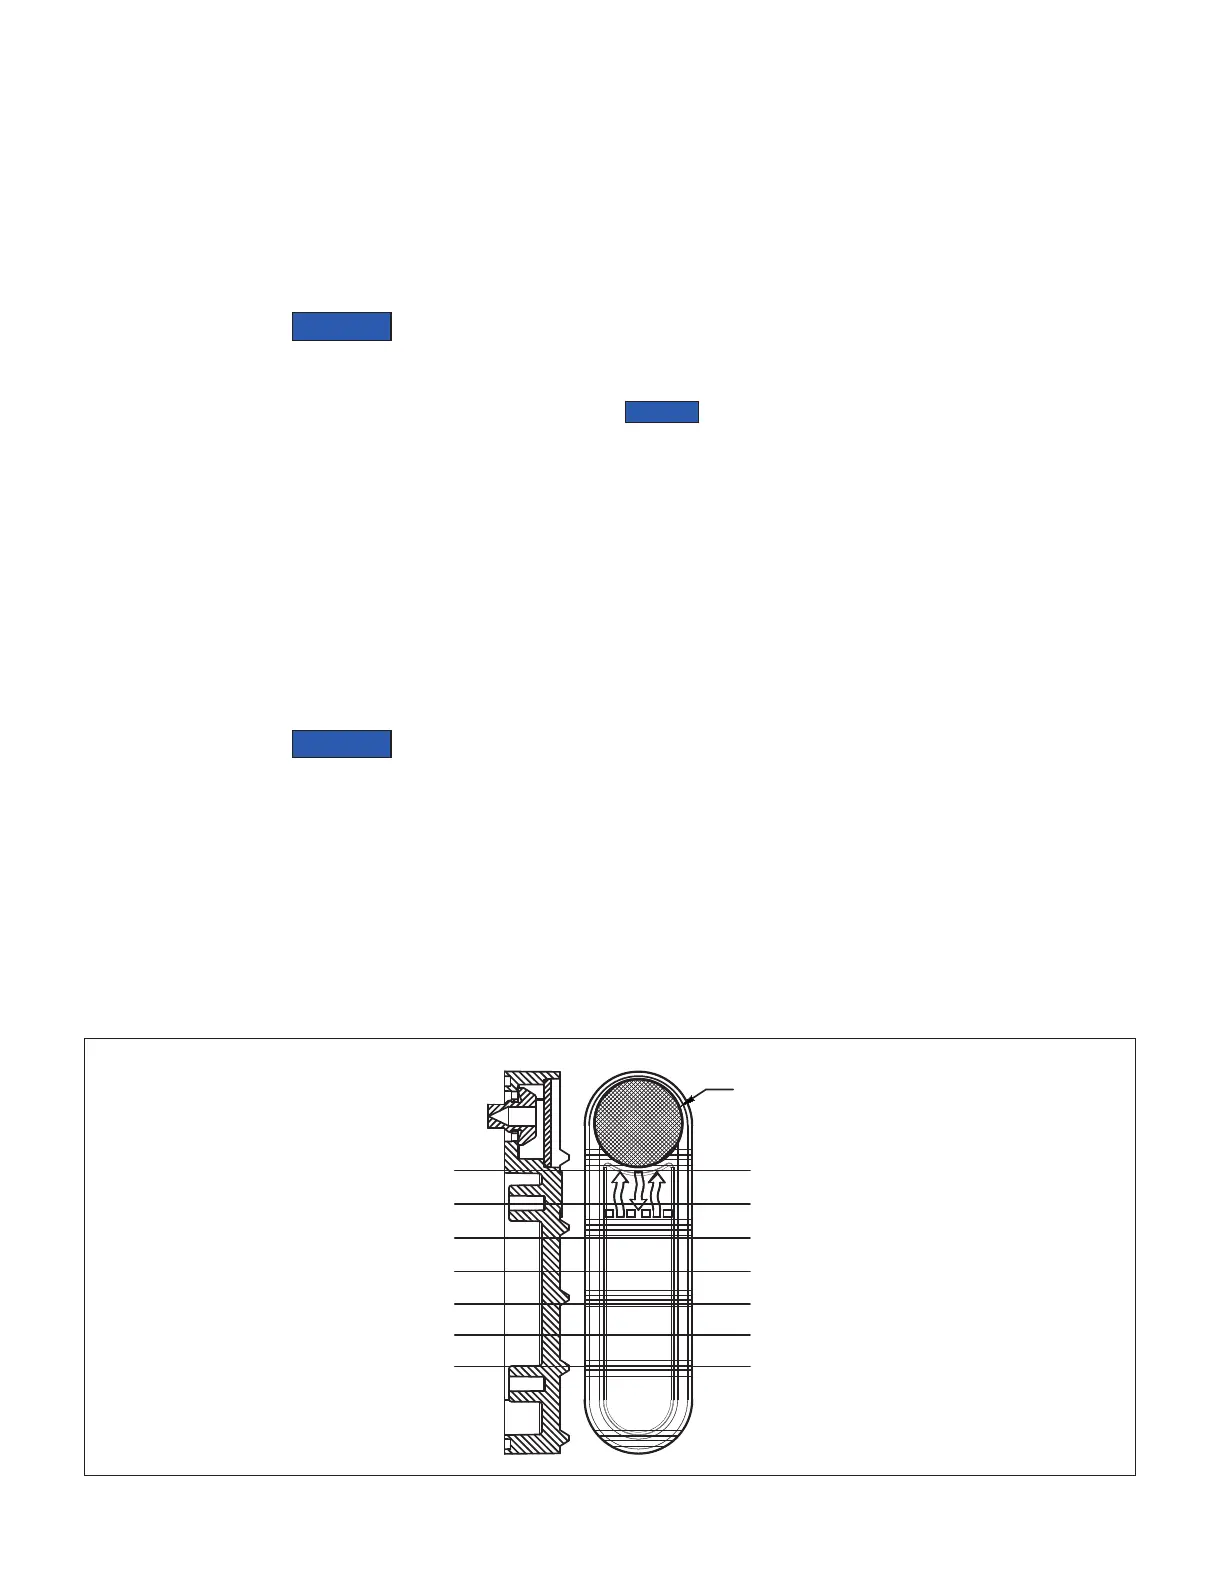
FULL (Up to bottom of air breather)
RESERVOIR AIR BREATHER
ADD 0.47 LITERS
ADD 0.95 LITERS
ADD 1.42 LITERS
ADD 1.89 LITERS
ADD 2.37 LITERS
ADD 2.84 LITERS - EMPTY
(Up to bottom of air breather) FULL
ADD 0.5 QUARTS
ADD 1.0 QUARTS
ADD 1.5 QUARTS
ADD 2.0 QUARTS
ADD 2.5 QUARTS
EMPTY - ADD 3.0 QUARTS
Figure 10, Reservoir Oil Fill Guide
 Loading...