Installation
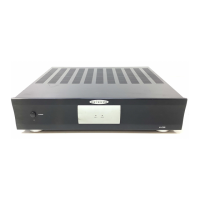
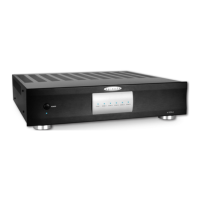
Positioning the Amplier
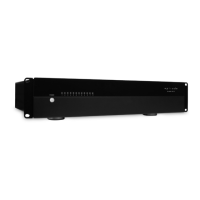
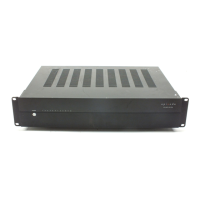
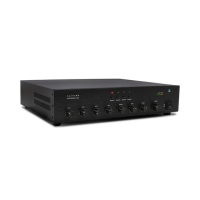
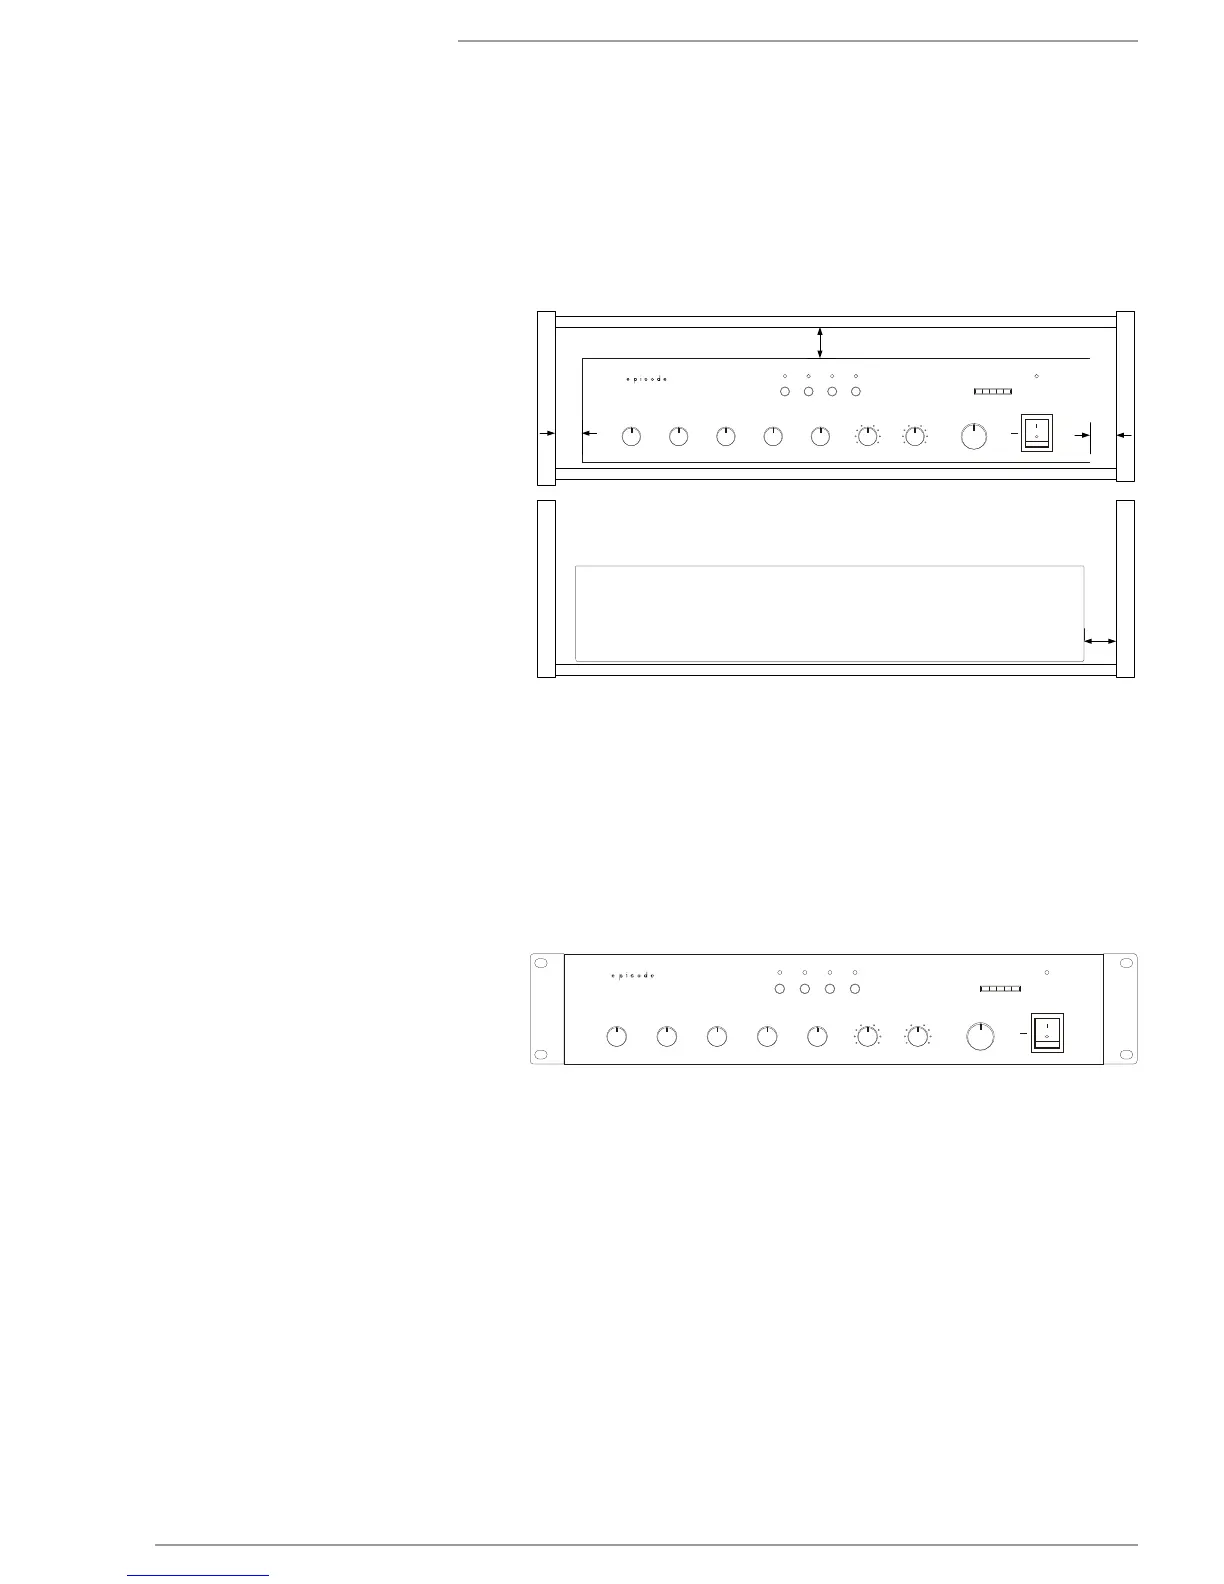
Rack Mounting
Episode ampliers are designed to help deliver a great audio experience that makes your music come alive for years to come. However,
where you place the amplier can have a large effect on the performance that you receive and the life of the unit.
1. Remove the amplier’s four feet from the bottom
of the chassis.
Note: DO NOT place the screws back into the
chassis. Without the feet, the length of the screw
may touch internal components and affect the
performance of the amplier.
2. Attach the included rack-mount ears to the front
sides of the amplier chassis.
3. Securely mount the amplier into an equipment
rack. The amplier will occupy 2U of rack space.
4. Even though the amplier produces very little
heat, it is always wise to leave ventilation
between components.
• Be sure that the unit is in a well-ventilated area
that provides adequate cooling.
• Do not block the cooling vents located on both
sides of the unit.
• Do not place the unit on carpeting or any similar
material.
• Do not install the unit near a source of heat, or in
an extremely humid or wet location.
• If your installation lacks good air ow (such as
solid cabinet doors or wall-mounted racks), it
may be necessary to create ventilation to allow
outside air into the space.
• Allow a minimum of 5” of free air space above
the unit.
• Allow a minimum of 3” of free air space on
either side of the unit. (Does not apply to rack
mounting)
 Loading...