Maintenance
November 1999
4-5
Pneumatic Relay
Refer to figures 4-1 and 4-5 for parts identification.
The pneumatic relay is located on the side of the
master module.
Removing the Pneumatic Relay
1. Loosen the four screws that attach the relay cap to
the module base. The screws are captive in the relay
cap by O-rings.
2. Remove the relay cap. If there is resistance, use a
flat-bladed screwdriver in the notch around the
perimeter of the cap to pry it off. Pry evenly around the
circumference of the relay cap until it is free.
Note
The Belleville spring is captivated in the
relay cap by a spring washer. A coil spring
is retained on the valve plug by an inter-
ference fit on the inside diameter of the
spring. The valve plug is captive internally
in the relay by an O-ring on the valve plug.
These parts may drop out as you remove
the cap.
3. Use a flat-bladed screwdriver in the notch of the
relay to pry the relay out of the module base. Pry
evenly around the circumference of the relay until the
relay is free.
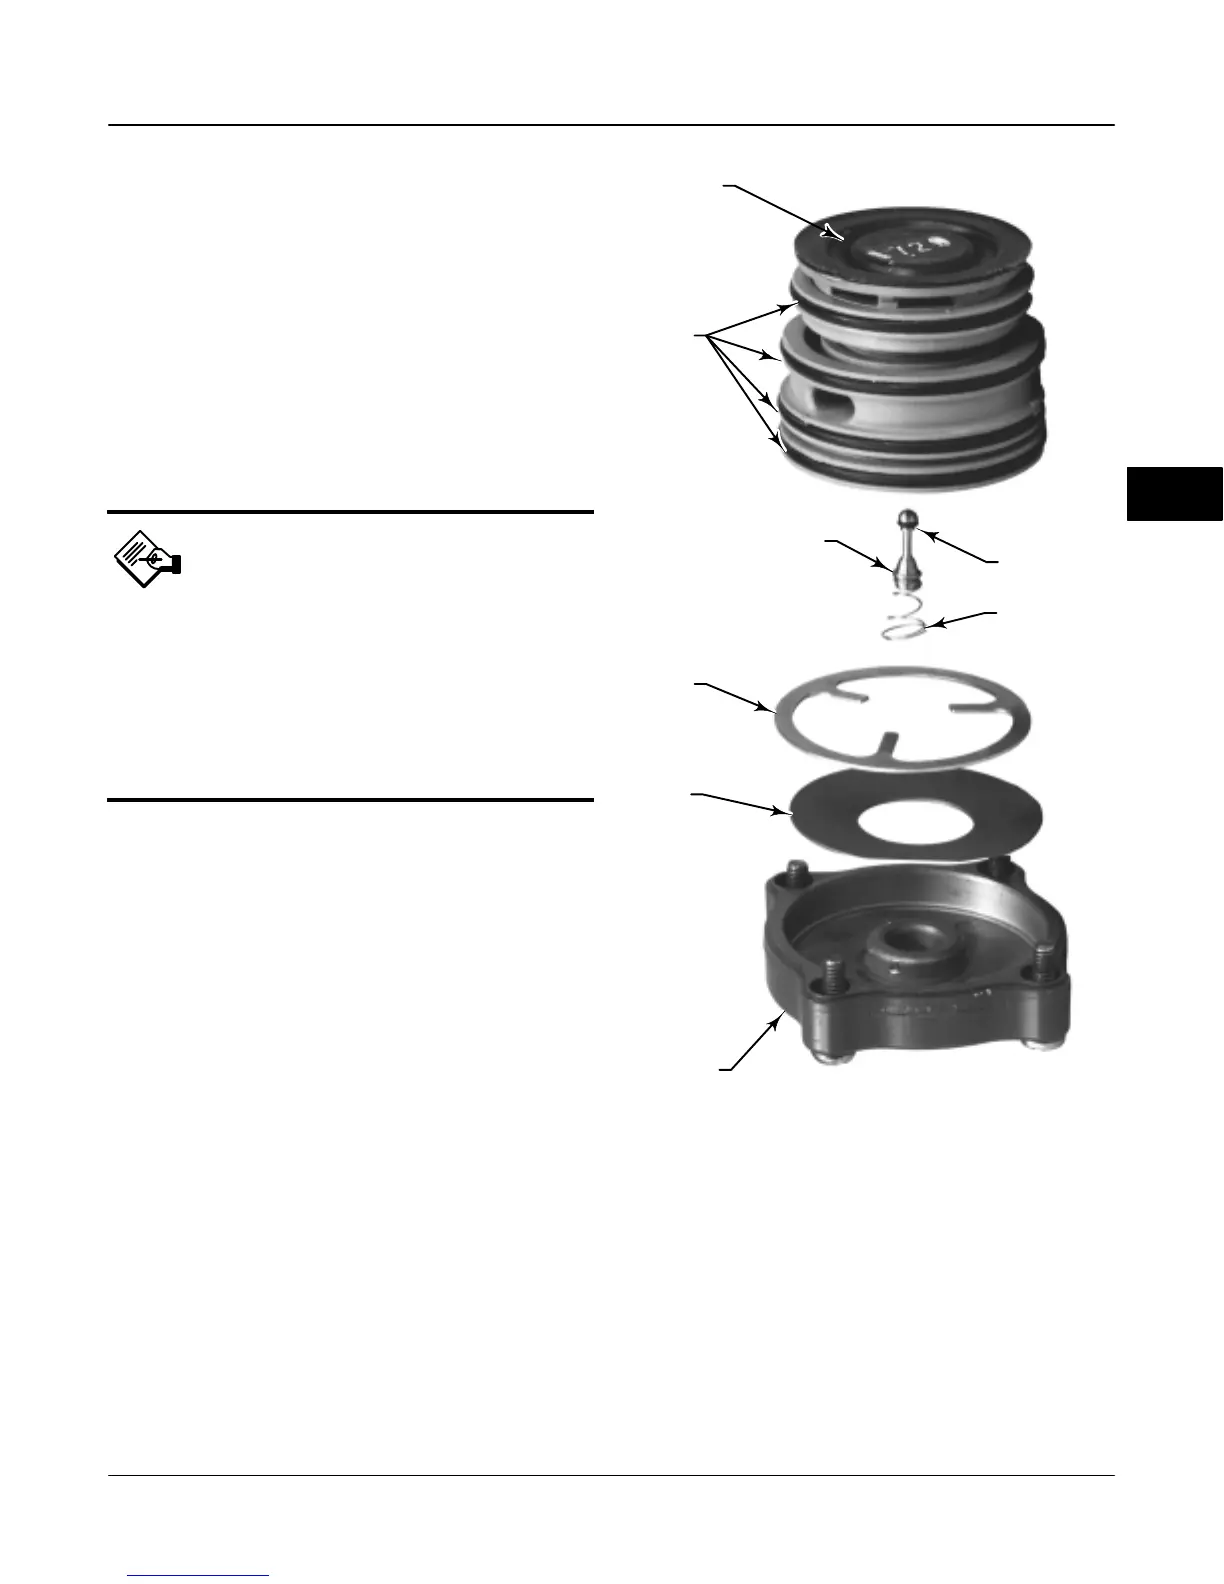
Figure 4-5. Pneumatic Relay Assembly
RELAY CAP
BELLEVILLE
SPRING
SPRING
WASHER
VALVE PLUG
O-RING
COIL SPRING
INPUT
DIAPHRAGM
O-RINGS
W7655 / IL
4
 Loading...