Operation
5
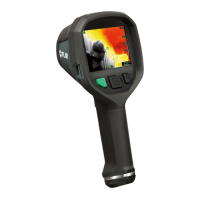
5. The temperature reading on the bottom right represents the measurement
of the targeted spot. See Figure 5.1.
6. Adjust the Emissivity in the menu system (under Measurement).
7. Change the display color palette in the menu system (under Image Adjust-
ments/Colors).
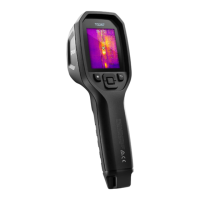
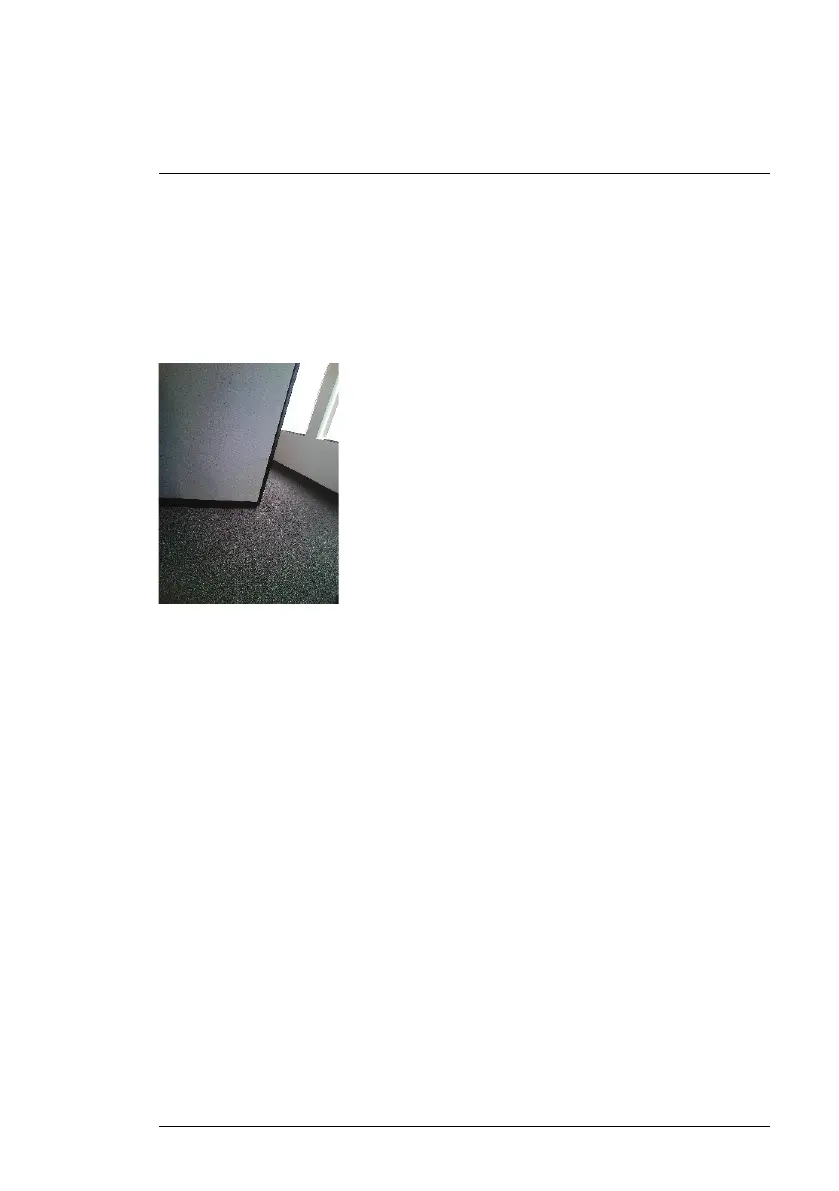
5.3 Visible Spectrum Digital Camera
Figure 5.2 Visible Spectrum Digital Camera Image
1. Long press the power button to switch the K1 ON.
2. Select the Visible Image mode in the menu system (under Image Adjust-
ments/Image Mode).
3. Point the camera toward the test area and scan as desired.
4. View the image on the display, see Figure 5.2. Pull the image capture trig-
ger to save an image. See Section 5.4, Capturing and Working with Im-
ages, for more information.
5.4 Capturing and Working with Images
1. To capture a camera image, pull and release the trigger. Note that an im-
age cannot be saved if a USB cable is connected to the K1.
2. A display confirmation will briefly appear showing the filename. If the inter-
nal memory is full, an error will display; free up space by deleting images
in the Gallery mode or by connecting the K1 to a PC and moving images
out of the K1 memory as explained below.
3. To view or delete the image, open the Gallery utility from the main menu.
In the Gallery, you can scroll through the stored images with the arrow but-
tons and select an image with the MENU button. Once selected, press
MENU again to open the DELETE/CANCEL menu.
#NAS100007; r. AA/59809/59809; en-US
7
 Loading...