Operation
7
7.1 Charging the battery
WARNING
Make sure that you install the socket-outlet near the equipment and that it is easy to get access to.
Follow this procedure:
• Connect a power supply to a wall outlet.
• Connect the power supply to the USB-C connector power on the FLIR ONE camera.
• Let the battery charge for approximately 1 hour.
• Do not use the FLIR ONE camera when the battery is charging.
7.2 Turning the FLIR ONE camera on and off
• Push the On/off button on the bottom of the FLIR ONE camera to turn it on.
The indicator will flash green when the FLIR ONE camera is ready.
• The camera automatically goes into sleep mode after 2 minutes of inactivity.
• Push and hold the On/off button for more than 2 seconds to turn off the FLIR ONE
camera.
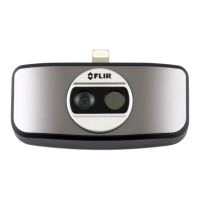
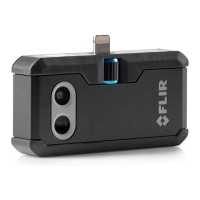
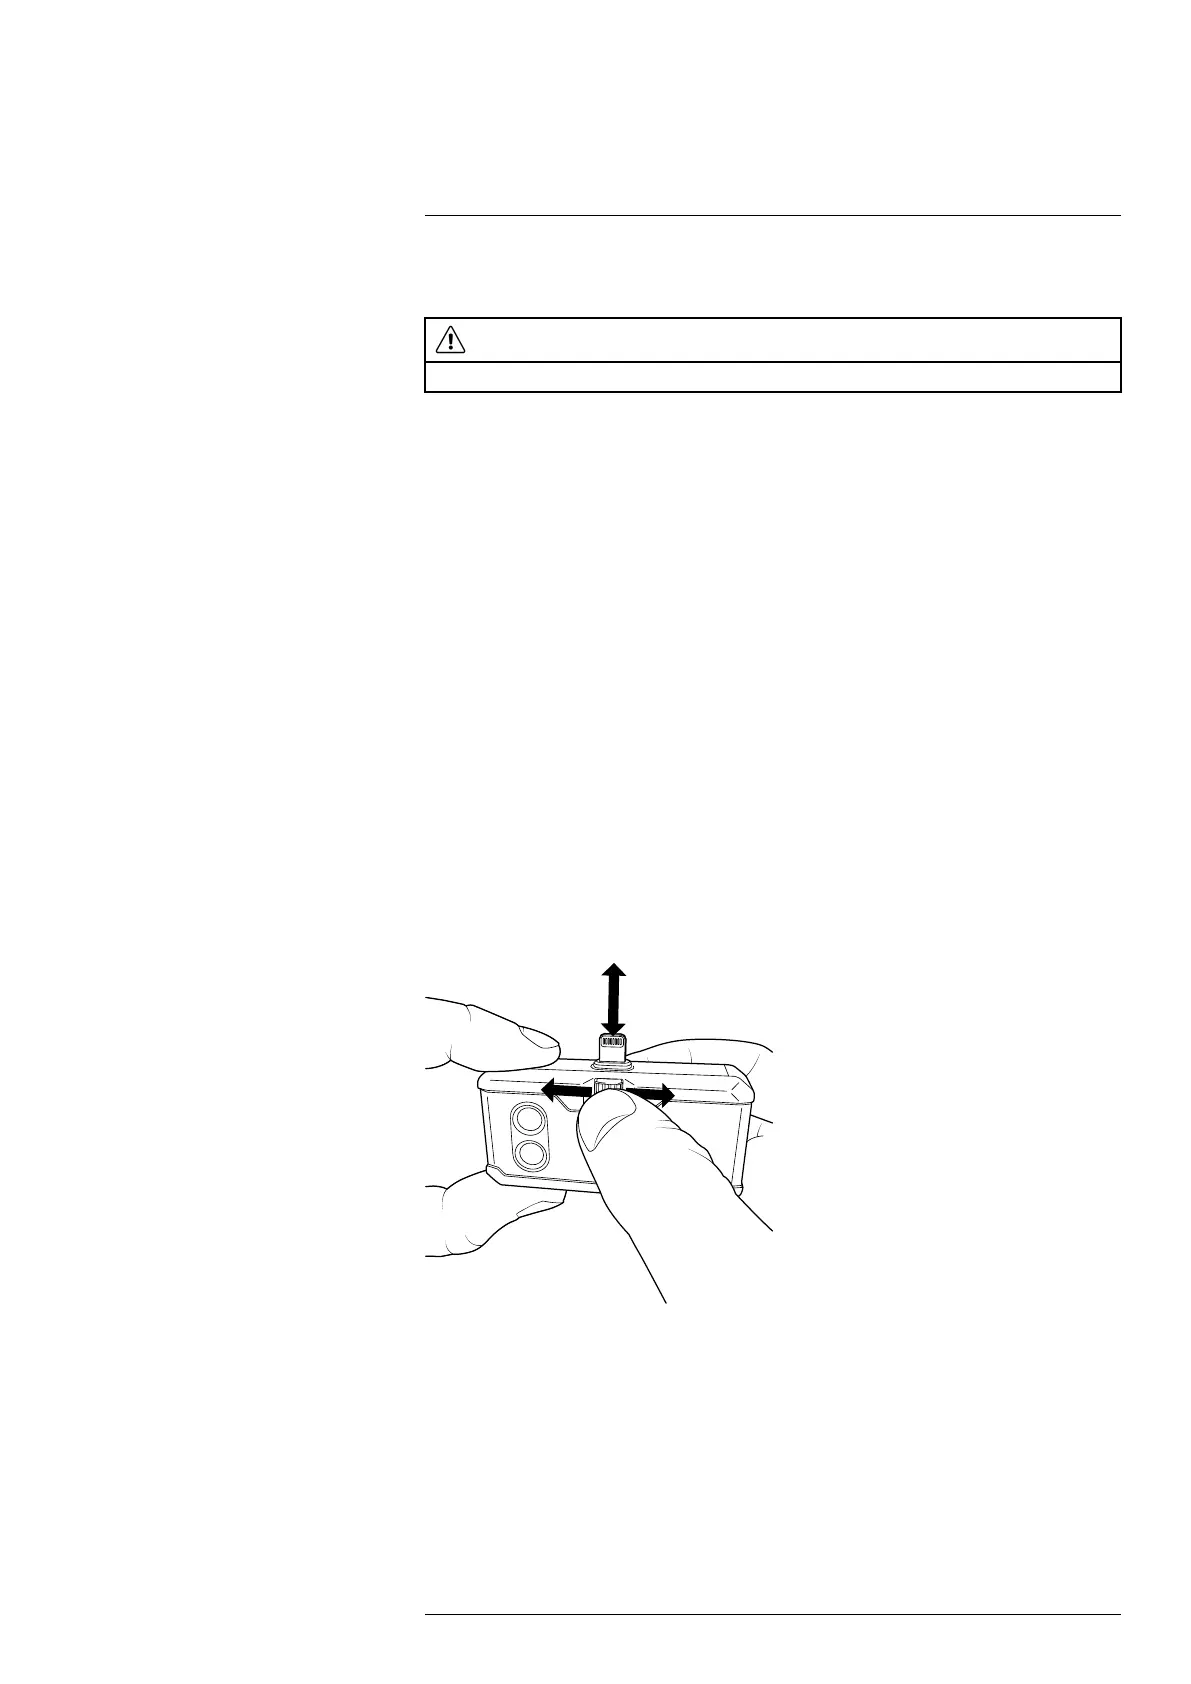
7.3 Connecting the FLIR ONE camera to your
phone
Download and install the FLIR ONE app on your phone, and then start it.
Turn on the FLIR ONE camera and connect it to your phone. If needed, adjust the blue di-
al of the OneFit and extend the connector to the appropriate length to fit your phone’s
protective case.
If the FLIR ONE camera is turned off when you connect it to your phone, the app will
prompt you to attach your FLIR ONE camera before you can view the camera features.
7.4 Saving an image
7.4.1 General
The images are saved to the FLIR ONE Gallery. To also have the images saved to the
photo gallery of your phone, go to Settings in the Control Panel.
#T810375; r. AA/51295/51295; en-US
10

 Loading...