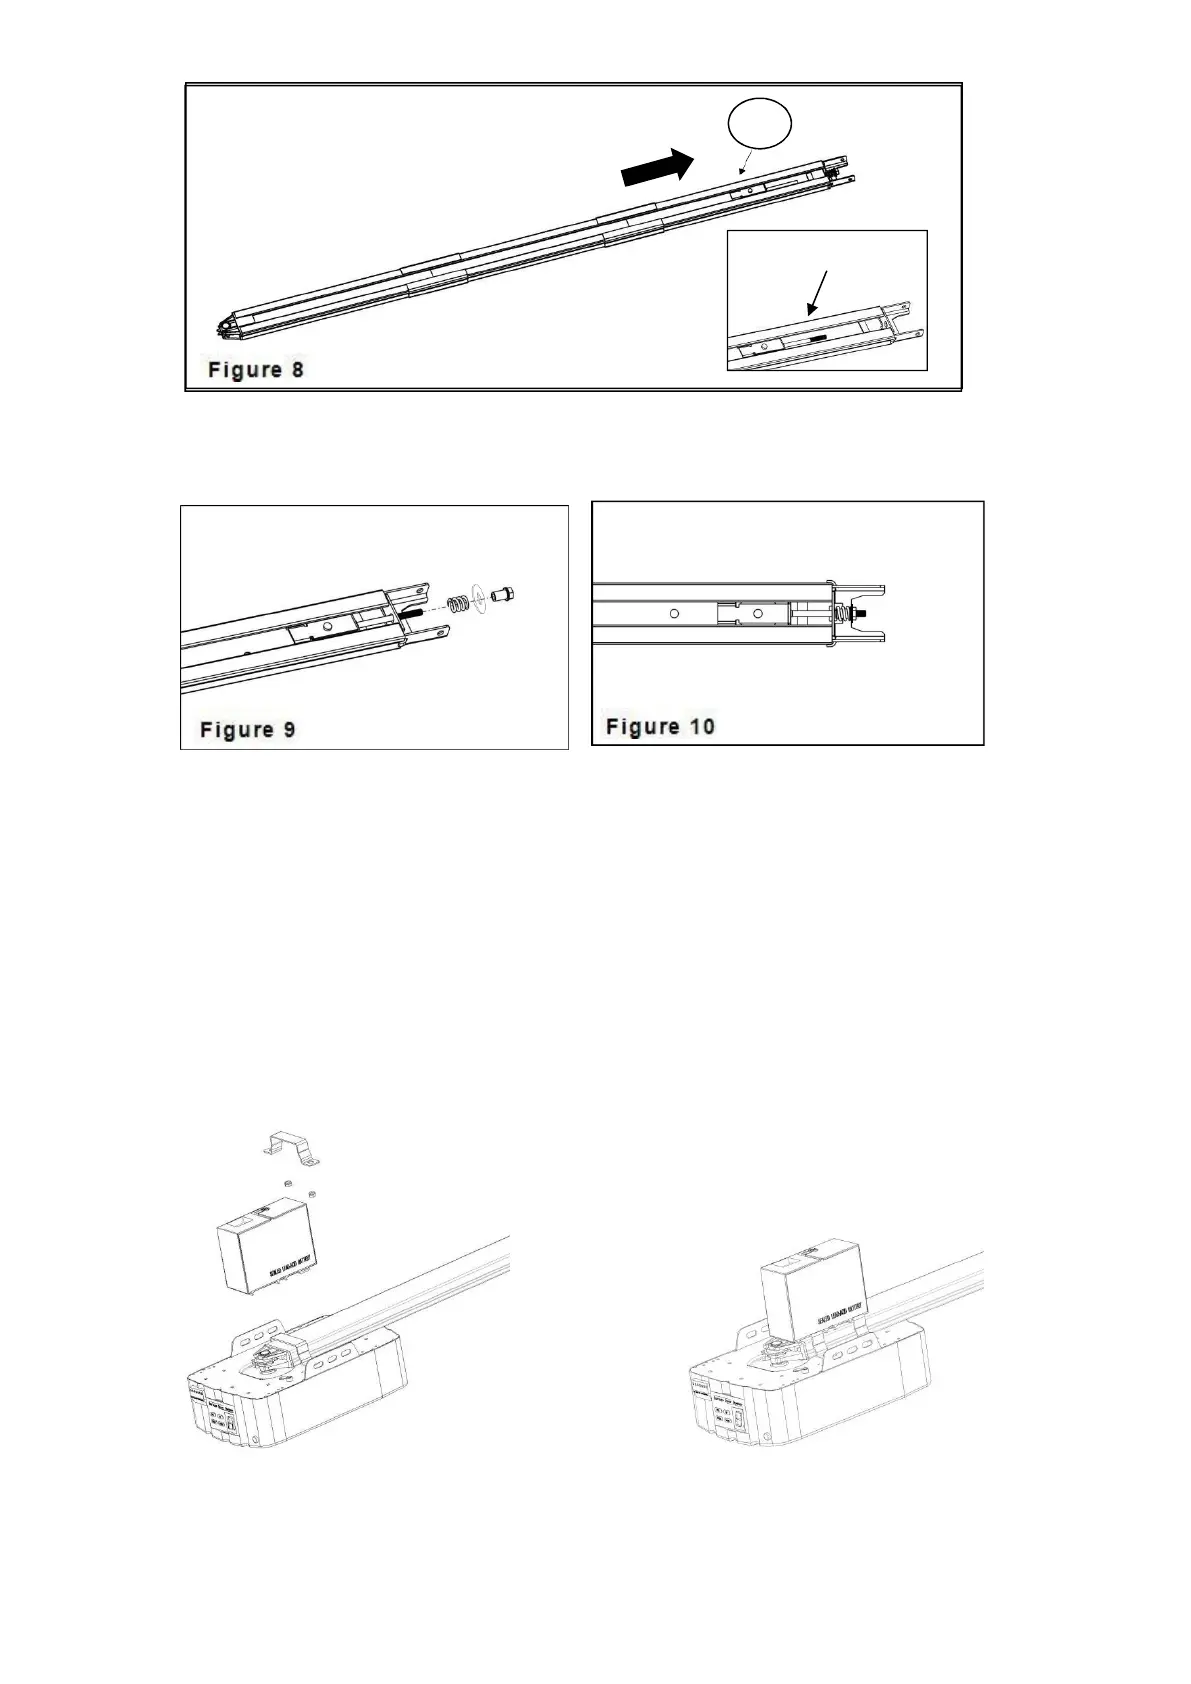
3.
As Fig.9, release the nut & spring.
4.
Tight the nut to the right position as shown in Fig.10, cut the plastic tape, cut the plastic
thread on sprocket, then whole rail assembled finished.
Battery backup Assembly For C-Rail (optional)
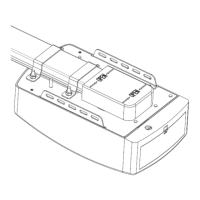
Option 1 - Top Fixed
STEP1 (Fig.11)
Assemble the battery & battery bracket like the photo, fix by screws supplied.
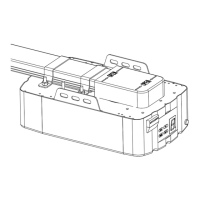
STEP2 (Fig.12)
Join the battery to opener, find the Fig.12.
Figure 11 Figure 12
 Loading...