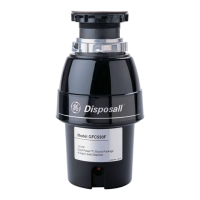
Installation
Instructions
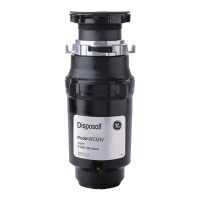
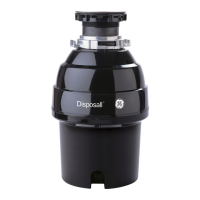
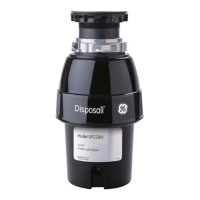
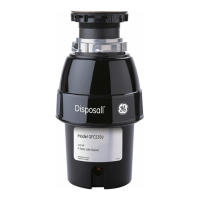
Disposer
I ff you have questions, call 800.GE.CARES (800.432.2737)or Visit our Website at: GEAppliances.com I
BEFORE YOU BEGIN
Read these instructions completely and carefully.
• IMPORTANT - S_,ve_hese
instructions for local inspector's use.
• IMPORTANT - Obse,ve_,ll
governing codes and ordinances.
• Note to Installer - Besure to leave these
instructions with the ConsumeL
• Note to Consumer - Keep these insuuctions
for furore reference.
• Sldll level - Installation of this appliance requires
basic mechanical skills.
• Completion time - 1 hour
• Proper installation is the responsibility of the
insmlleL
• Product failure due to improper installation is not
covered under the Dvrarrant),.
PREPARATION
1. Disconnect electrical power supply to disposeL
2. Remove old disposer or sink flange assembl)c
3. Inspect drain line. If it is heavily coamd with hardened
grease and accumulations, rout out with a plumber's
snake.
4. Remove old sealing materiMs and gaskefing flom sink
opening, both mp and bottom.
NOTE: Top and bottom of sink surfaces must be flee
of any mamrials to prevent leaks.
WHATYOU WILL NEED
• Phillips and flat blade screwdrivers
• Channel lock pliers, slip joint
• Hammer
• Nut driver
ADDITIONAL MATERIALSYOU MAY NEED
• Steel punch or wooden dowel
• Petroleum jelly or liquid soap
• Hose clamp
• Dishwasher drain connector
• Adjustable pipe wrench
• Plumber's putty (for cast sinks)
• Stepped rubber drain adapter
• Wire nuts
• Cable connector
• Flexible drain pipe
• Power cord kit (Part Number PM3X215)
4
 Loading...
