35
F. COMMISSIONING - HORIZONTAL
WARNING: The system must be lled
with water at all times once commissioned. Failure
to do so may cause the system to dry and become
damaged, resulting in personal injury, illness, and/or
death.
Do not turn on any hot water taps when ushing the
system during commissioning or maintenance. If
hot water is used, high levels of factory preservative,
chlorine, or MC1 cleaning agent may enter the hot
water tank and may cause personal injury, illness, and/
or death.
Disposable protective gloves must be worn during
commissioning of the system to protect your hands. At
the end of the procedure, wash your hands thoroughly
with soap and water. Do not reuse gloves. Dispose of
gloves in the garbage.
Filling and Flushing
WARNING: If the system cap is not
properly tightened and/or the O-ring is not clean,
system leaks may occur. Leaks may cause personal
injury or property damage. Take care not to cross-
thread the system cap during cap installation. Apply
DOW CORNING 111 silicone to O-ring and threads. Spin
system cap by hand until it stops. Then tighten with
supplied wrench 1/2 turn. If cap leaks, turn o water
and turn additional 1/4 turn.
When the internal prelter is removed, ensure the
thimble lter remains in place, seated in the spigot of
the prelter cavity. Removal of the thimble lter may
permit damage to the system membrane, which may
lead to illness or death.
1
Remove the system cap and remove the internal
prelter. Place the internal prelter in a clean, dry area. Ensure
that the thimble lter is seated properly. Replace the system
cap and tighten as described above.
For models with a stainless steel prelter, a carbon prelter
may be purchased separately if desired.
Make sure vent valve is loose (1/4 turn).
Open
Close
Internal
Prefilter cavity
Figure 61
2
Slowly open the inlet valve half way, allowing water into
the system. Avoid opening the inlet valve quickly as this will
introduce air pockets that will take longer to escape. Keep the
outlet valve closed. Check for any leaks in the plumbing. If
present, close the inlet valve immediately and repair. As
pressure builds in the system air will begin to escape from the
air relief valve. Once air is no longer passing through the air
relief valve, the system is pressurized.
Inlet valve
Outlet valve
Figure 62
For horizontally-mounted systems, check to make sure that no
air comes out from the air relief valve.
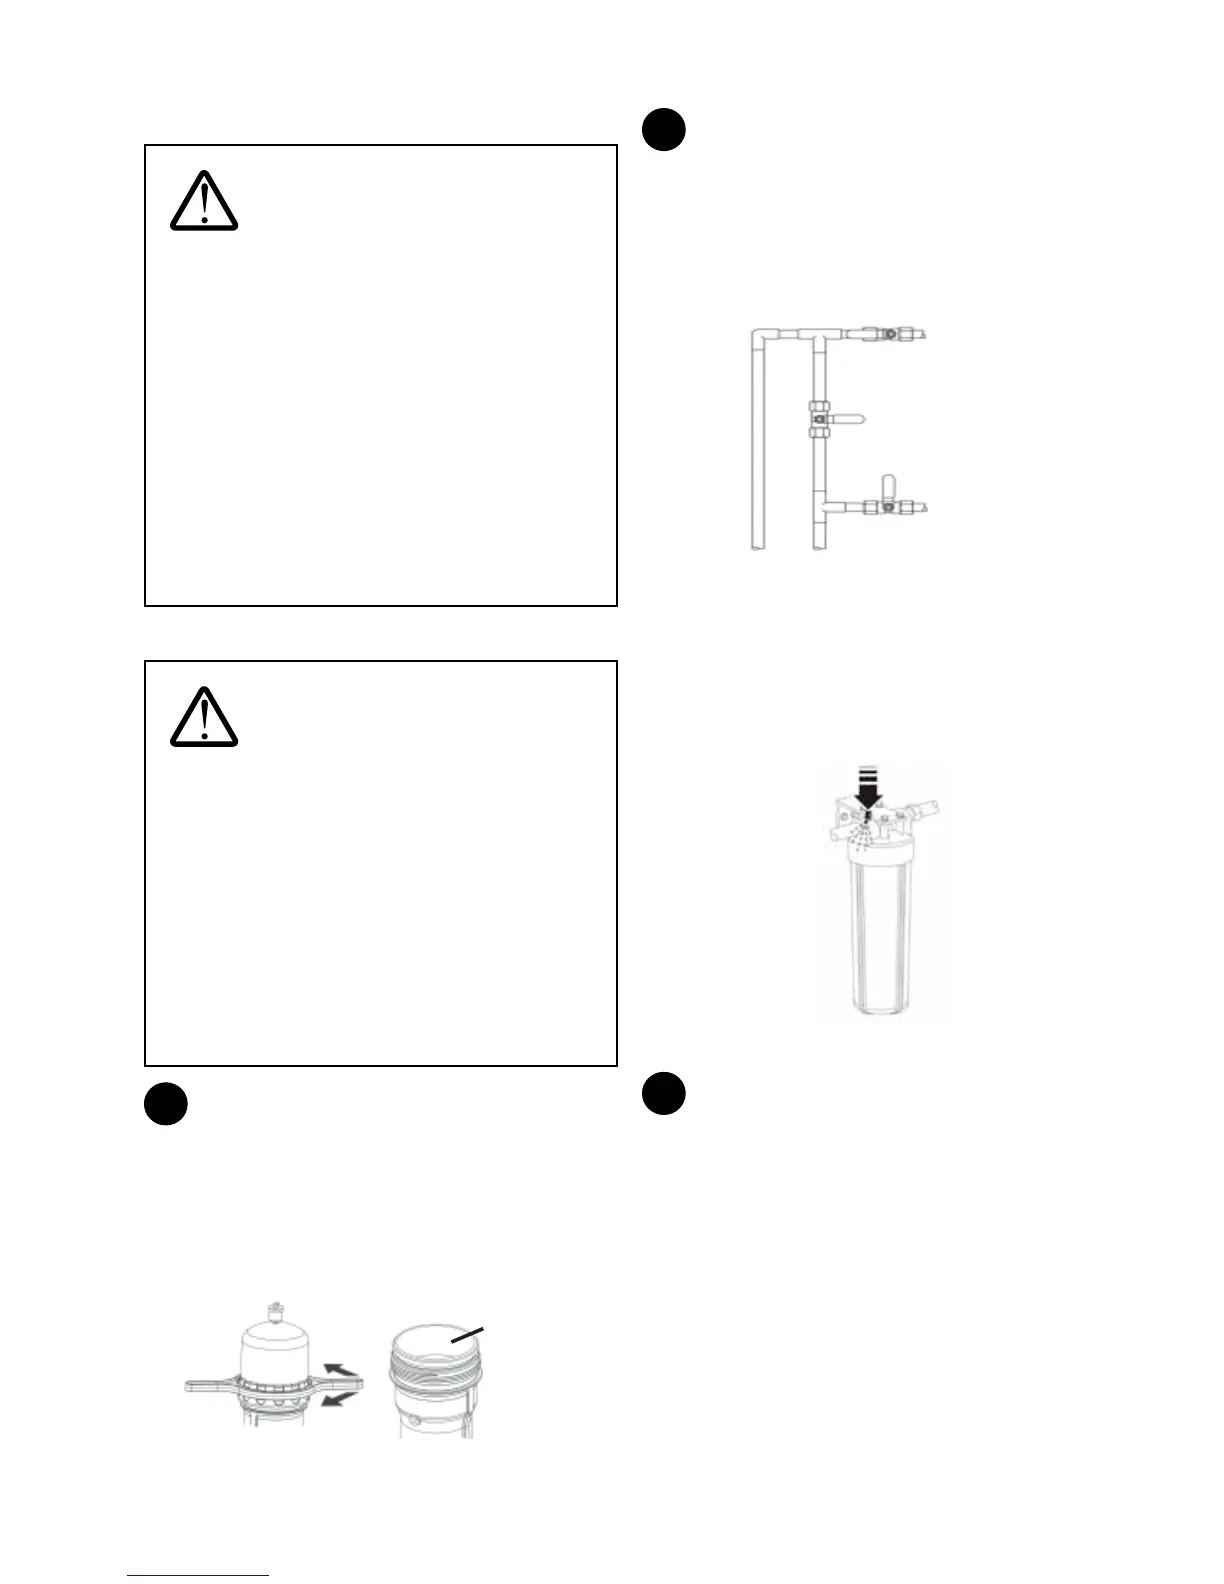
If an external prelter is installed, depress the red button on
the external prelter head to allow air to escape from the
external prelter housing. Once water emerges from the
button, all air has been removed.
Figure 63
3
Using the controller, initiate a manual ush sequence.
Refer to the instructions in the Controller Functions section on
how to perform a manual ush sequence. Following the
manual ush, open a cold water tap that is downstream of the
system. Allow water to ow for 15 minutes. The system
requires a 15-minute ush to remove the food-grade factory
preservative.

 Loading...