6
Installation Instructions
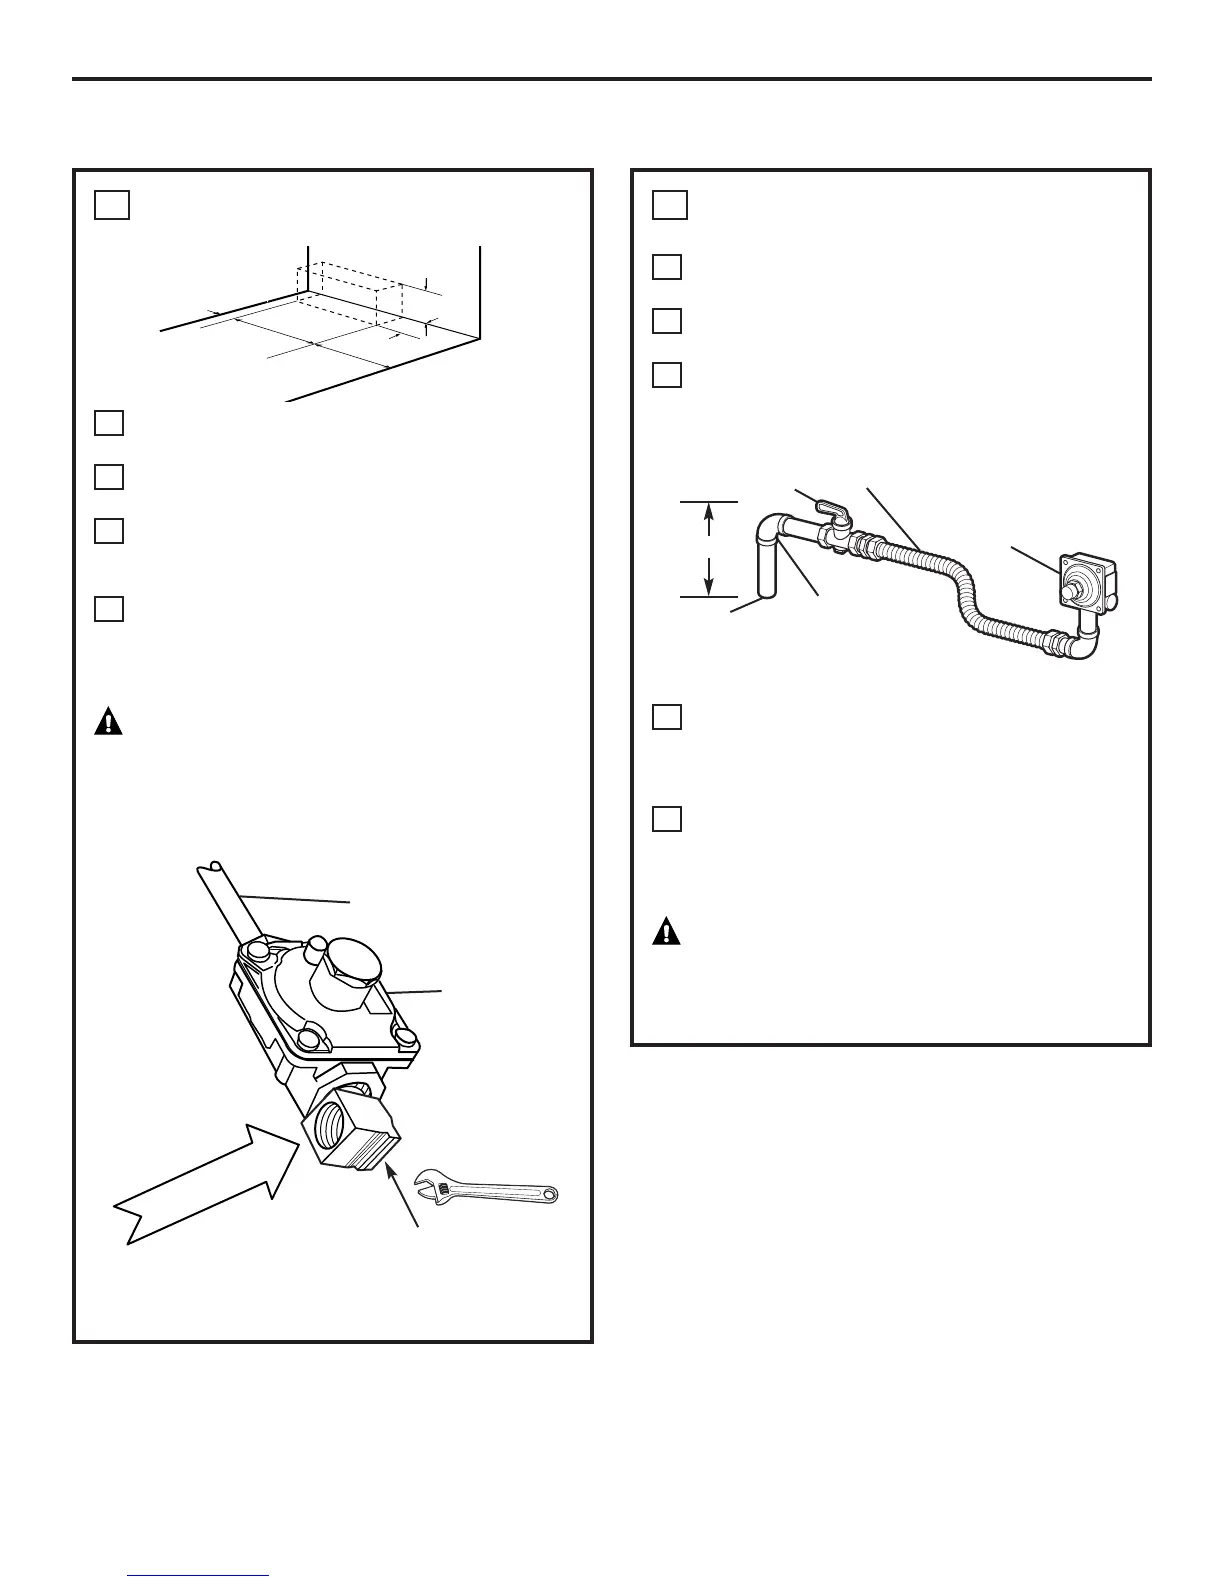
MAKING THE CONNECTIONS
(cont.)
Install 1/2″ flare union adaptor to the 1/2″
NPT elbow on pressure regulator.
Connect flexible appliance connector to
flare union.
Move range into approximate position
and connect flexible connector to gas
supply line with proper flare union
adaptor.
To prevent gas leaks, put a pipe joint
sealant or Teflon
®
tape on all male
threads. NOTE: Make sure sealant or tape
is compatible with Natural and LP gases.
When you are finished making
connections, be sure that all range knobs
are turned to OFF before you open the
main gas supply valve.
WARNING: Do not use a flame
to check for gas leaks. Use liquid leak detector
at all joints and connections to check for leaks
in the system.
I
F
E
10
H
G
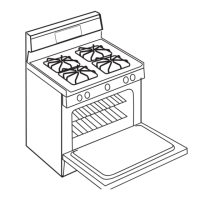
GAS CONNECTIONS
MAKING THE CONNECTIONS
Install a manual shut-off valve in the gas
supply line in an easily accessible location.
Know how and where to shut off the gas
supply to the range.
Shut off gas supply before removing an
old range. Leave it off until hookup of
new range is finished.
Because solid pipe restricts moving the
range, we recommend use of a C.S.A.
certified flexible metal appliance
connector.
WARNING: Never reuse old
flexible connectors. The use of old flexible
connectors can cause gas leaks and personal
injury. Always use new flexible connectors
when installing a gas appliance.
B
A
10
D
C
3″
15″
12″
3
1
⁄2″
7″
 Loading...