Temperature Limiter
The normal range of the thermostat
control is approximately
60°F.
to
85°F.
The control range may be
narrowed by the use
of the
temperature limiting screws
located behind the control panel.
Stop
Scre~s
● ● Knob Shaft
w
stop
4
u’
●
Arm
●
“
To set the limiting screws:
1.
Remove the room cabinet.
2. Pull both THERMOSTAT knob
and the OPERATION knob
off
the
shafts and remove the control panel.
3. Remove and relocate either or
both stop screws on the exposed
control box cover.
[War;est)
(Cotiest)
To limit the maximum heating
temperature, move the stop
screw
at
the
left
of the knob shaft
clockwise. To limit the minimum
cooling temperature, move the stop
screw on the right counterclockwise.
Make sure the stop arm is between
the stop screws as shown.
Because actual room temperature
can be affected by location and
installation as well as outdoor
weather conditions, you may want
to experiment to determine the
stop screw locations that best meet
your temperature requirements.
After adjusting the limiting
screws, reinstall the control panel,
knobs and room cabinet.
Care and Cleating
For peak operating efficiency and
durability of your air conditioner
follow these necessary Care and
Cleaning instructions regularly.
~rn
the
Zoneline
off
before cleaning.
Room Cabinet & Case
Wash the room cabinet and case
finish with mild soap or detergent
and lukewarm water.
Outdoor Coil
The
coil
on the outdoor side
of the unit should be checked
periodically and cleaned if
clogged with dirt or soot from
the atmosphere. If extremely dirty,
it may need to be professionally
steam cleaned, a service available
through many GE service outlets.
Base Pan
In some installations dirt or other
foreign matter may be blown into
the unit from the outside and settle
in the base pan (the bottom of the
unit).
Check the base pan periodically
and clean it out, if necessary.
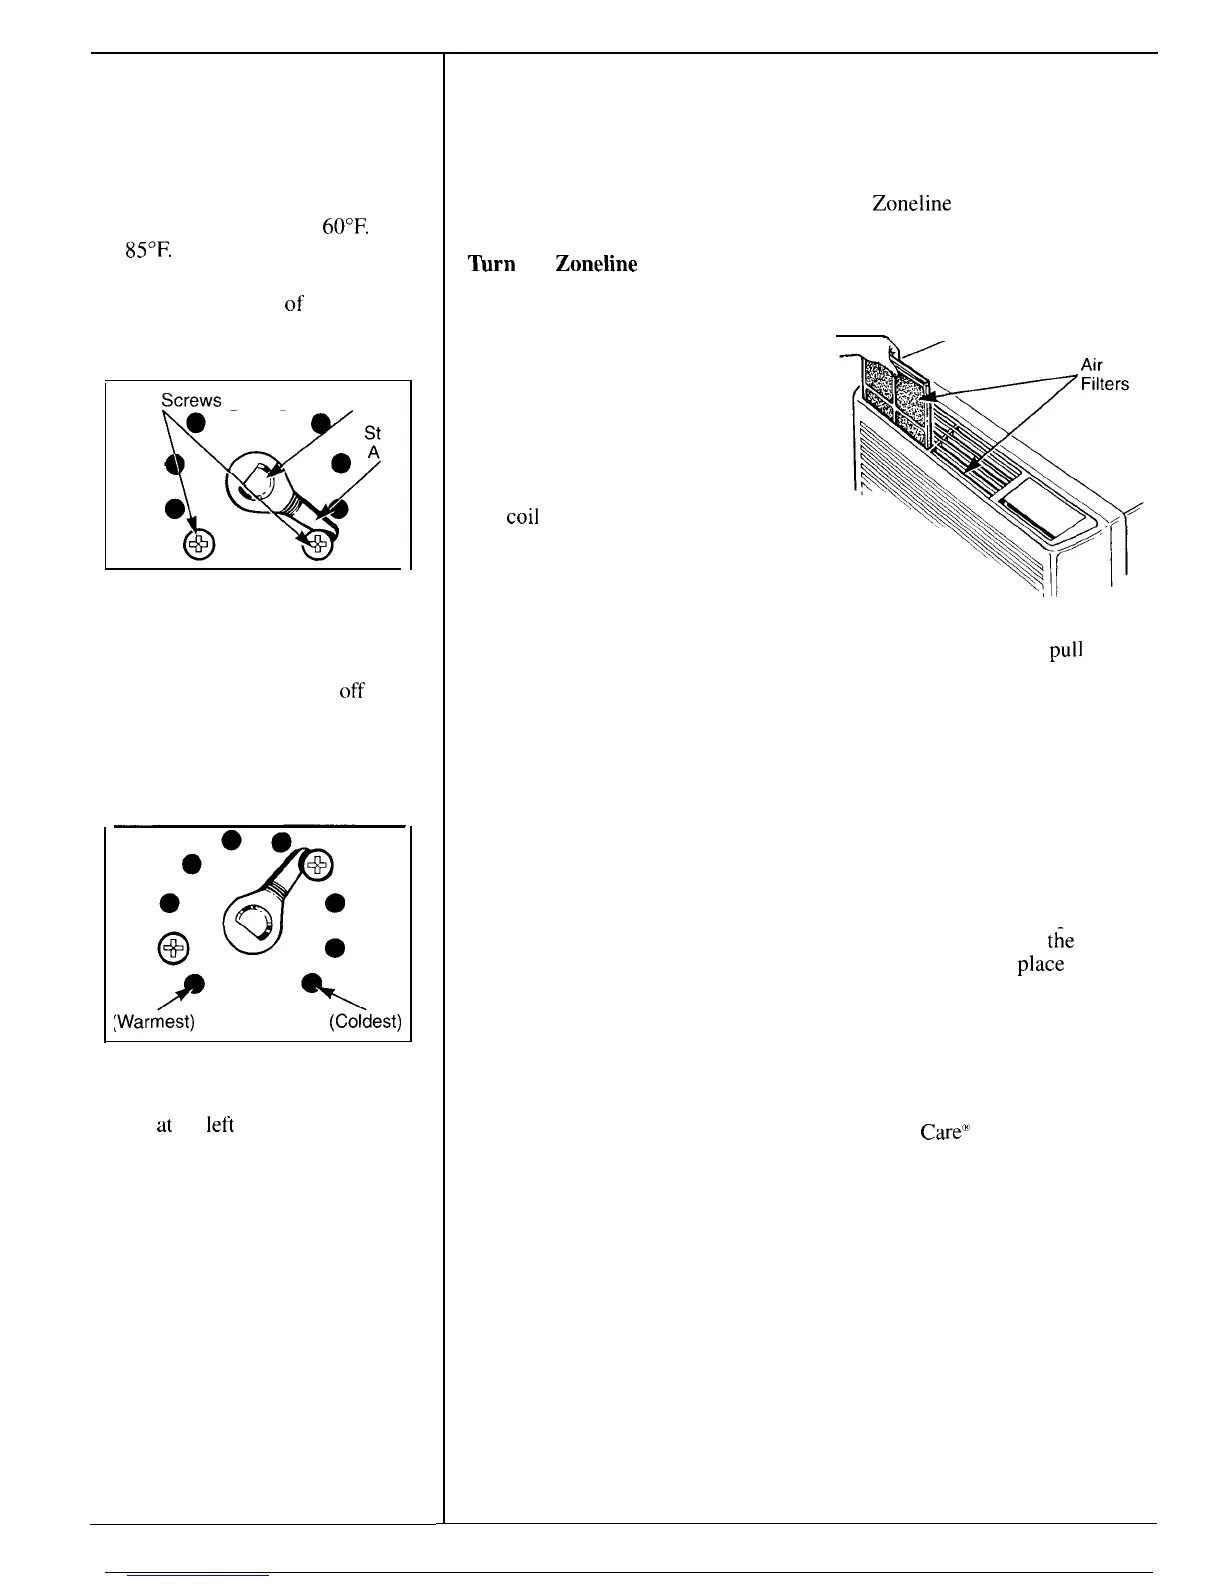
Air Filters
The
Zoneline
air filters inside
should be cleaned at least every
30 days.
The two air filters are located in
front of the air louvers.
\
To remove the air filters, grasp
the top of the filters and
pull
straight up and out of their slots.
Vacuum the filters on the dirty
side or wash them with running
water.
Run water through from the
cleaner side of the filter to drive out
dust and lint. Allow the filters to dry
thoroughly before replacing them.
Note: Do not operate the air
conditioner without the filters in
place. If a filter becomes torn or
damaged it should be replaced
immediately Operating
t;e
unit
without the filters in
place
or with
damaged filters will allow dirt and
dust to reach the indoor coil and
reduce the efficiency of the unit.
Replacement filters are available
from your GE Dealer, Factory
Service Center or authorized
Customer
Care”’
servicers.
To reinstall the air filter after
cleaning, make sure the word
FRONT is facing out. Insert the
bottom of each filter in their slots
and push down into place.
5
 Loading...