Tilt Wheel button
Button 6
Button 7
Button 4 Button 5
Mode switch button
Function setting button
2
Dpi switch button
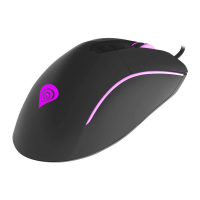
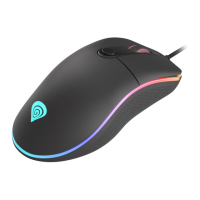
Dpi light indicator
* 800 dpi : One Blue LED “On”
* 1600 dpi : Two Blue LED “On”
* 2400 dpi : Three Blue LED “On”
* 3200 dpi : Four Blue LED “On”
Tips
for In-play Sensitivity Switching
1. Try the default settings in practice games first before changing these settings.
2. Practice using the In-game dpi Increase/Decrease buttons on the mouse before engaging in serious combat.
3. In first-person shooter games, programming the mouse to use only two tracking sensitivities may work better than using three or more.
Use a smaller dpi tracking sensitivity (e.g., 200 dpi) for sniping and shooting, and a higher setting (e.g., 8200 dpi) for quicker movements.
4. Customize each game according to your specific sensitivity switching needs.
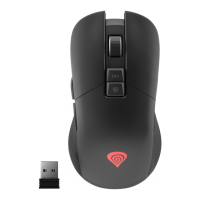
Dpi switch button
Dpi Settings
1. Press the dpi switch button to change the different resolution.
2. The default dpi setting:
3.User can change default dpi settings to the
range of 200~8200 dpi with the gaming
software tool included.
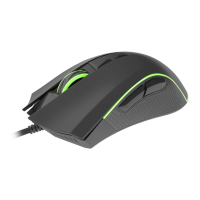
Mode light indicator
*
Red light on - Mode 1
*
Green light on - Mode 2
*
Blue light on - Mode 3
*
Pink light on – Mode 4
*
Cyan light on – Mode 5
Mode switch button
* Users can record a macro or get a built-in function from script library,
and then save and assign a macro or a function to one of available
modes at each gaming button.
* The 4th/5th buttons default is Internet Forward & Backward.
Gaming Modes Setting
Gaming button
Dpi “+”
Dpi “-”
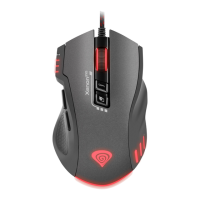
1. There are 11 programming gaming buttons for users to assign
a macro function.
2. There are 5 modes switchable.
3. The mode switch button is on the top of the mouse.
1
2
3
6
4
5
8
9
11
10
Gaming button
7
3
Dpi Setting
A. Status inspection :
To click F.S. (functional setting) button is the way to switch setting mode.
1. X axis - DPI status: click F.S. once, the X axis LED will
light on and indicate the X axis resolution is.
2. Y axis - DPI status: click F.S. twice, the Y axis LED will
light on and indicate the Y axis resolution is.
3. Wheel count calculation status: click F.S. 3rd time, the wheel scrolling image graph will light
on and indicate how many count of wheel scrolling is.
B. How to Set up :
Adjust Lift Button
Functional
Setting button
To optimize the vertical distance from the surface for stopping cursor moving, please follow the
below steps :
1. Put the gaming mouse on the surface you are going to use
2. Press and hold the “adjust lift” button.
3. Move the mouse on the surface as thoroughly as possible
while pressing the “adjust lift” button. Do not lift the mouse
off the surface, or you need to re-start from the step one.
4. While the mouse is collecting the surface information, the
dpi LED is blinking. After the dpi LED stop blinking,
release the “adjust lift” button. Now the optimized vertical
distance from this surface to stop cursor moving has been
set up.
Caution :
While the mouse is in the air, do not click the "adjust lift" button, or the cursor will be stopped.
There are 2 ways to recover :
(1) un-plug and re-plug the USB cable
(2) press and hold the "adjust lift" button while the mouse is on a surface,
lift the mouse off the surface, and then release the "adjust lift" button.
To have an Adjust Lift Button, please program one button to be the Adjust Lift Button by the
gaming software.
 Loading...