4
1. X axis setting :
press and hold F.S for 3-sec. to enter X axis dpi setting mode, the X axis image graph will
flash. The LED will indicate the current resolution, and can be adjusted by wheel scrolling
up or down to increase or decrease dpi. Each of squares on behalf of 200 dpi. Scrolling up
one count means to increase 200 dpi; contrarily, scroll down one count to decrease 100 dpi.
Below shows how to reconize dpi level. The dpi range is from 200 dpi to 8200 dpi maximum
with 41 levels. After setting, press F.S. for 3-sec. to save into memory and drop out of the
setting mode.
2. Y axis setting :
press and hold F.S for 3-sec. is X axis dpi setting mode and then click F.S. once to enter Y
axis setting mode, the Y axis image graph will flash. The LED will indicate the current resolution
is, and can be adjusted by wheel scrolling up or down to increase or decrease dpi. Each of
squares on behalf of 200 dpi. Scrolling up one count means to increase 200 dpi; contrarily,
scroll down one count to decrease 200 dpi. Below shows how to reconize dpi level. The dpi
range is from 200 dpi to 8200 dpi maximum with 41 levels. After setting, press F.S. for 3-sec.
to save into memory and drop out of the setting mode.
Remark :
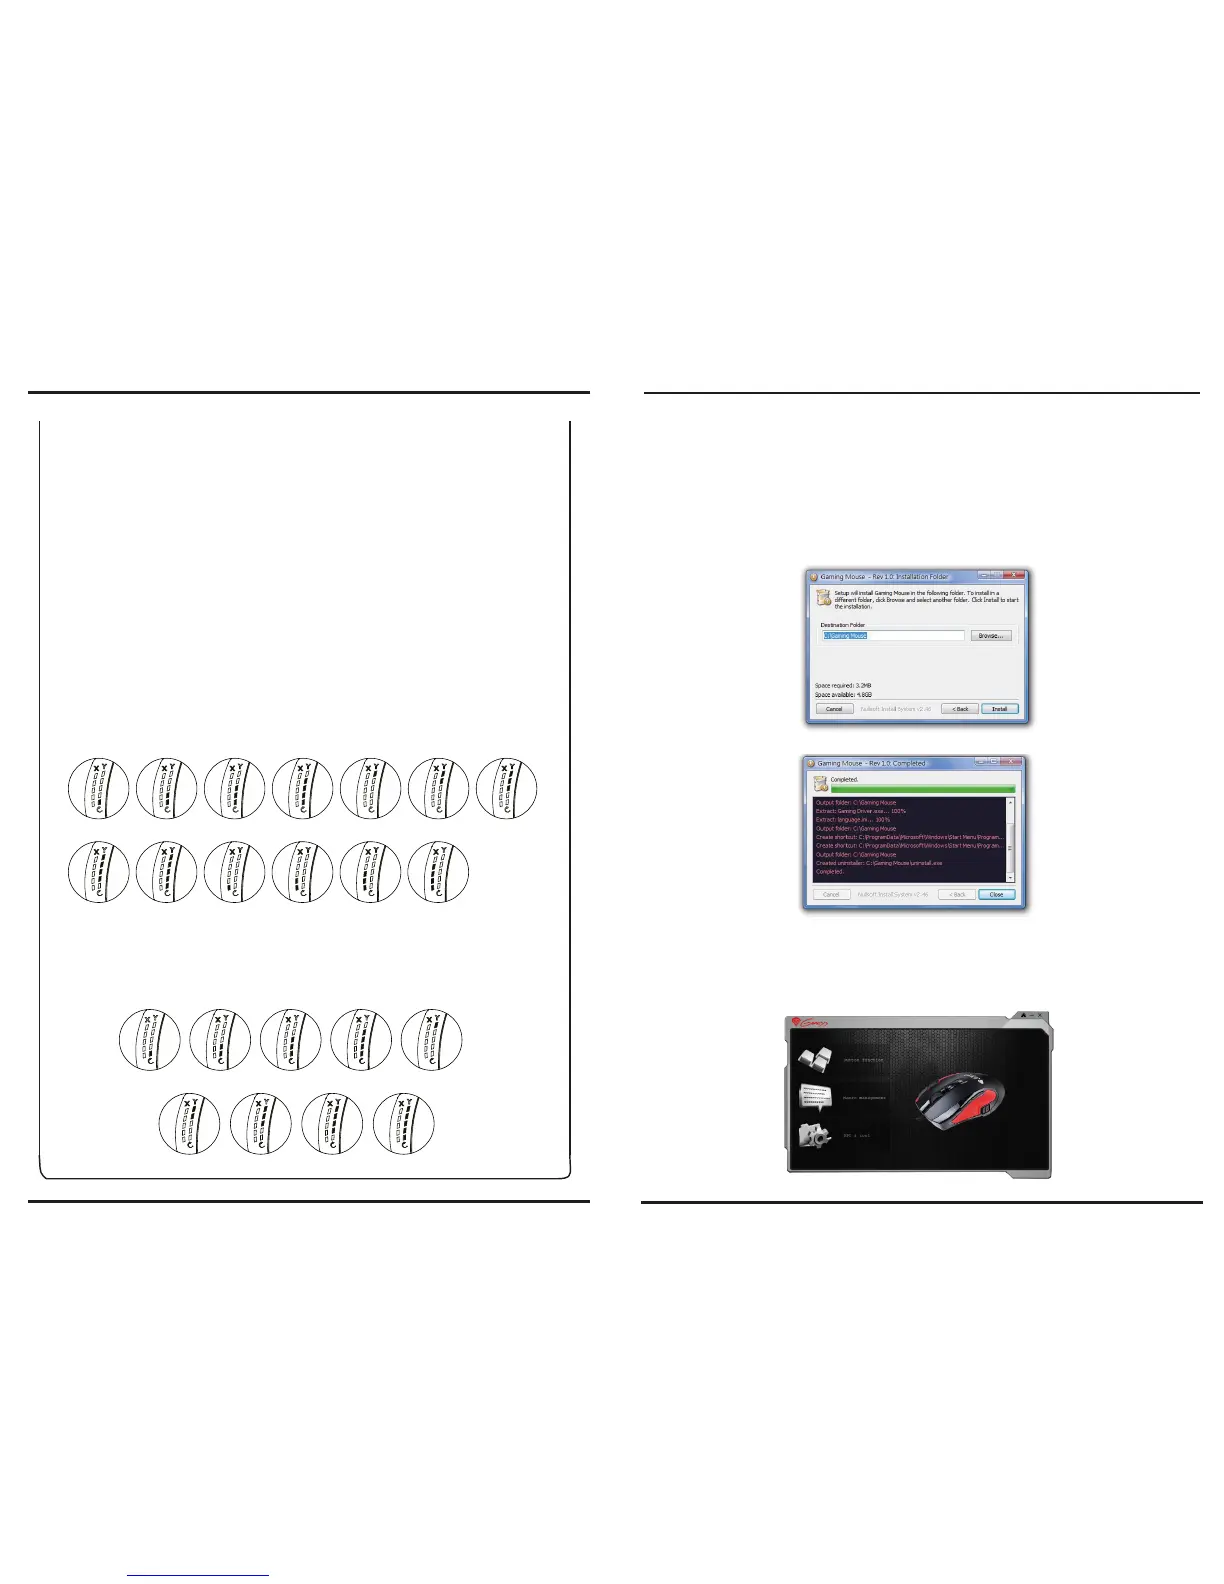
200 dpi ~ 800 dpi : LED down >>> up (1st to 4th LED light on)
1000 dpi : the 5th LED light on only
1200 dpi ~ 1800 dpi : LED up >>> down (5th LED to 1st LED light on)
2000 dpi ~ 8000 dpi : LED down >>> up (1st to 4th LED light on)
200 dpi 400 dpi 600 dpi 800 dpi 1000 dpi 1200 dpi 1400 dpi
1800 dpi 2000 dpi 4000 dpi 6000 dpi 8000 dpi
1600 dpi
Count 1 Count 2 Count 3 Count 4 Count 5
3. Scrolling count setting :
Press F.S. for 3-sec. and then click F.S. twice to enter count calculation mode, the arrow
image will flash, and show the current count number. Adjust count calculation to by scrolling
wheel, scroll up to increase the count, and scroll down to decrease the count oppositely.
Press F.S.for 3-sec. to save into memory and drop out setting mode.
Count 8 Count 9Count 6 Count 7
Please assign the destination folder and go to "Install"
Please "Close" window when the installation has been completed successfully.
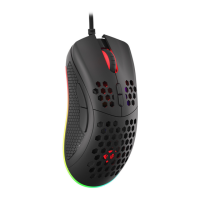
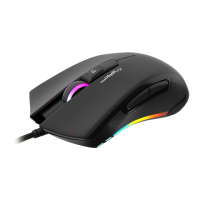
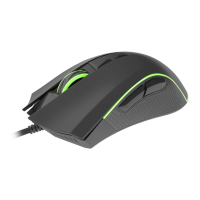
1. Hardware Installation
Connect the Mouse to the USB port.
※ Users need to wait around 10~15 seconds for moving the cursor at the first time usage.
2. Software Installation
accompanied CD.
(The Tilt Wheel function will be activated only after the gaming software is installed.)
Please choose the function that you would like to make your personal settings.
5
For gaming button settings and dpi adjustment, please install the gaming software in the
● Install the Gaming Mouse Software
● Uninstall the Gaming Mouse Software
Please find the Gaming Mouse from the windows program list, and click the "uninstall" to
uninstall the gaming software from the PC.
3. Customize Your Settings
 Loading...