.11..10.
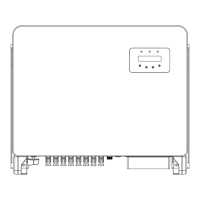
5.2 Mounting the Inverter
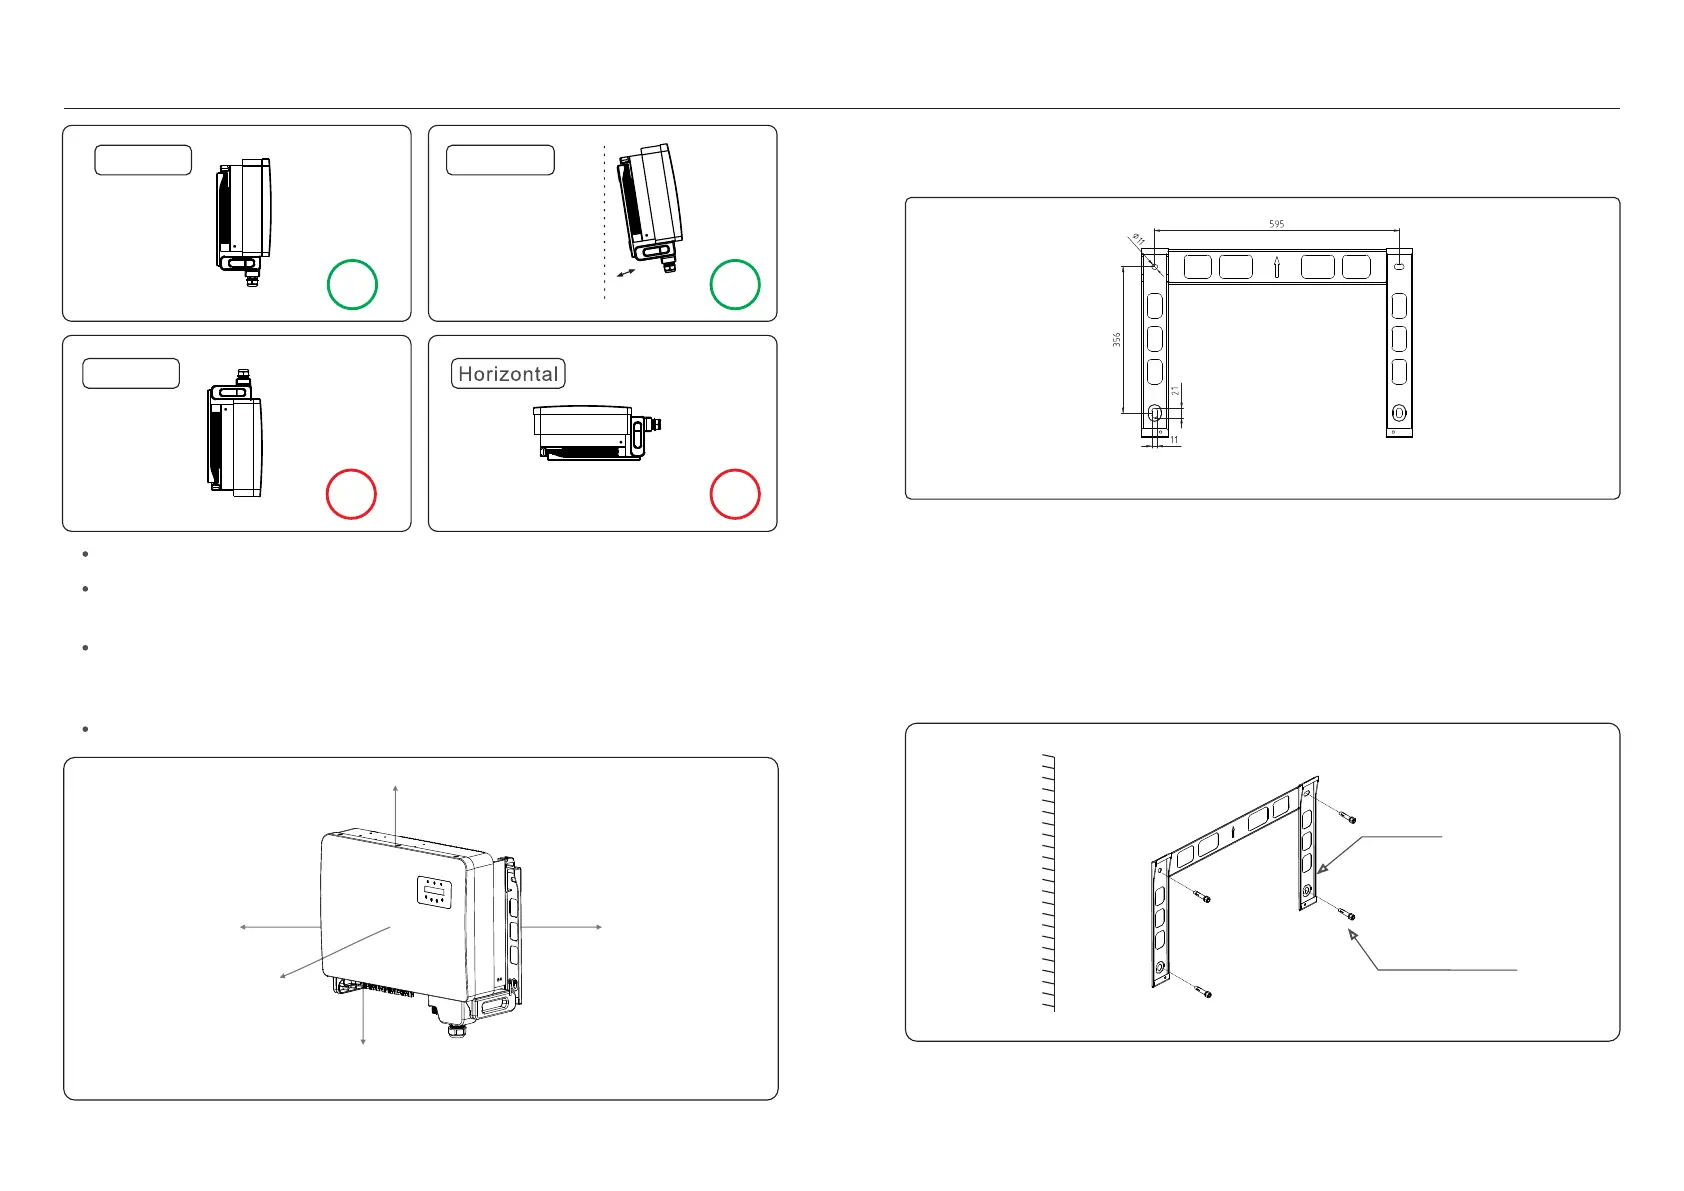
Figure 5.3 Inverter wall mounting
Refer to figure 5.4 and figure 5.5. Inverter shall be mounted vertically.
The steps to mount the inverter are listed below.
1. Refer to Figure 5.4, the holes for expansion bolt based on the hole diameter of bracket
(M10*70) , using the percussion drilling with the 10mm drill need to stay vertically on
the wall. And the drill hole must be vertically on the wall. And all drill holes' depth is 60mm.
2. Make sure the bracket is horizontal. And the mounting holes (in Figure 5.4) are marked
correctly. Drill the holes into wall at your marks.
3. Use the suitable expansion screws to fix the bracket on the wall.
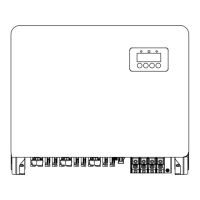
Figure 5.4 Inverter wall mounting
5. Installation5. Installation
× ×
Inverted
Figure 5.2 Inverter Mounting clearance
Install on a vertical surface or structure capable of bearing the weight.
Please install the inverter vertically. If the inverter cannot be mounted vertically, it may
be tilted backward to 15 degrees from vertical.
For multiple inverters are installed on site, a minimum clearance of 500mm,should be kept
between each inverter and any other mounted equipment. The bottom of the inverter must
be at least 500mm from the ground or floor. See figure 5.2.
Visibility of the LED status indicator lights and LCD display screen should be considered.
Suitable fixing screws
Bracket
Back hanging plate size:
≤15°
√ √
Vertical Backward
10
00
m
m
500mm
500mm
500mm
500mm
 Loading...