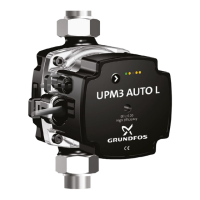
Control box positions
The control box gives access to the terminals from the
front. If necessary, you can turn the control box in steps of
90 degrees:
• 3 o'clock
• 6 o'clock
• 9 o'clock
• 12 o'clock.
As standard, the operating panel is in
the top position (12 o'clock) when the terminals are
in 9 o'clock position. The front foil can be placed in four
different positions. This allows you to place it in a
horizontal position no matter the orientation of the control
box.
bserve the following:
• IP44 versions without drain holes: All positions are
allowed.
• IPX4D versions with drain holes (UPM3K, UPM3
SOLAR): The drain hole must point downwards after
installation. Only connector positions to the side are
possible.
TM064409
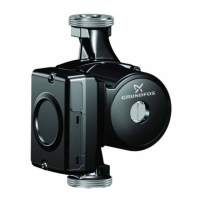
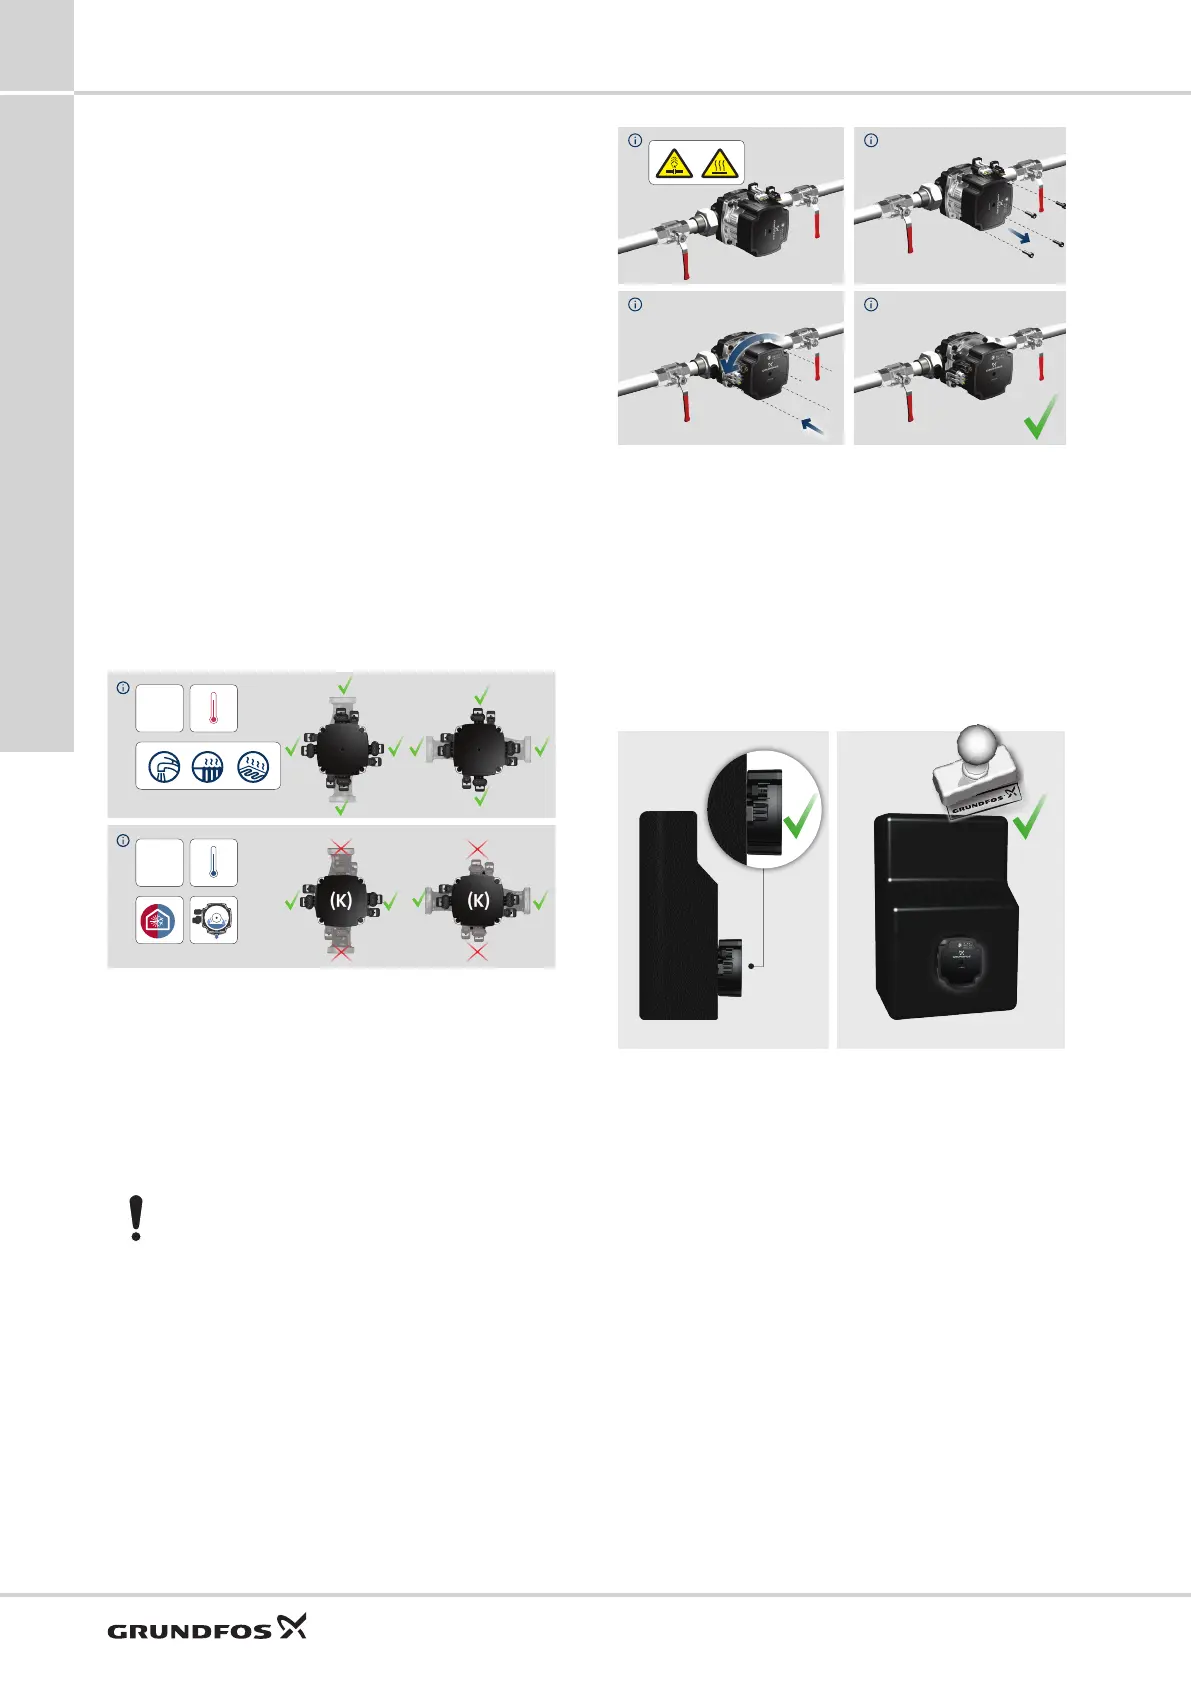
Changing the control box position
1. Remove the screws that hold the pump head.
2. Turn the control box into the desired position.
3. Fit the screws.
4. Tighten the new screws securely.
The nameplate position cannot be changed.
Before dismantling the pump, drain the system or close
the isolating valves on either side of the pump.
TM064410
Changing the control box position
Insulation
When insulating the pump, the front plate of the control
box must not be covered in order to allow cooling by the
surrounding air.
If the pump is installed inside a cabinet, a boiler or a
heating kit encapsulated with insulation shells, the inside
air temperature has to be measured and it must not be
higher than 70 °C during operation.
TM064411
Insulation of a pump
Preventing the pump from blocking
To prevent the pump from blocking, do as follows:
1. Once installation is complete, the pump must run for
two hours to vent the system.
2. Make sure that the pump runs for a period of time
every day.
UPM3
10
48
Installation
 Loading...