11
STEP 4 - LEVEL THE WASHER
IMPORTANT: Proper leveling of the washer will help reduce noise and vibration.
1. 3ODFHZDVKHULQLWVnjQDOORFDWLRQ&KHFNWKDWWKHZDWHUDQGGUDLQOLQHVDUHQRW
VWUDLQHGRUSLQFKHG0DNHVXUHWKDWDOOIRXUIHHWDUHnjUPO\LQFRQWDFWZLWKWKH
ǍRRUDQGWKDWWKHZDVKHUUHVWVVROLGO\LQSRVLWLRQ
2. Using a carpenter’s level, check to make sure the washer is level from side to
side and from front to back.
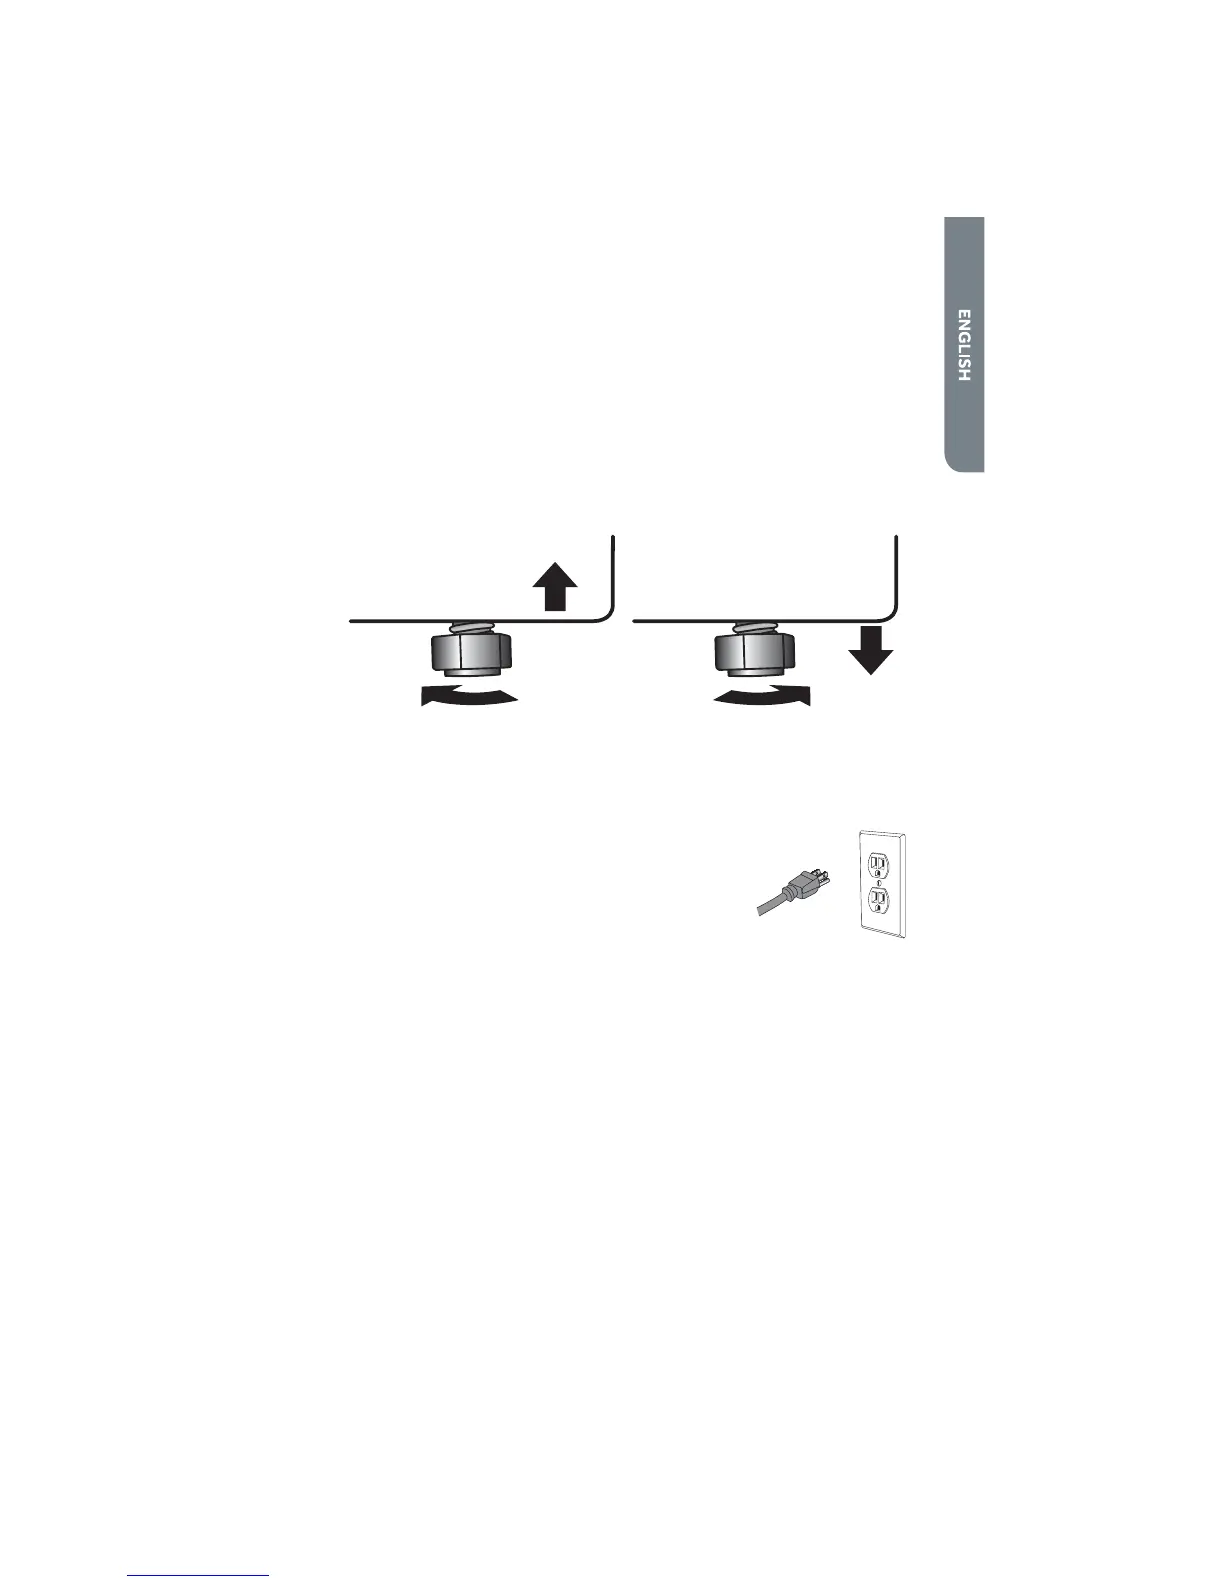
3. If the washer is not level, adjust the leveling feet. Turn clockwise to extend (raise
the washer) or counterclockwise to retract (lower the washer).
Raise Lower
STEP 5 - COMPLETE INSTALLATION
1. Plug the washer into a grounded 3 prong outlet.
2. Check that water faucets are turned on.
3. Dispose of/recycle all packaging materials.
4. Run a normal wash cycle using detergent to test and
clean the washer. See the ”Operating Instructions”
section.
 Loading...