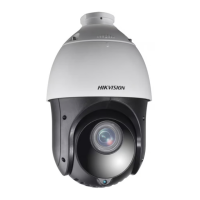
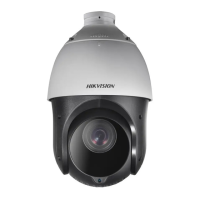
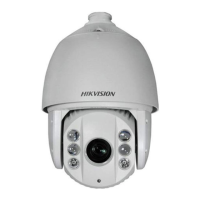
User Manual of HD-TVI Speed Dome
© Hikvision
Steps:
(1) Move the cursor to EDIT ZONE and click IRIS+ button to enter the edit mode.
(2) You can see SET LEFT LIMIT on the screen. Click the direction buttons to set the left limit.
(3) Follow the prompts on the screen to set the right limit.
(4) Click IRIS+ button to save the settings and exit.
4. Set the zone status and scan status.
ZONE STATUS: The zone status just indicates the current status of the zone.
SCAN STATUS: You can set the scan status to ON/OFF to enable/disable the scanning in the
zone.
ZONE STATUS is not editable. After you edited the zone, it will switch to ON automatically;
if you delete the zone, the ZONE STATUS will switch to OFF.
5. Clear the zone settings.
Move the cursor to CLEAR ZONE, click IRIS+ to clear all the settings of the current zone, and click
IRIS+ again to confirm the settings and exit.
3.5 Configuring and Handling Alarms
The alarm related function is not supported by the7-inch IR speed dome.
3.5.1 Configuring Alarm Input and Linkage Actions
Purpose:
This section explains how to configure the speed dome to respond to alarm events with alarm
linked actions, such as calling presets, patrols, patterns, scanning, etc.
Steps:
1. Move the cursor to enter the alarm configuration submenu:
MAIN MENUS > DOME SETTINGS > ALARM INPUT
ALARM INPUT
RESUME ON
SEQUENCE 5
DELAY TIME 5
ALARM SETTING
BACK EXIT
ALARM SETTING
ALARM NO. 1
PRIORITY HIGH
LINKAGE NONE
ALARM OUTPUT NONE
ALARM INPUT OPEN
BACK EXIT
Figure 3-20 Alarm Configuration Menu
 Loading...