not use multicast function, you do not need to set. Some routers will prohibit multicast function in
ase of network storm.
Step 3: Input port number. In the port edit box, use numeric keys to input port number. The
port number must be more than 2000.
Step 4: Input IP Server: Input one fixed Internet IP address where the IP analyst software
(IPServer) is run.
Step 5: Input PPPoE parameters. Use【ENTER】or【EDIT】key to enable PPPoE function
(set PPPoE flag as “√”). Input PPPoE username, password and verify password that ISP
provided.
Step 6: Save parameters. In “Network” menu, press “Confirm” to save parameters. Reboot
DVR to make parameters into effect. In reboot process, DVR will start dialup using PPPoE
function. If DVR dialup internet successfully, DVR will display the dynamic internet IP address in
“Network” menu.
DDNS : This function is canceled in this series.
Email : This function is canceled in this series.
5.15 PTZ
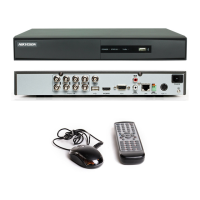
There is one RS-485 port at trol. You can setup RS-485
para l. In main menu, move “Active Frame” to PTZ icon and
press
c
PPPoE: DVR support PPPoE dail-up function.
Example: Use PPPoE function
Step 1: Enter into “Network” menu.
Step 2: Select NIC type.
DVR rear panel used for PTZ con
meters to match your PTZ protoco
【ENTER】key, you can enter into PTZ menu as following: Shown as fig 5.29
70
 Loading...