Network Video Recorder Quick Start Guide
24
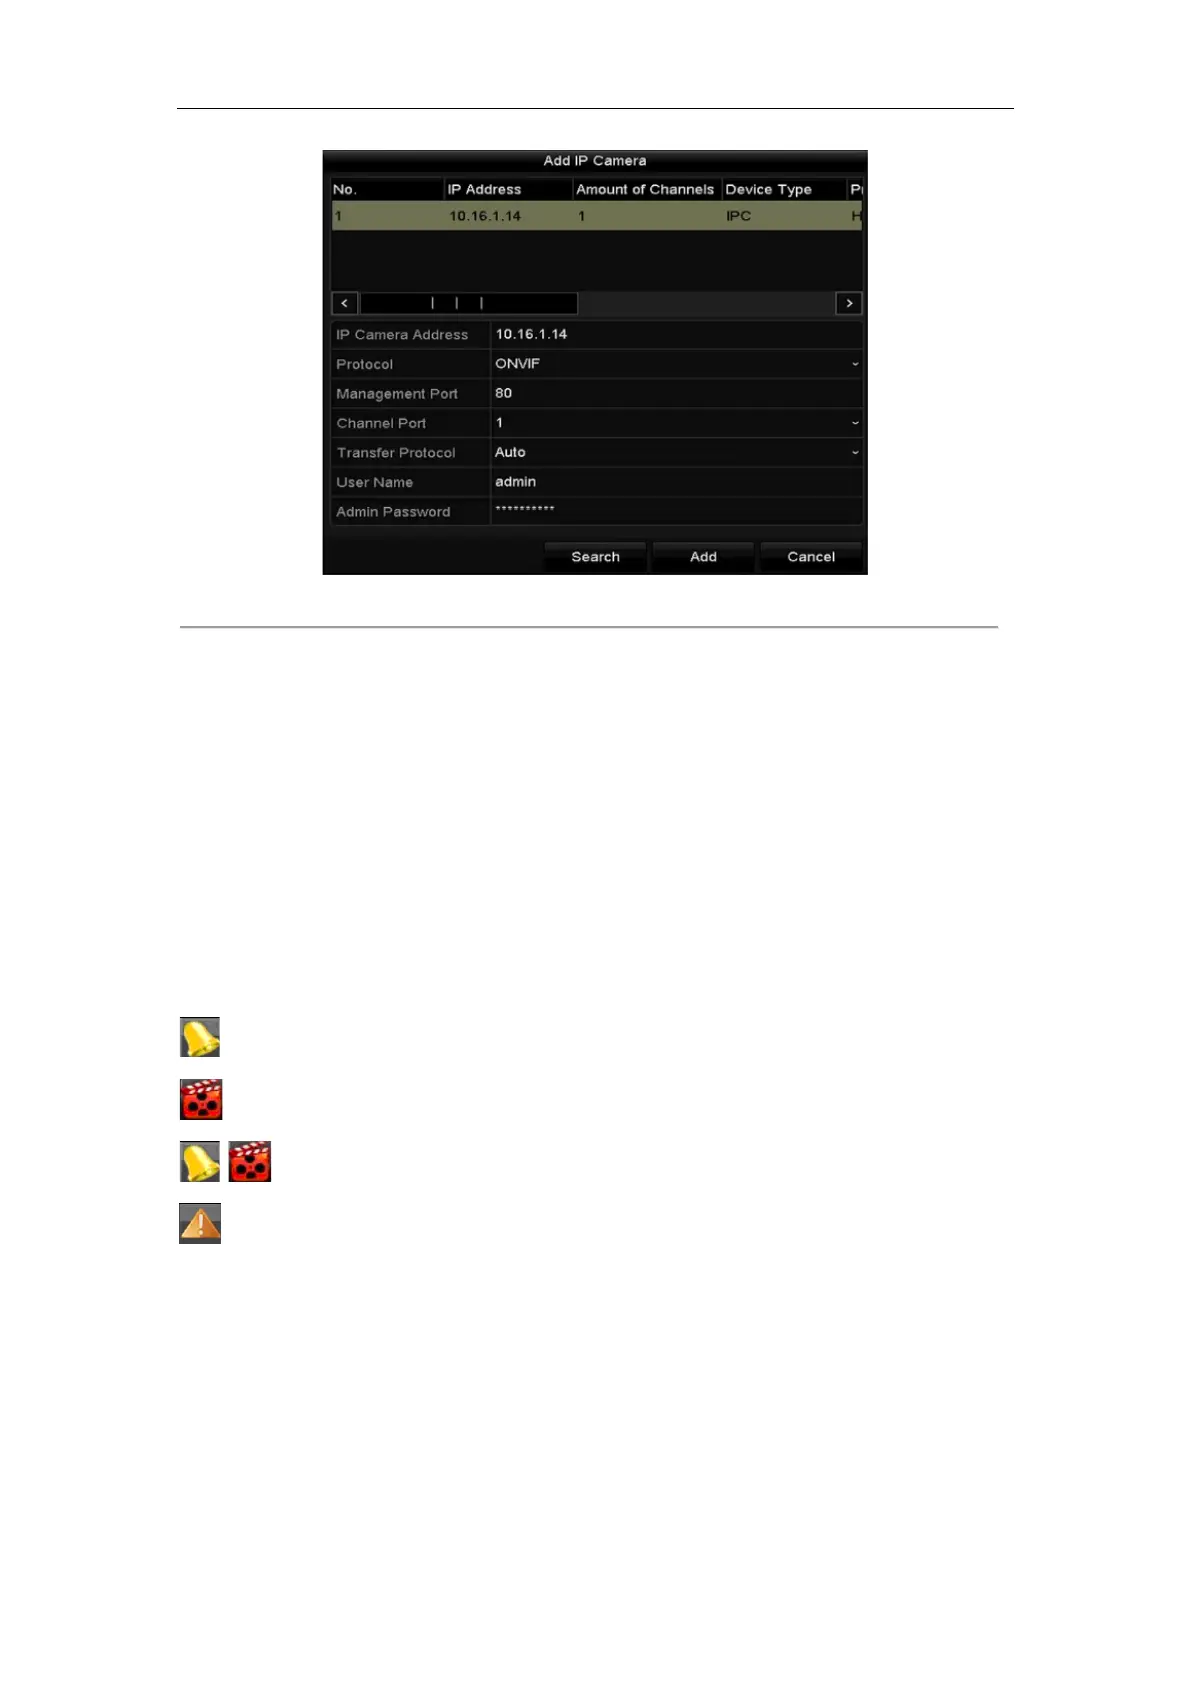
Figure 3. 11 Add IP Camera
3. Select the detected IP camera and click the Add button to add it directly, and you can click the Search button
to refresh the online IP camera manually.
Or you can choose to custom add the IP camera by editing the parameters in the corresponding text field and
then click the Add button to add it.
3.9 Live View
Icons are provided on screen in Live View mode to indicate camera status. These icons include:
Live View Icons
In the live view mode, there are icons at the upper-right corner of the screen for each channel, showing the status
of the record and alarm in the channel for quick reference.
Alarm (video loss, tampering, motion detection, VCA or sensor alarm)
Record (manual record, continuous record, motion detection, VCA or alarm triggered record)
Alarm and Record
Event/Exception (event and exception information, appears at the lower-left corner of the screen.)
3.10 One-Touch RAID Configuration
Purpose:
The device supports the RAID storage function. Through one-touch configuration, you can quickly create the disk
array. By default, the array type to be created is RAID 5.
Before you start:
As the default array type is RAID 5, at least 3 HDDs must be installed in you device. And if more than 10 HDDs
 Loading...