Chapter 2 Congure Sub Module Address
You need to set the sub module address via DIP switch before installaon.
Steps
1.
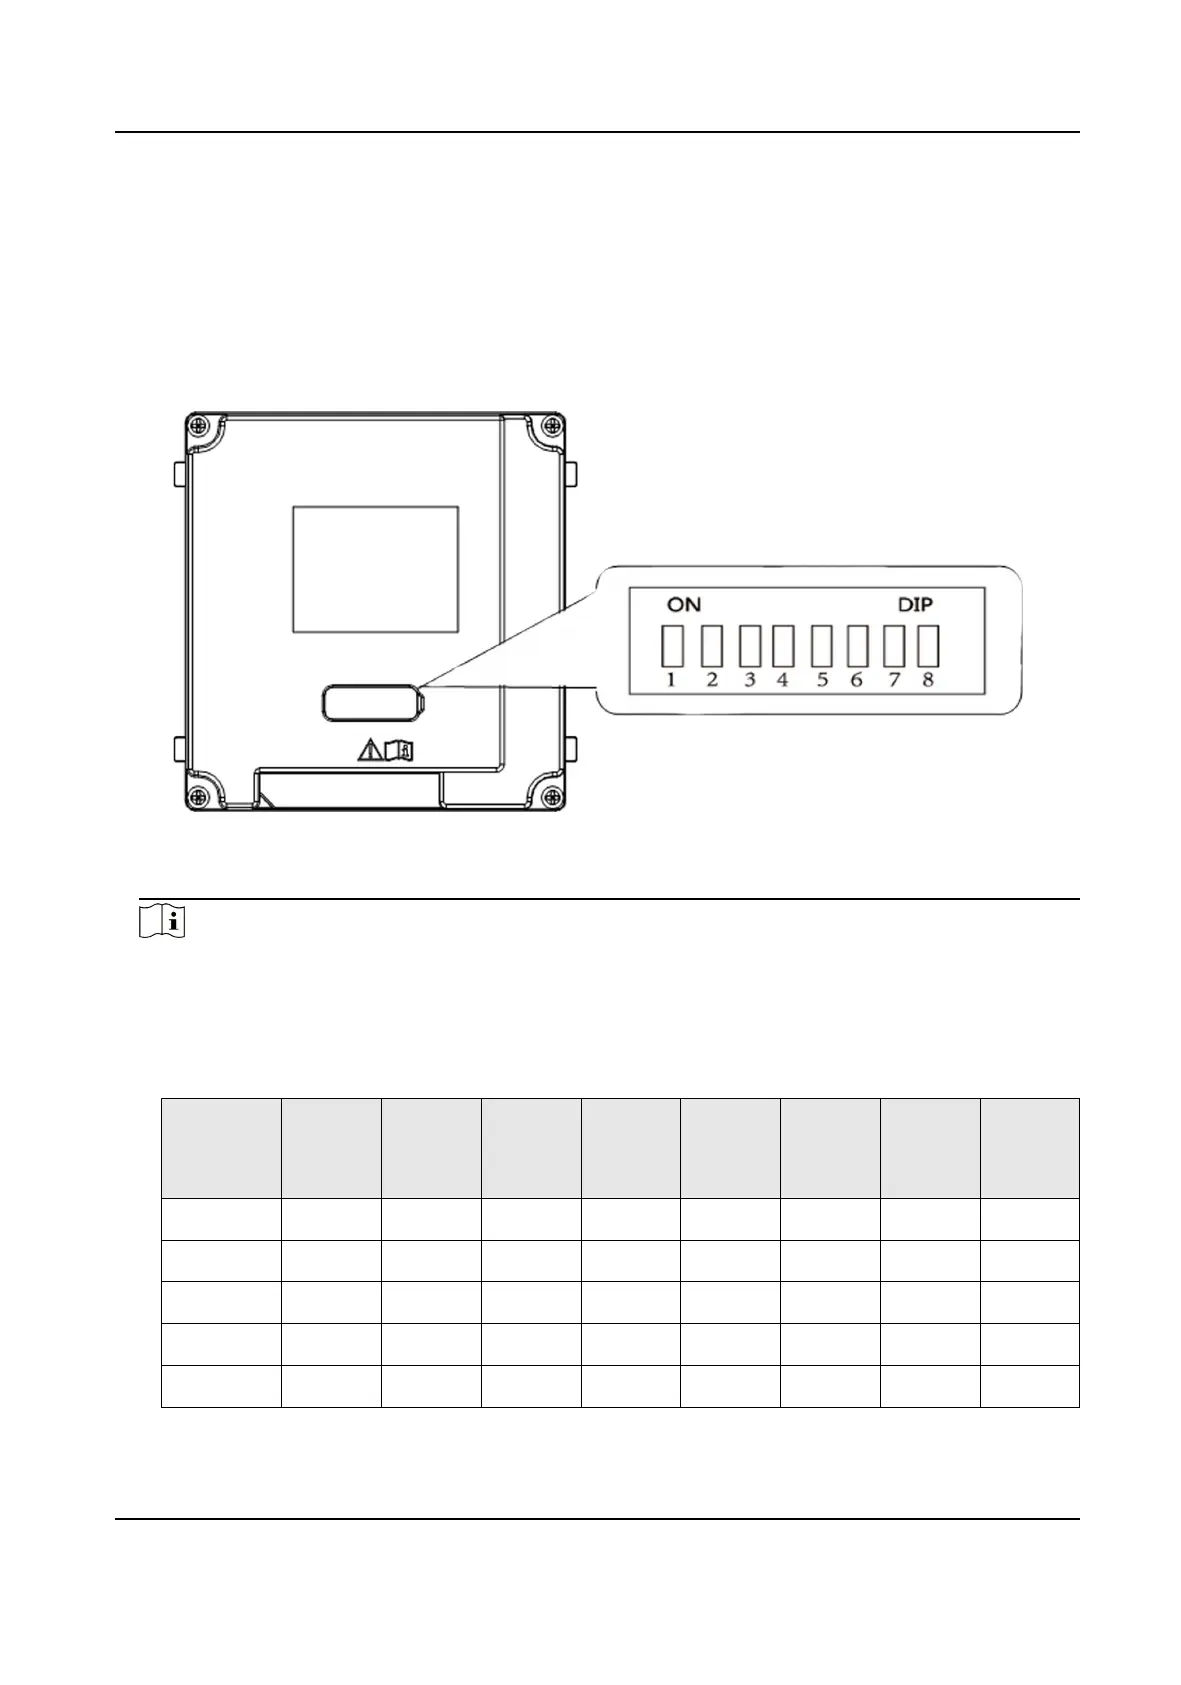
Remove the rubber cover on the rear panel of the sub module to expose the DIP switch.
Figure 2-1 DIP Switch
2.
Set the sub module address according to the DIP rules, and install the rubber cover back.
Note
●
DIP 1, 2, 3, 4 are used to coding the sub module address. DIP 5, 6, 7, 8 are reserved.
●
Valid sub module address is from 1 to 8. The address should be unique for connecng to the
main unit.
The sub module address and its corresponding switch status are displayed as below.
Sub
Module
Address
DIP 1 DIP 2 DIP 3 DIP 4 DIP 5 DIP 6 DIP 7 DIP 8
Module 1 ON OFF OFF OFF OFF OFF OFF OFF
Module 2 OFF ON OFF OFF OFF OFF OFF OFF
Module 3 ON ON OFF OFF OFF OFF OFF OFF
Module 4 OFF OFF ON OFF OFF OFF OFF OFF
Module 5 ON OFF ON OFF OFF OFF OFF OFF
DS-KD8003 Series Module Door Staon User Manual
8

 Loading...