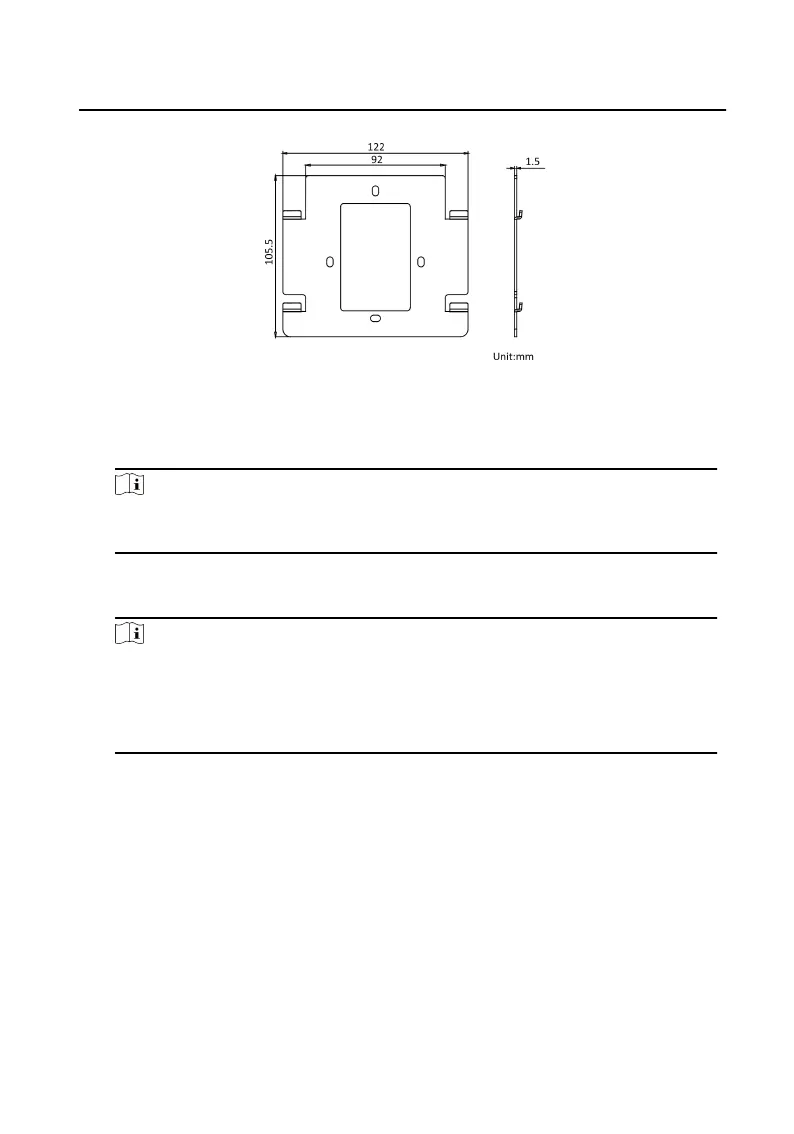
Figure 4-9 Mounng Plate
Steps
1. Cave a hole in the wall.
Note
The suggested dimension fo the installaon hole should be larger than the gang
box.
2. Insert a gang box to the hole chiseled on the wall.
3. Fix the wall mounng plate to the gang box with 2 screws.
Note
●
If you install the device with a gang box (75 mm(width) × 75 mm(length) × 46
mm(depth)), the le and right holes will be applied.
●
If you install the device with a gang box (55 mm(width) × 101 mm(length) × 48.5
mm(depth)), the upper and lower holes will be applied.
4. Hook the indoor staon to the wall mounng plate ghtly by inserng the plate
hooks into the slots on the rear panel of the indoor staon, during which the lock
catch will be locked automacally.
Video Intercom Analog Bundle User Manual
22
 Loading...