QSG EKI-K41B44W Kit 110520NA 13
●
Make sure all the related equipment is powered-off during the installation.
●
Check the specification of the products for the installation environment.
●
Make sure that the wall is strong enough to withstand four times the weight of the camera and the
bracket.
For cameras that support IR, pay attention to the following precaution to prevent IR reflection:
Make sure that there is no reflective surface too close to the camera lens. The IR light from the camera
may reflect back into the lens, causing reflection.
3.1 Ceiling Mounting
Before You Start
The camera supports wall mounting and ceiling mounting, and the installation steps are similar. Here we
take ceiling mounting as an example.
1.
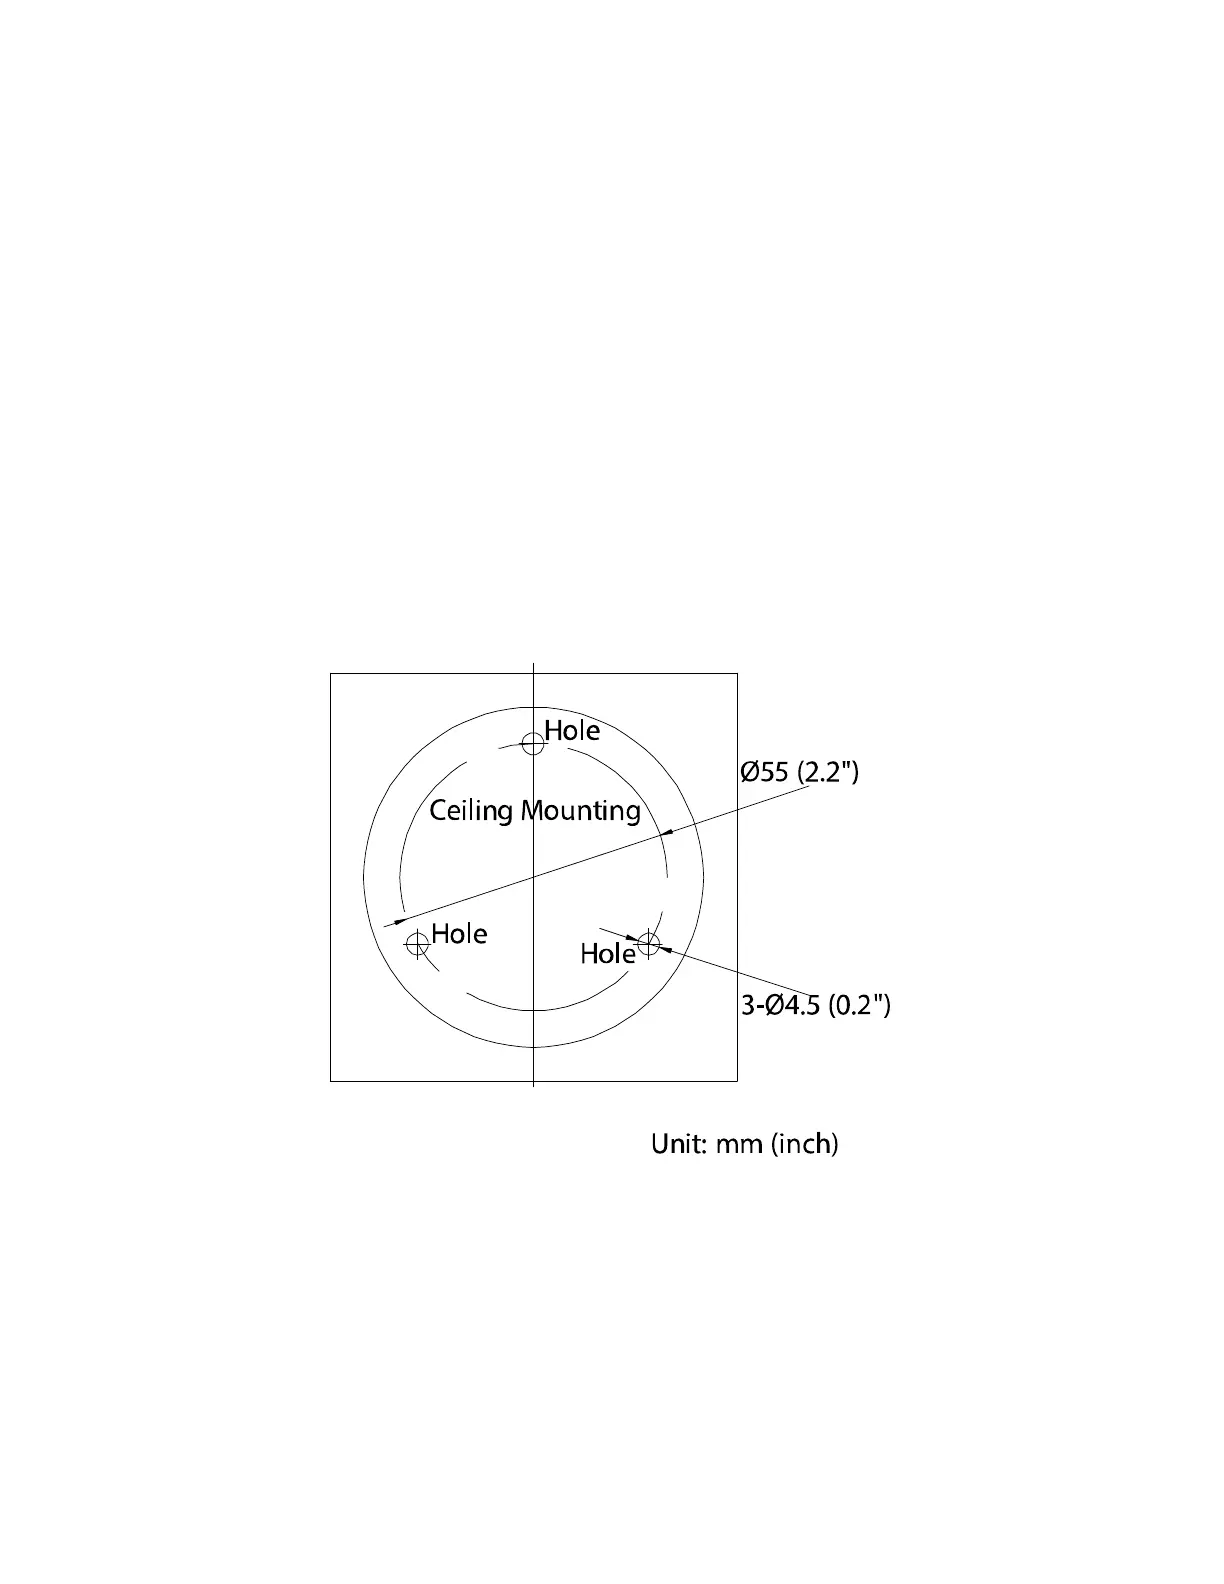
Paste the drill template on the wall or ceiling, and drill holes according to the marked holes on the drill
template.
Figure 8, Paste the Drill Template
2.
If you need to route cables through the wall or ceiling, drill a cable hole according to the drill template.
Skip this step if you want to route the cables on the surface of the wall or ceiling.
3.
Route the camera cables.
4.
Install the camera to the wall or ceiling with screws.
 Loading...