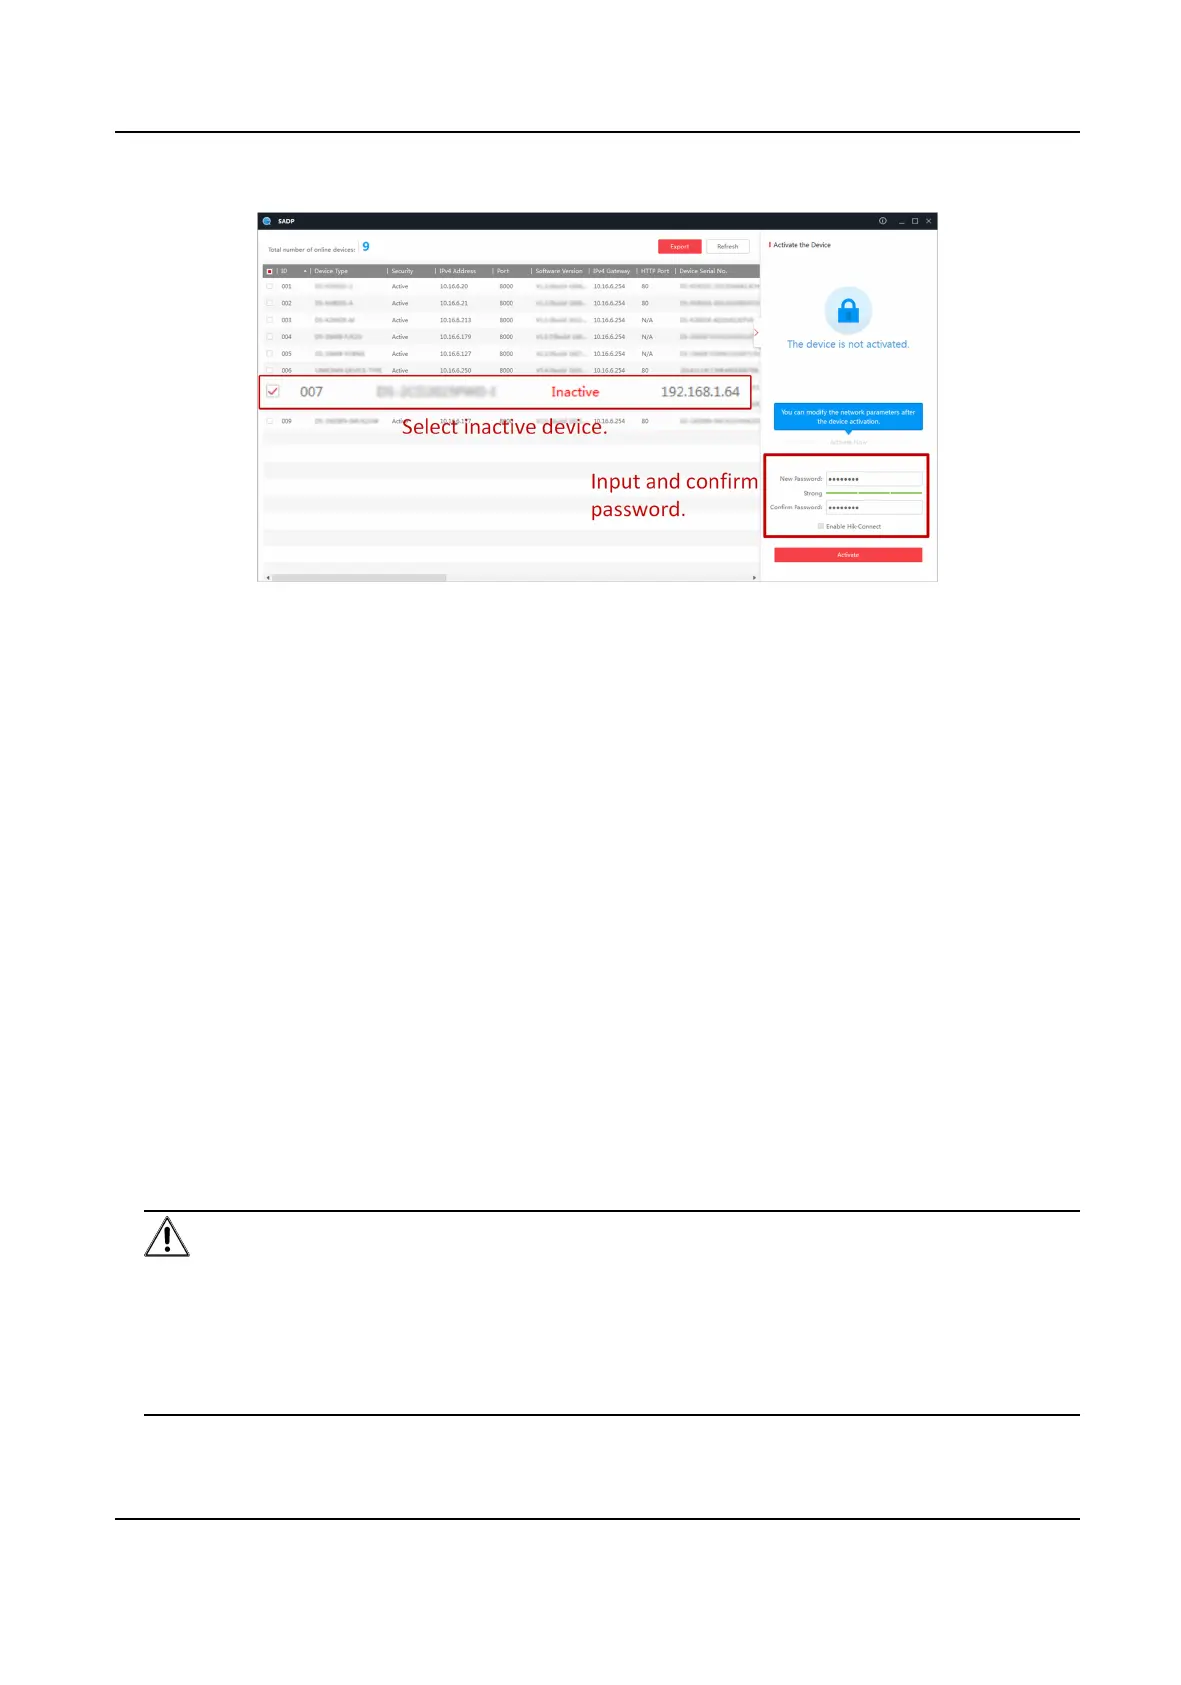
4. Click
Acvate to start acvaon.
Figure 1-1 Acvate via SADP
Status of the device becomes Acve aer successful acvaon.
5. Modify IP address of the device.
1) Select the device.
2) Change the device IP address to the same network segment as your computer by either
modifying the IP address manually or checking Enable DHCP.
3) Enter the admin password and click Modify to
acvate your IP address modicaon.
1.1.3
Acvate via Web Browser
Use web browser to acvate the device. For the device with the DHCP enabled by default, use
SADP
soware or client soware to acvate the device.
Before You Start
Ensure the device and the computer connect to the same LAN.
Steps
1. Change the IP address of your computer to the same network segment as the device.
2. Open the web browser, and enter the default IP address of the device to enter the
acvaon
interface.
3. Create and conrm the admin password.
Cauon
STRONG PASSWORD RECOMMENDED-We highly recommend you create a strong password of
your own choosing (using a minimum of 8 characters, including upper case leers, lower case
leers, numbers, and special characters) in order to increase the security of your product. And
we recommend you reset your password regularly, especially in the high security system,
reseng the password monthly or weekly can beer protect your product.
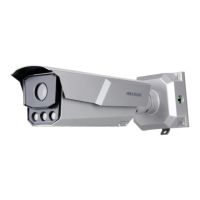
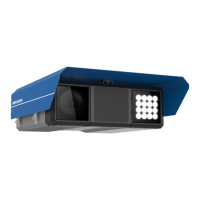
Network Trac Camera (for Trac Flow Camera) User Manual
2

 Loading...