Figure 2. 5 Drill the Template
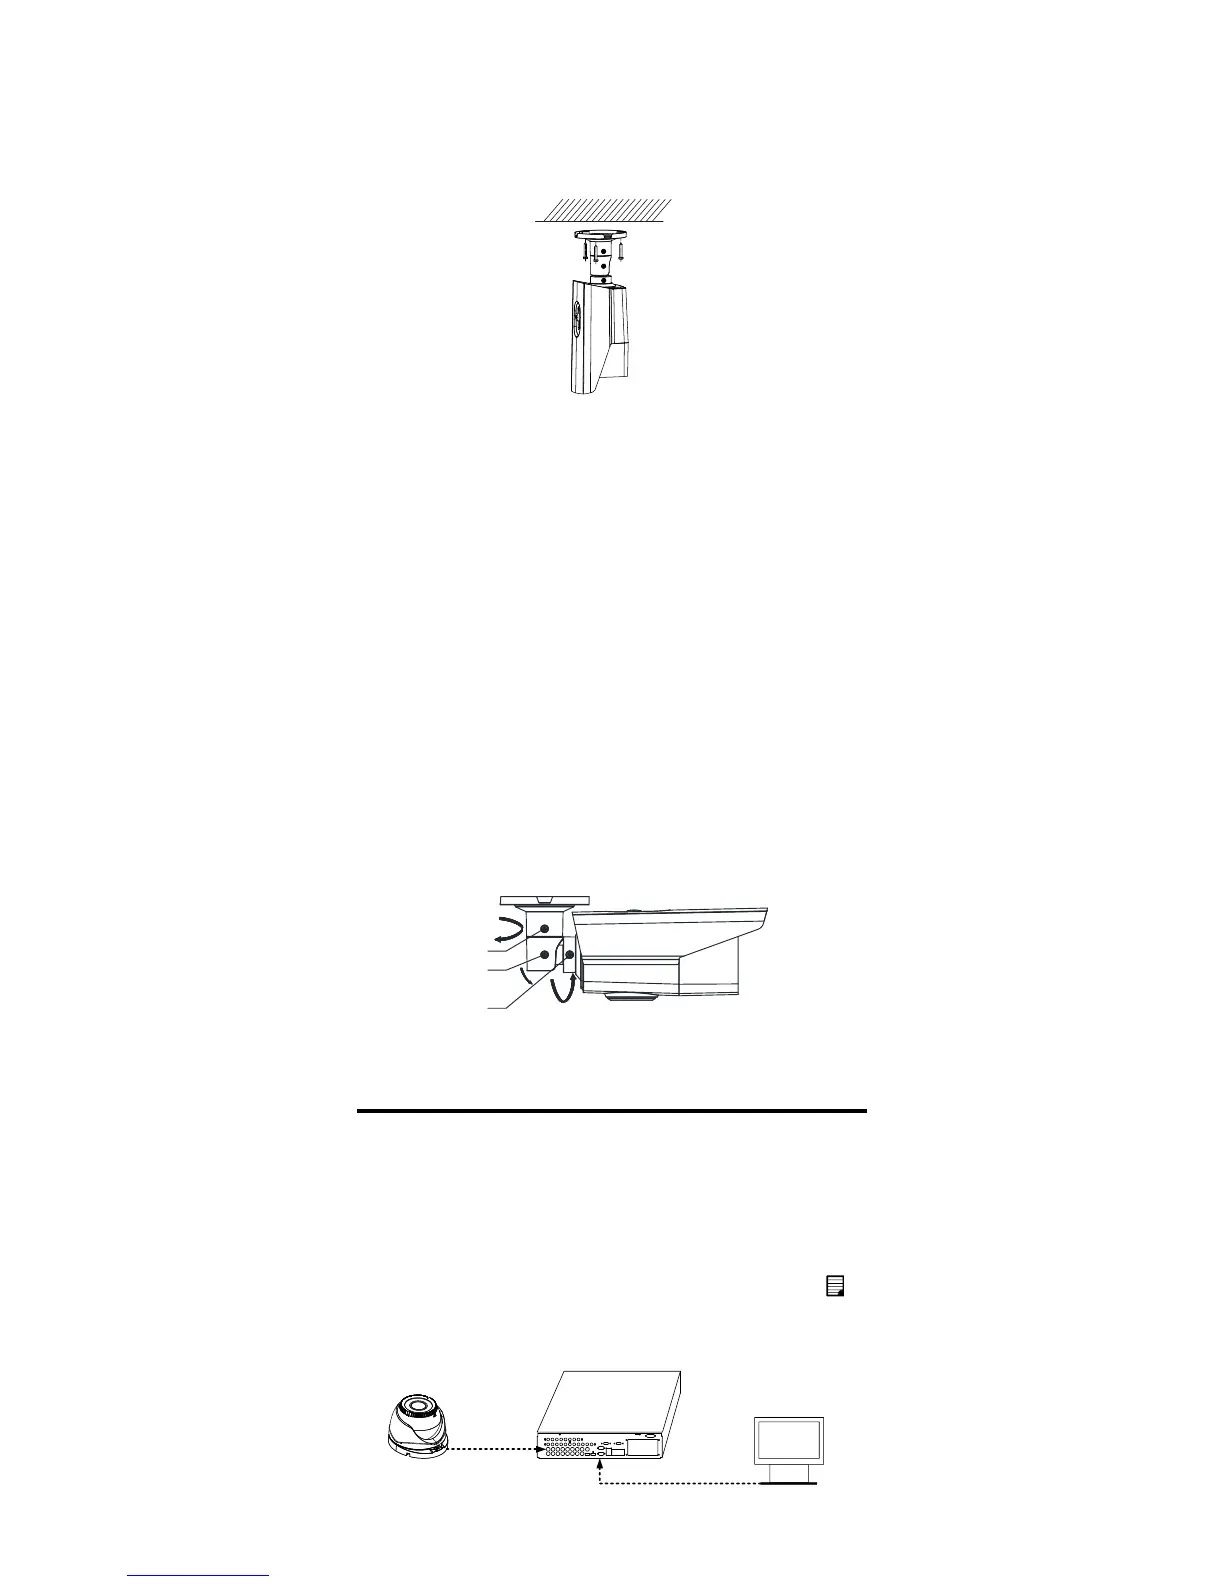
3. Route the cables to the cable hole and connect the
corresponding cables, such as power cable, and
video cable.
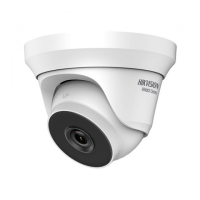
4. Fix the camera to the ceiling with the supplied
screws.
Figure 2. 6 Fix the Camera to the Ceiling
Note:
In the supplied screw package, both self-tapping
screws and expansion blots are contained.
If the wall is cement, expansion blots are required
to fix the camera. If the wall is wooden,
self-tapping screws are required.
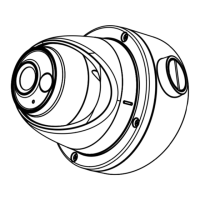
5. Power on the camera to check whether the image
on the monitor is gotten from the optimum angle. If
not, adjust the surveillance angle.
1) Loosen the No.1 adjusting screw to adjust the
pan position (0° to 360°).
2) Tighten the No.1 adjusting screw.
3) Loosen the No.2 adjusting screw to adjust the
tilting position (0° to 90°).
4) Tighten the No. 2 adjusting screw.
5) Loosen the No.3 adjusting screw to adjust the
rotation position (0° to 360°).
6) Tighten the No.3 adjusting screw.
Figure 2. 7 3-Axis Adjustment
Menu Operation Chapter 3
Two methods are available to call the menu. This
section takes method b) as an example to state the
menu operation.
a) Call the menu and adjust the camera parameters
with a coaxial camera controller (purchase
separately).
b) Call the menu with supported TVI DVR by clicking
button on the PTZ interface, or by calling preset No.
95.
 Loading...