X-CPU 01 4 Start-up
HI 801 009 E Rev. 4.00 Page 29 of 52
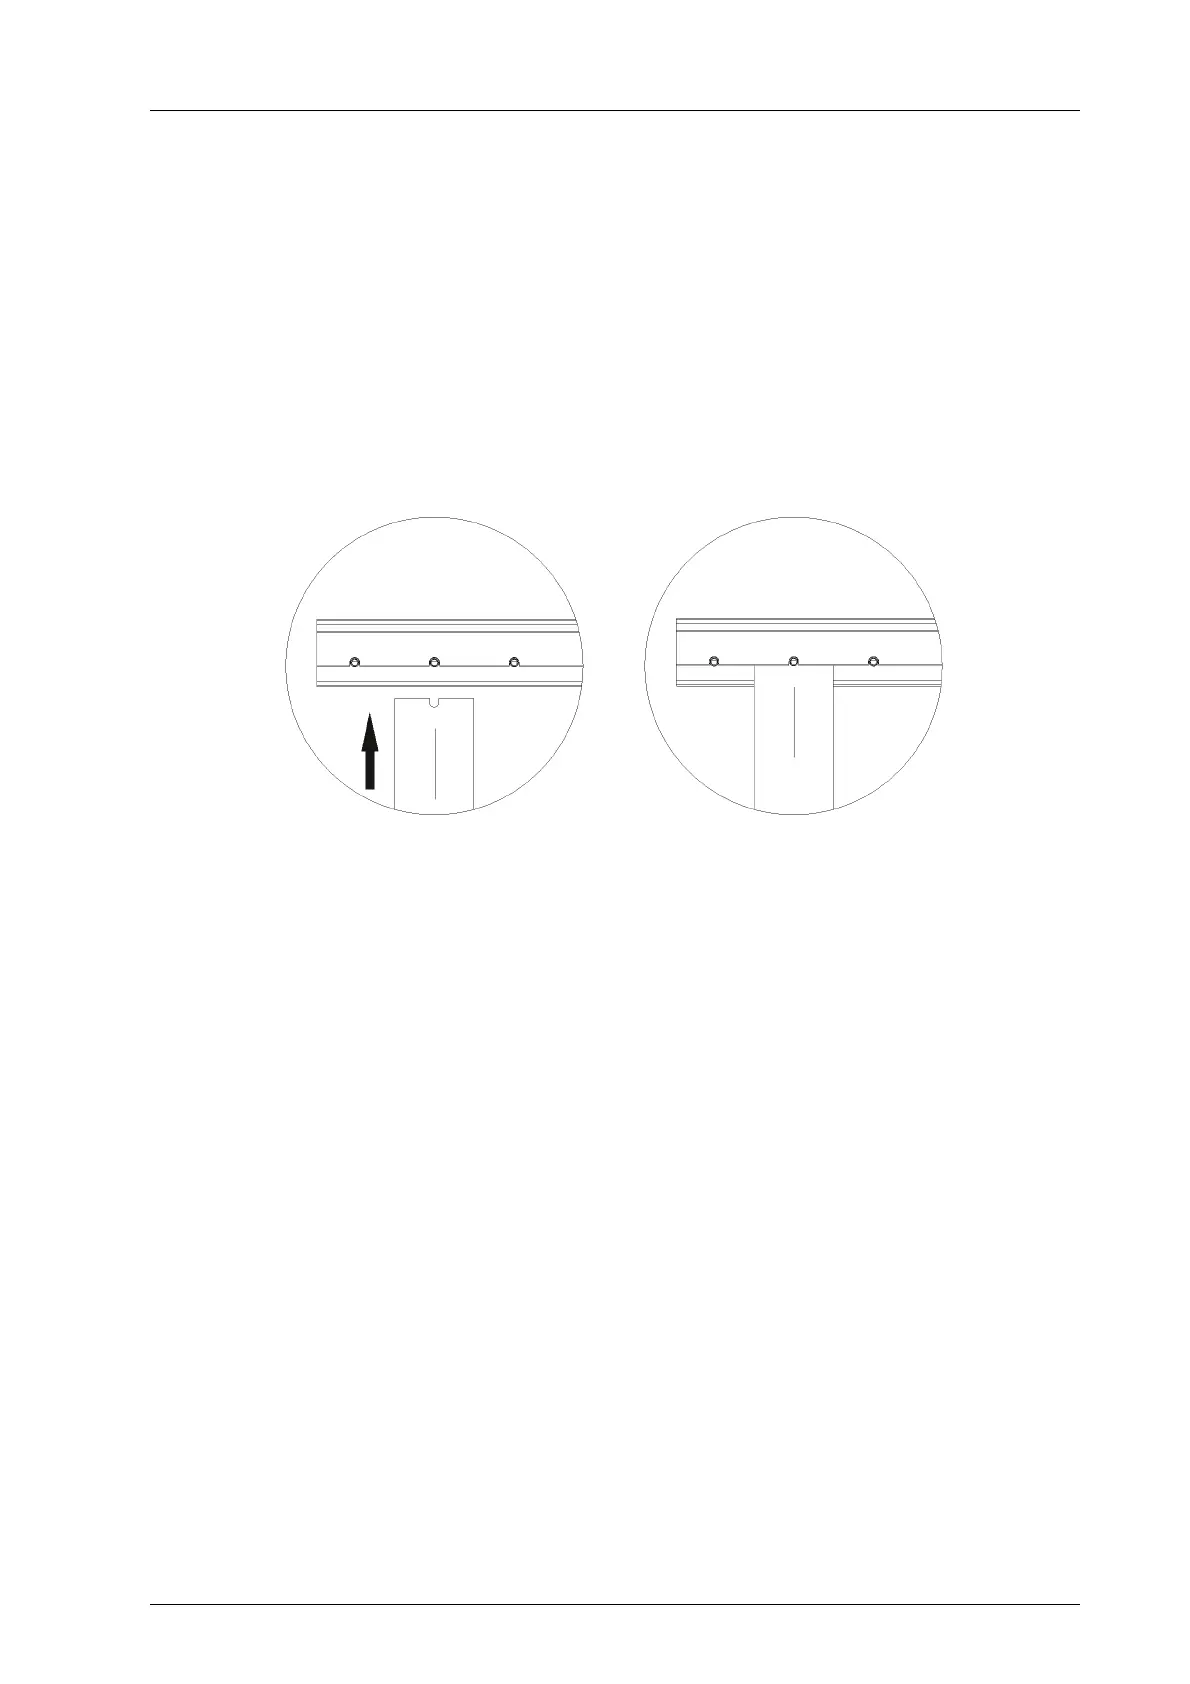
To install the connector board
1. Insert the connector board into the guiding rail with the groove facing upwards (see
following figure). Fit the groove into the guiding rail pin.
2. Place the connector board on the cable shield rail.
3. Secure the two captive screws to the base plate. First screw in the lower than the upper
screw.
To remove the connector board
1. Release the captive screws from the base plate.
2. Lift the lower section of the connector board from the cable shield rail.
3. Remove the connector board from the guiding rail.
Figure 6: Inserting the Connector Board
 Loading...