3. Select the content with VOL +/- button on the
remote control, and then press
to conrm
your selection and exit the settings.
• Repeating these steps will toggle the feature
"ON" and "OFF".
6.3 Select Modes
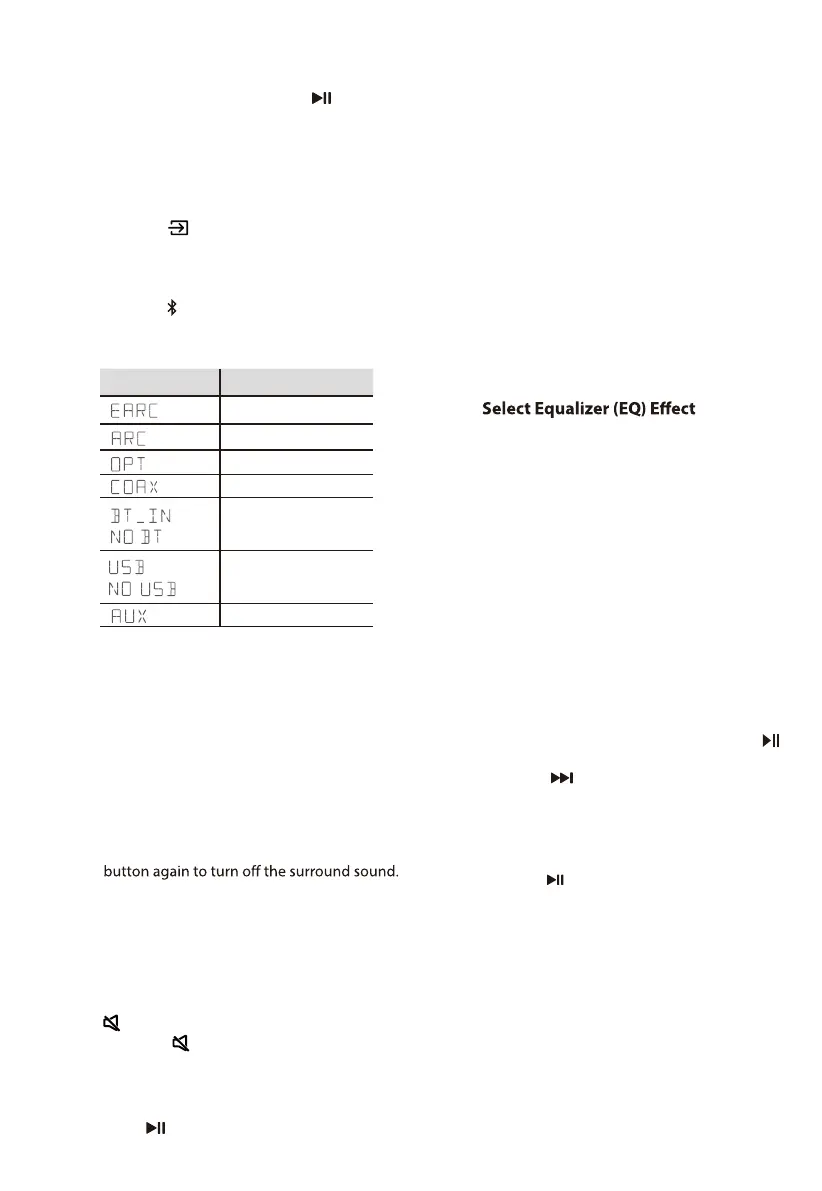
• Press the (SOURCE) button repeatedly on
the unit or on the remote control to select
the OPTICAL, COAXIAL, HDMI eARC,
BT(Bluetooth), USB and AUX mode.
• Press the
button on the remote control to
select the BT (Bluetooth) mode.
• The selected mode will show on the display.
Display Mode
HDMI eARC
HDMI ARC
OPTICAL
COAXIAL
Bluetooth
Connected
Not Connected
AUX
6.4 Adjust the Bass/Treble Level
• Press the BASS +/- buttons on the remote
control to adjust bass level (bass +5 / bass -5).
• Press the TREBLE +/- buttons on the remote
control to adjust treble level (treble +5 /
treble -5).
6.5 Turn the Surround Sound ON/OFF
• Press the SURR button on the remote control
to turn on the surround sound. Press this
6.6 Adjust the Soundbar’s Volume
• Press the + / - buttons on the unit or the VOL+
/ VOL- buttons on the remote control to adjust
the volume.
•
•
If you wish to turn the sound o, press the
(MUTE) button on the remote control.
Press the
(MUTE) button again or press
the VOL+ / VOL- buttons to resume normal
listening.
6.7 Adjust the Surround’s Volume
1 When the surround speaker is connected,
press and hold the SURR button for 3
seconds, the display shows “SUR-0”
2 Then press VOL+ / VOL- buttons to increase
or decrease the surround speaker volume
(SUR +5~SUR -5).
• After about 3 seconds, the unit will exit from
surround volume setting. The display will show
the current selected mode. You may now press
the VOL+ / - buttons to adjust volume.
6.8 Adjust the Brightness
- Press the DIMMER +/- button on the remote
control to select brightness level.
6.9
• While playing, press the EQ button on the
remote control to select desired preset
equalizers: MUSIC, MOVIE, NEWS, SPORT,
NIGHT, GAME, AI EQ.
6.10 Set the Audio Delay (AV SYNC)
• Video image processing, sometimes longer
than the time required to process the audio
signal. This is called “delayed.” Audio Delay
feature is designed to remedy this delay.
• Set the audio delay, provided only for the
current playback mode. (As provided in
the HDMI ARC audio delay mode, the delay
mode is valid only for the HDMI ARC).
- By default, the audio delay is set to 00.
1. During ON mode, press and hold the
button for 3 seconds to open the menu, then
press
the button 9 times in succession.
The unit’s display will scroll “ LT 00”.
2. Press the VOL+/- buttons to initiate a 10 ms
frequency hopping to adjust the delay time.
Set 200 ms maximum delay.
3. Press the
button or wait 10 seconds to exit.
Tips:
• Adjustment range: [00~200ms]
• The audio delay setting is only valid for
digital audio (eg, HDMI e ARC, COAXIAL,
OPTICAL).
15
USB
No USB connected
In BT mode, if the main unit is mute,
press can resume normal listening.
 Loading...