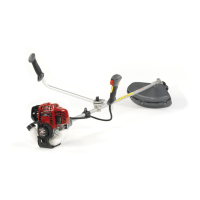
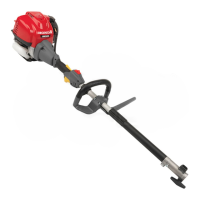
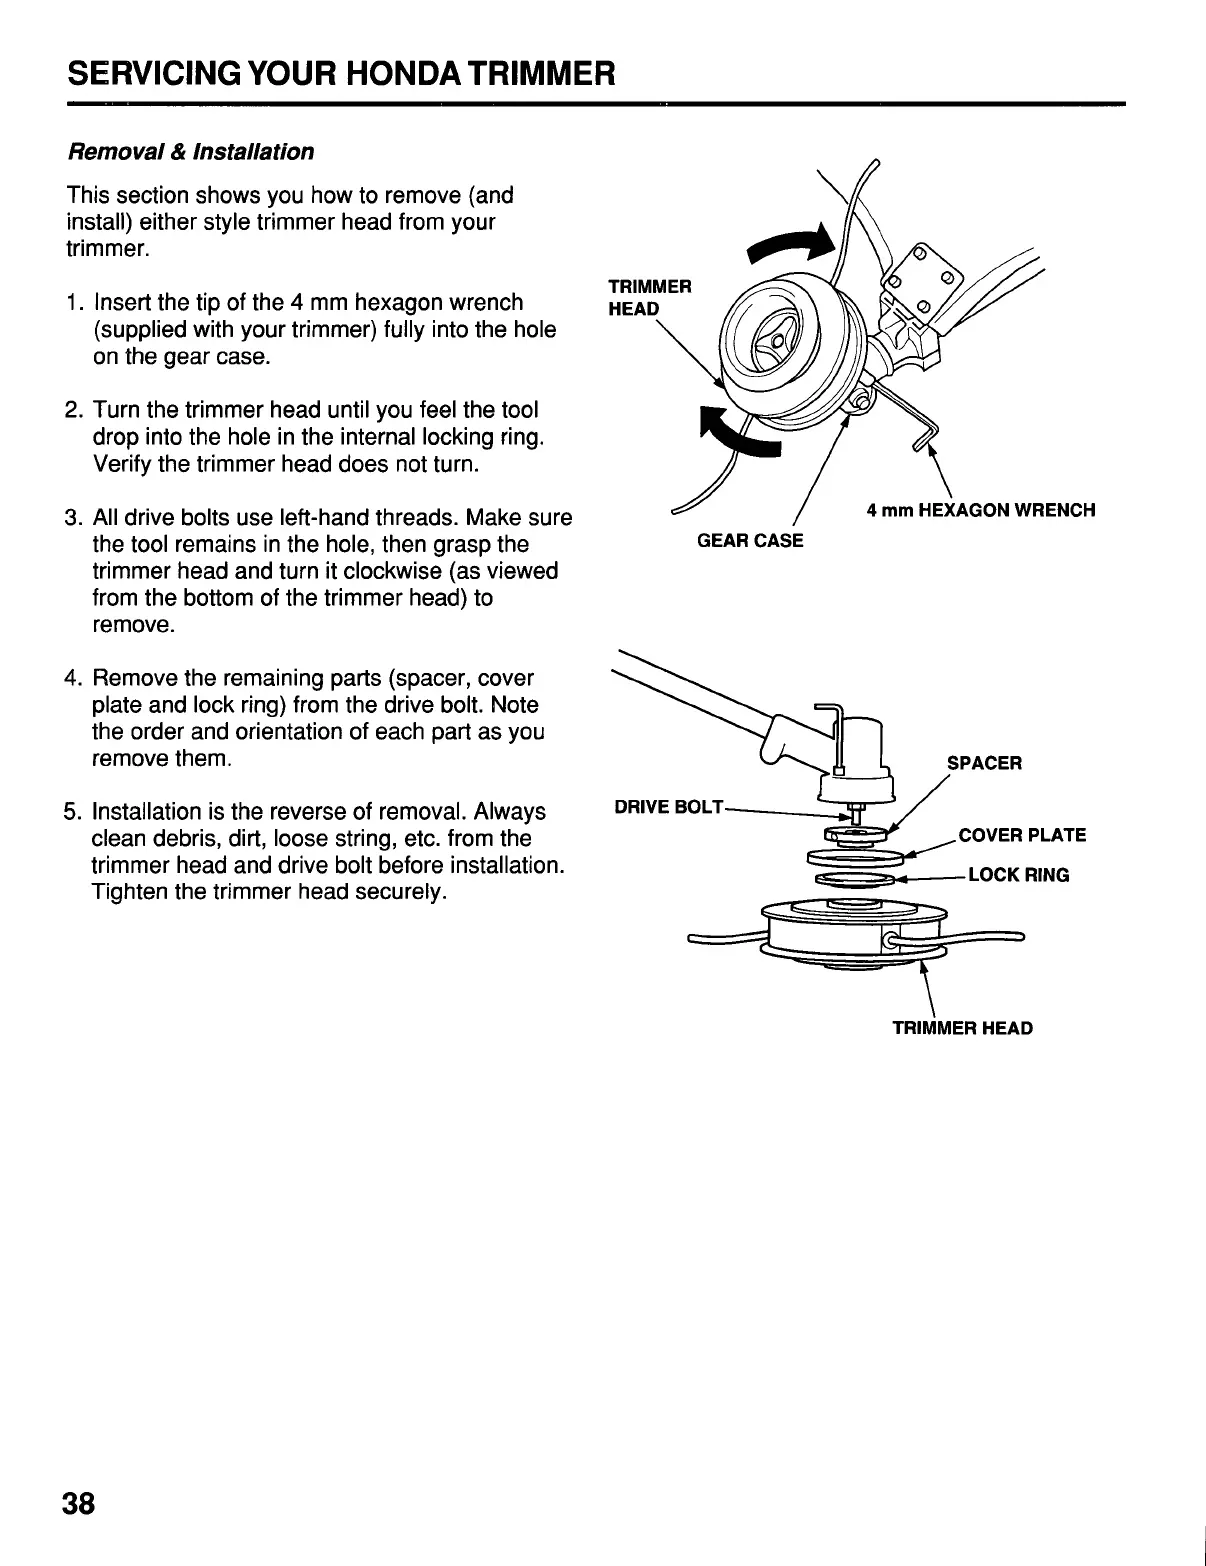
SERVICING YOUR HONDA TRIMMER
Removal
&
Installation
..
This section shows you how to remove (and
install) either style trimmer head from your
trimmer.
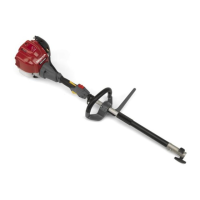
1.
Insert the tip of the
4
mm hexagon wrench
(supplied with your trimmer) fully into the hole
on the gear case.
2.
Turn the trimmer head until you feel the tool
drop into the hole in the internal locking ring.
Verify the trimmer head does not turn.
3.
All
drive bolts use left-hand threads. Make sure
the tool remains in the hole, then grasp the
GEAR CASE
trimmer head and turn it clockwise (as viewed
from the bottom of the trimmer head) to
remove.
AGON WRENCH
4.
Remove the remaining parts (spacer, cover
plate and lock ring) from the drive bolt. Note
the order and orientation of each part as you
remove them.
SPACER
trimmer clean debris, head dirt, and loose drive string, bolt before etc. from installation. the
fl
COVER PLATE
Tighten the trimmer head securely.
5.
Installation is the reverse of removal. Always
DRIVE BOLT
--LOCK RING
TRIMMER
HEAD
38

 Loading...