PX4i and PX6i High Performance Printer User Guide 105
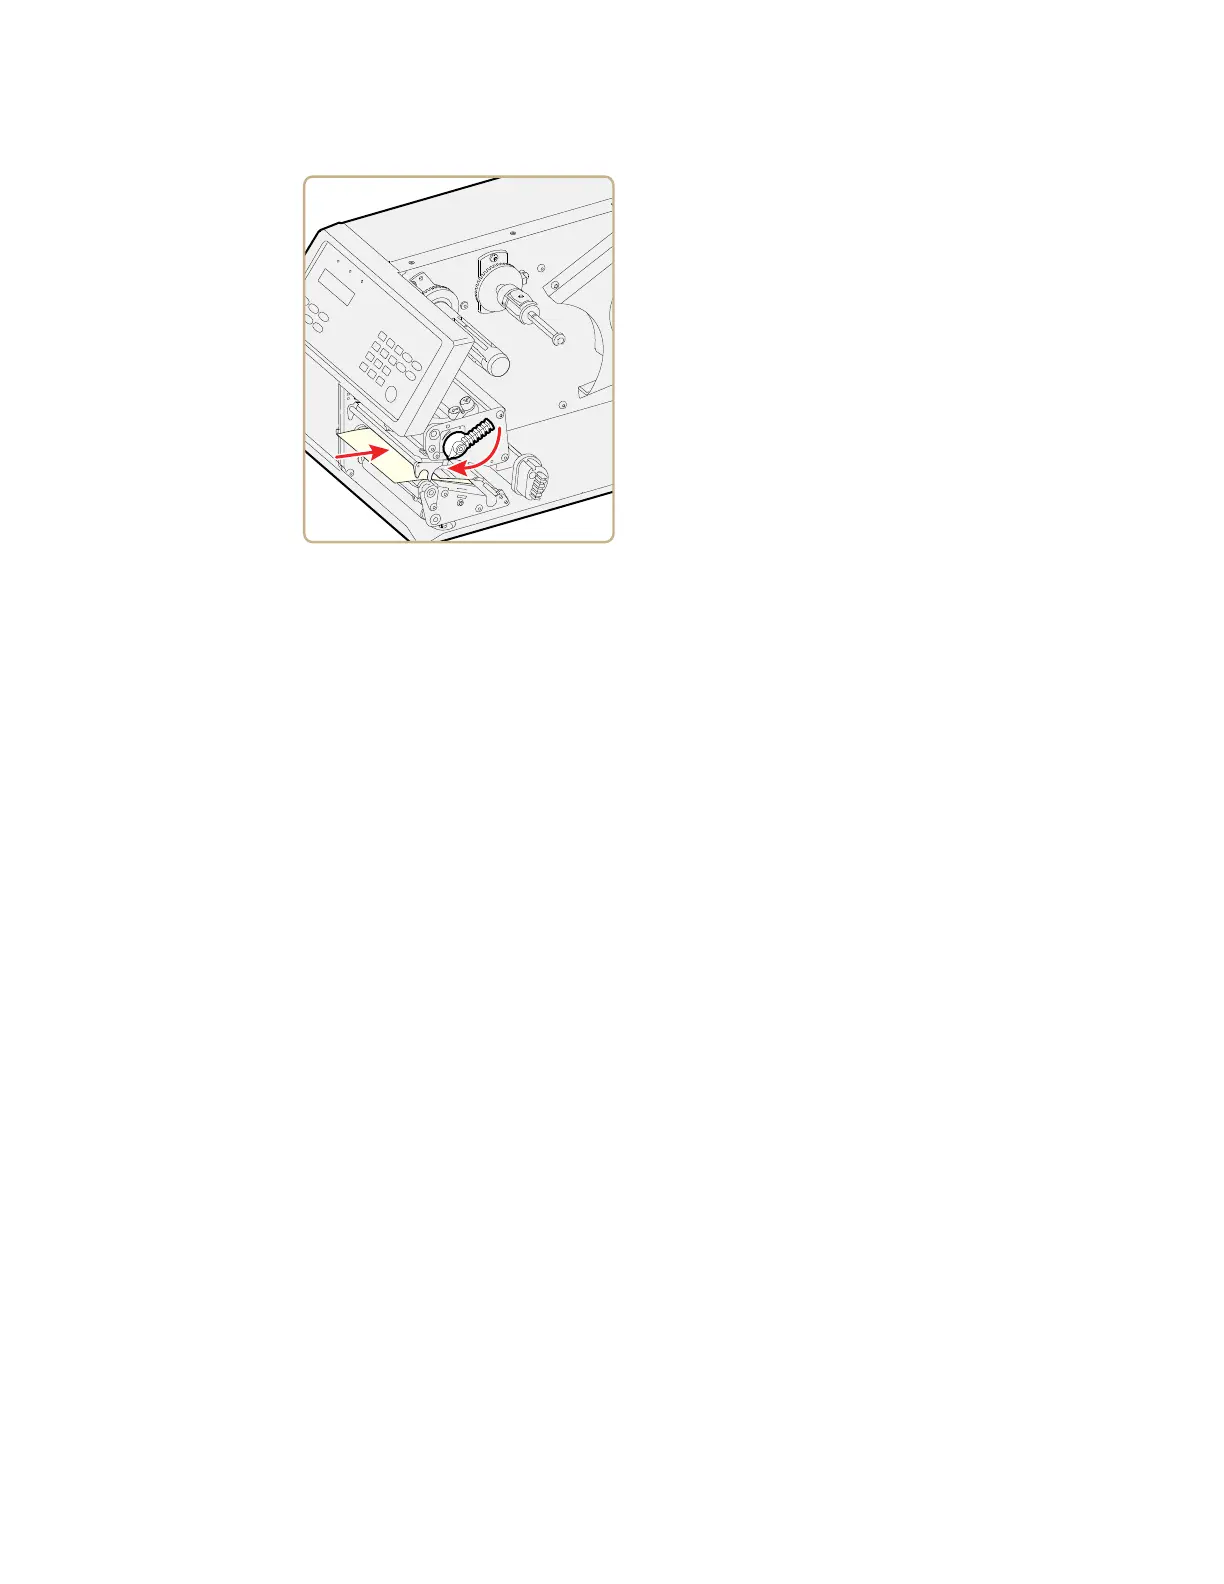
6. Insert most of the cleaning card under the printhead, and then lower the
printhead.
7. Pull out the cleaning card and raise the printhead.
8. Wait for approximately 30 seconds to allow the cleaning fluid to dissolve the
residue.
9. Repeat Steps 5 through 7.
10. If necessary, repeat the process with a fresh cleaning card.
11. Allow the cleaned parts to dry before loading media and ribbon.
Replacing the Printhead
The printhead is subject to wear both from the direct thermal media or ribbon and
from the rapid heating and cooling process during printing. So, you need to period-
ically replace the printhead.
How often you need to replace the printhead depends factors such as the print
images, the type of direct thermal media or ribbon in use, the amount of energy to
the printhead, the print speed, and the ambient temperature.
You must turn off the power before replacing the printhead. The firmware can only
detect the new printhead when the printer is restarted.
To replace the printhead
1. Turn off the printer.
2.5 cm
(1 in)
 Loading...