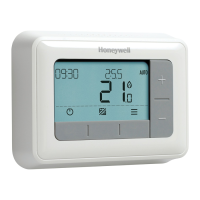
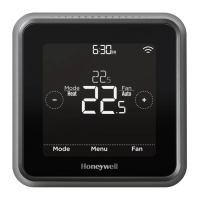
What comes in the T5 7-Day Programmable Thermostat package?
T5 Thermostat, UWP mounting system and quick installation guide.
What is Honeywell’s warranty on the T5 7-Day Programmable thermostat?
The warranty is one year.
How do I set the time on my T5 7-Day Programmable Thermostat?
Press the Menu button. Press the “+” button until “TIME” appears. Press SELECT.
You will see “12HR” appear. Here you will be able to choose 12 or 24 hour clock options. You may choose
between the two options by pressing the + or – . Then Press “Select button.
This will then bring you to the option to edit the time. You will see the HOUR flashing in the digital clock. Press +
or – to adjust the hour. Press SELECT.
Press + or – to adjust the minutes. Press SELEC
How do I set the date on my T5 7-Day Programmable Thermostat?
Press the Menu button. Press the “+” button until “Date” appears. Press SELECT.
Press + button to advance to the “DATE” to be displayed on the screen. Press SELECT. You will see the Year
flashing.
Press + or – to change the year.
Press SELECT to advance to change the month.
Press + or – to advance to the desired month.
Press SELECT to advance to the date.
Press + or – to change the date, then press SELECT to save and exit.
How do I enter the Setup menu for my T5 7-Day Programmable Thermostat?
Press and hold MENU and + buttons for approximately 5 seconds to enter advanced menu.
Press SELECT to enter system setup (ISU) menu.
Press SELECT to cycle through ISU numbers. NOTE: See “System Setup Options” on page 9 of the quick
install guide for a full list of ISU numbers and options.
Press + or – to change values or select from available options.
Press SELECT to save changes and advance to the next ISU number.
Once you have cycled through all of the ISU numbers, “Done” is displayed. Press SELECT to save and exit. To
save and exit early, press HOME to return to the Home screen.
Specifications
 Loading...