6
Quick Installation Guide
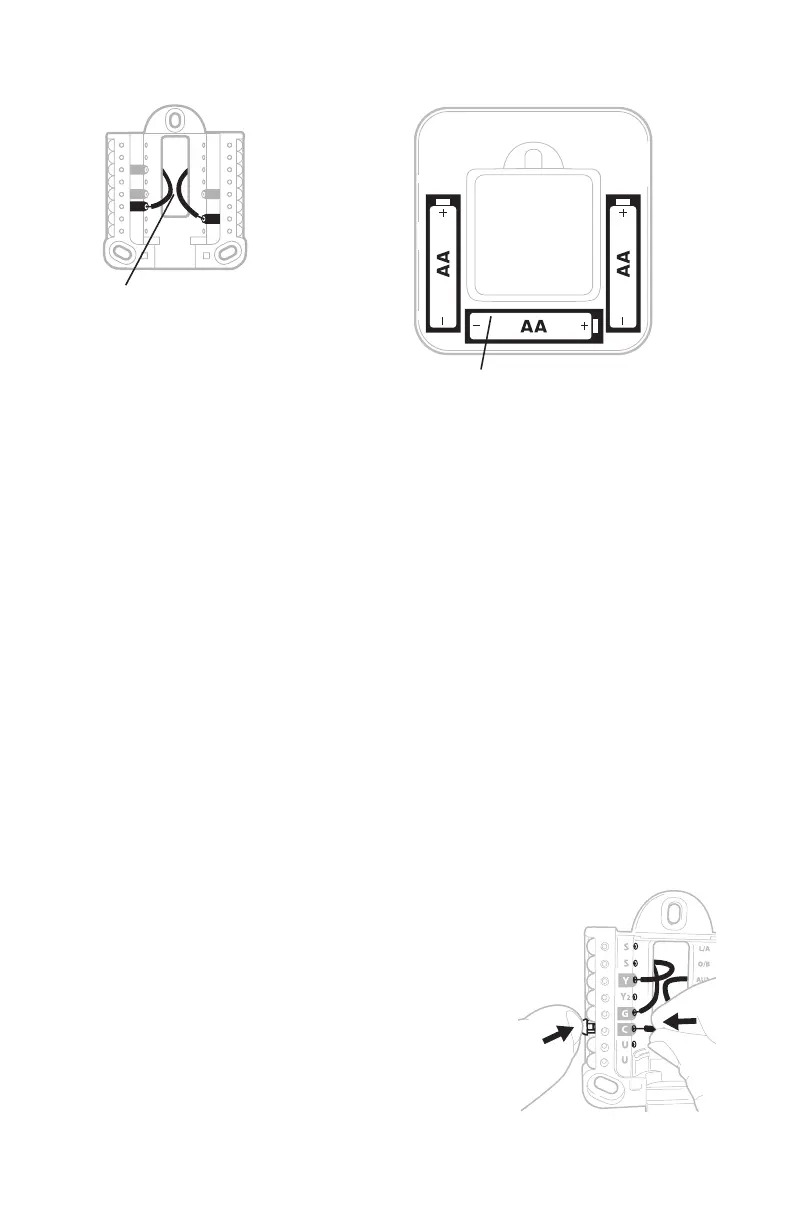
Wiring UWP
Push down on the tabs to put the wires into the inner
holes of their corresponding termi nals on the UWP
(one wire per terminal) until they are firmly in place.
Gently tug on the wires to verify they are secure. If
you need to release the wires again, push down the
terminal tabs on the sides of the UWP.
This wiring is just an example,
yours may vary.
S
S
Y
2
U
U
G
C
Y
A
Rc
W
K
W2
R
L/A
O/B
AUX
E
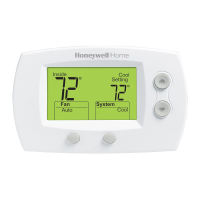
Power options
Insert R and C wires into
designated terminals for primary
AC power (C terminal is optional
if batteries are installed, but it is
recommended). Remove wires by
depressing the terminal tabs.
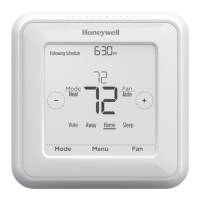
Insert 3 AA batteries for primary or
backup power. Match the polarity of the
batteries with the + / – marks inside the
battery compartment.
NOTES:
• The RCHT8600 series ZWave thermostat works in battery mode or normal power
mode based on its power source. The ZWave power mode can only be changed
when the thermostat is NOT included in a ZWave network. You can check the
power mode in the thermostat menu under MENU/DEVICE INFO.
• If a C wire is not used or present, the thermostat must be powered by batteries.
The thermostat will operate in LSS mode (power-save, sleep mode) to help
conserve battery life after it has been included in a ZWave network. The ZWave
radio supports beaming. It allows other devices in the network to wake up the
ZWave thermostat, accept commands, and then go back to sleep.
• If you need the thermostat to operate in AOS mode (always listening mode)
to act as signal repeater and to increase network reliability, you need to power
the thermostat by 24 VAC. The AOS mode information is provided via Node
Information Frame (NIF).
 Loading...