2-12
Installing the Switch
Installation Procedures
Horizontal Surface Mounting
Place the switch on a table or other horizontal surface. The switch comes with
rubber feet in the accessory kit that can be used to help keep the switch from
sliding on the surface.
Attach the rubber feet to the four corners on the bottom of the switch within
the embossed angled lines. Use a sturdy surface in an uncluttered area. You
may want to secure the networking cables and switch power cord to the table
leg or other part of the surface structure to help prevent tripping over the
cords.
Caution Ensure the air flow is not restricted around the sides and back of the switch.
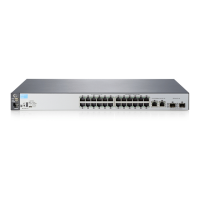
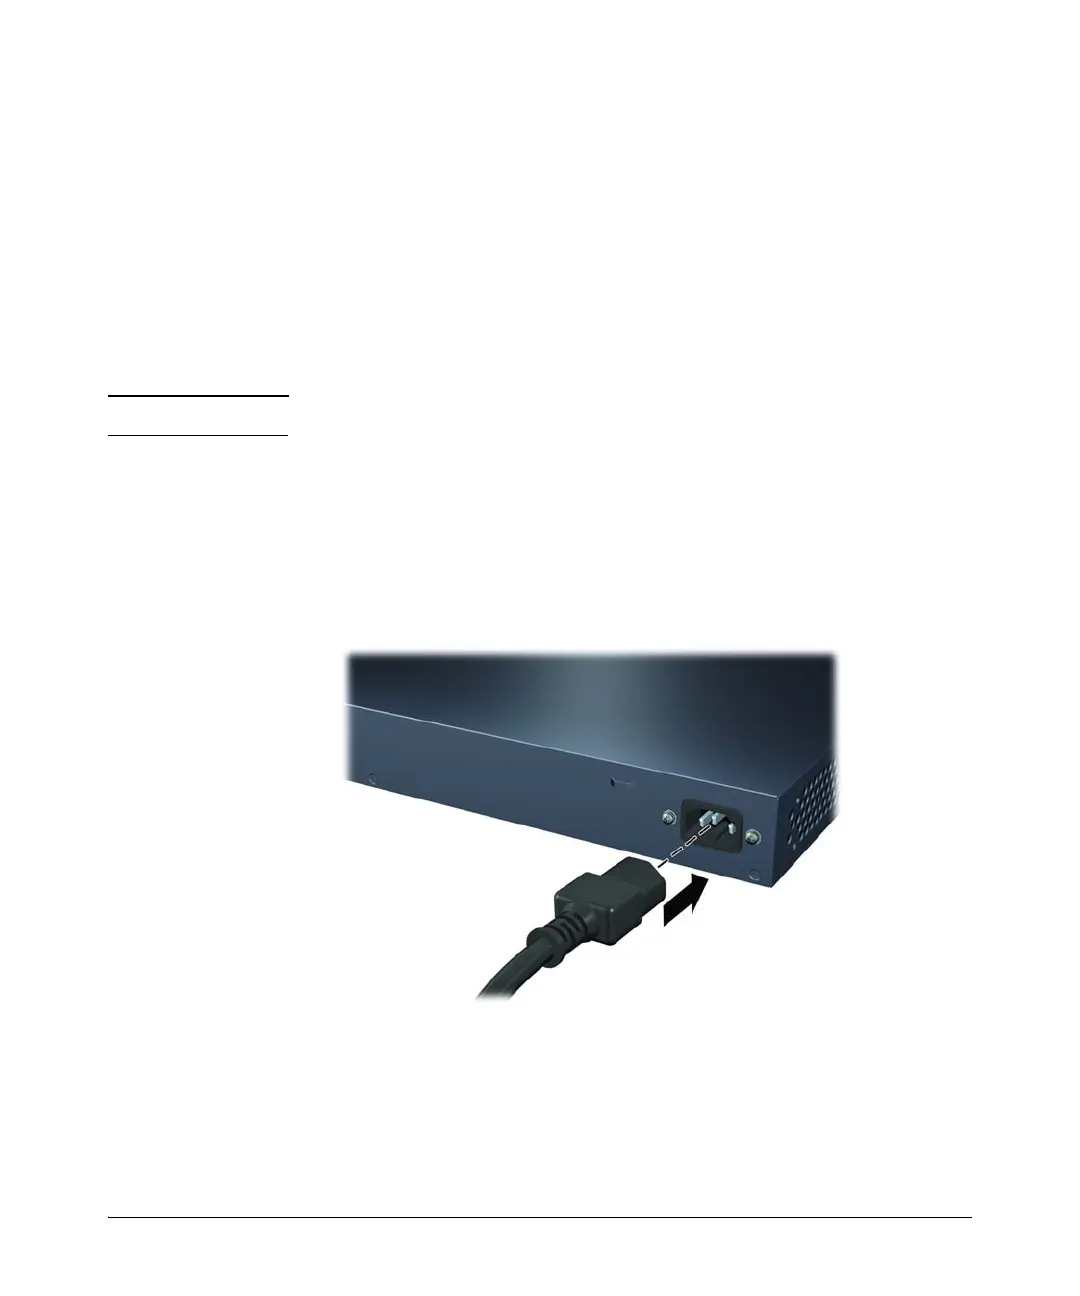
4. Connect the Switch to a Power Source
1. Plug the included power cord into the switch’s power connector and into
a nearby AC power source.
Figure 2-6. Connecting the power cord on the Switch
2. Re-check the LEDs during self test. See “LED Behavior” on page 2-7.

 Loading...