Turning on the monitor
1. Press the power button on the source device to turn it on.
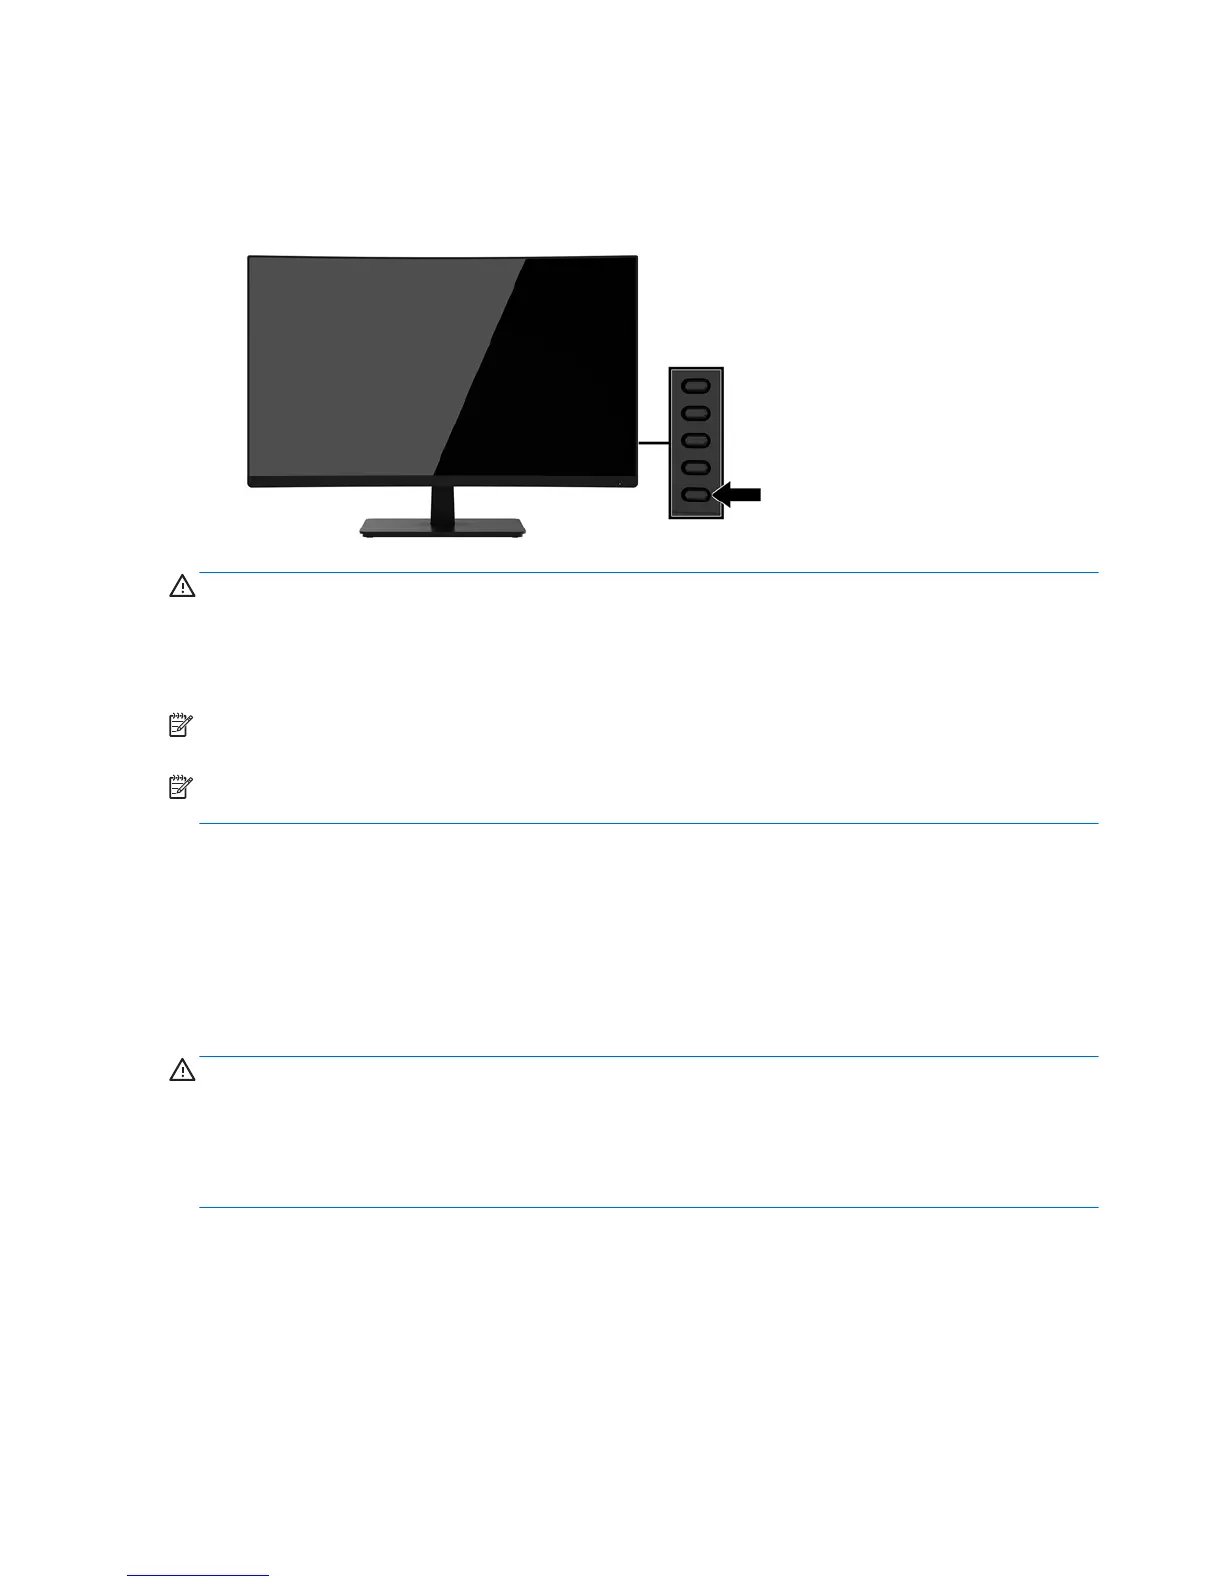
2. Press the Power button on the rear of the monitor to turn it on.
CAUTION: Burn-in image damage may occur on monitors that display the same static image on the screen
for 12 consecutive hours of non-use. To avoid burn-in image damage on the monitor screen, you should
always activate a screen saver application or turn o the monitor when it is not in use for a prolonged period
of time. Image retention is a condition that may occur on all LCD screens. Monitors with a “burned-in image”
are not covered under the HP warranty.
NOTE: If pressing the Power button has no eect, the Power Button Lockout feature may be enabled. To
disable this feature, press and hold the Power button for 10 seconds.
NOTE: You can disable the power light in the OSD menu. Press the Menu button on the rear of the monitor,
select Power Control, select Power LED, and then select O.
When the monitor is powered on, a Monitor Status message is displayed for ve seconds. The message shows
which input is the current active signal, the status of the auto-switch source setting (On or O; factory default
is On), the current preset screen resolution, and the recommended preset screen resolution.
The monitor automatically scans the signal inputs for an active input and uses that input.
Mounting the monitor
The monitor panel can be attached to a wall, swing arm, or other mounting xture.
CAUTION: This monitor supports the VESA industry standard 100 mm mounting holes. To attach a third-
party mounting solution to the monitor, four 4 mm, 0.7 pitch, and 10 mm long screws are required. Longer
screws must not be used because they may damage the monitor. It is important to verify that the
manufacturer’s mounting solution is compliant with the VESA standard and is rated to support the weight of
the monitor display panel. For best performance, it is important to use the power and video cables provided
with the monitor.
8 Chapter 1 Getting Started
 Loading...