14-4 Service Guide
Assembly Replacement and Post-Repair Procedures HP 8719ET/20ET/22ET
Assembly Replacement Sequence HP 8719ES/20ES/22ES
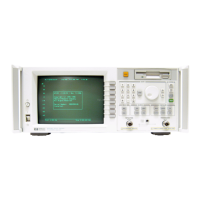
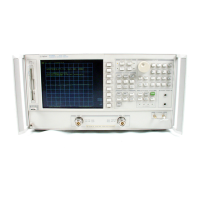
RF Network Analyzers
Procedures in This Chapter
The following sections describe the assembly replacement procedures for the
HP 8719ET/ES, HP 8720ET/ES, and HP 8722ET/ES assemblies:
• Replacing the Line Fuse , on page 14-5
• Removing the Covers , on page 14-6
• Removing the Front Panel Assembly, on page 14-8
• Removing the Front Panel Interface and Keypad Assemblies , on page 14-10
• Removing the Display Lamp and Assembly, on page 14-12
• Removing the Rear Panel Assembly, on page 14-14
• Removing the Rear Panel Interface Board Assembly, on page 14-16
• Removing the Source Assemblies , on page 14-18
— M/A/D/S (A58)
— YIG 1 (A54)
— YIG 2 (A55)
— Cavity Oscillator (A57)
• Removing the A7 CPU Board Assembly, on page 14-20
• Removing the A7BT1 Battery, on page 14-22
• Removing the A15 Preregulator Assembly, on page 14-24
• Removing the A19 Graphics Processor Assembly, on page 14-26
• Removing the A3 Disk Drive Assembly, on page 14-28
• Removing the A62, A63 Test Port Couplers and LED Board Assemblies , on page 14-30
• Removing the A26 High Stability Frequency Reference (Option 1D5) Assembly, on
page 14-32
• Removing the B1 Fan Assembly, on page 14-34
NOTE After replacing the assemblies, perform the corresponding adjustment and
verification tests located in “Post-Repair Procedures” on page 14-35.

 Loading...