4. Remove the battery (see Battery on page 37).
5. Remove the service access cover (see
Service access cover on page 38).
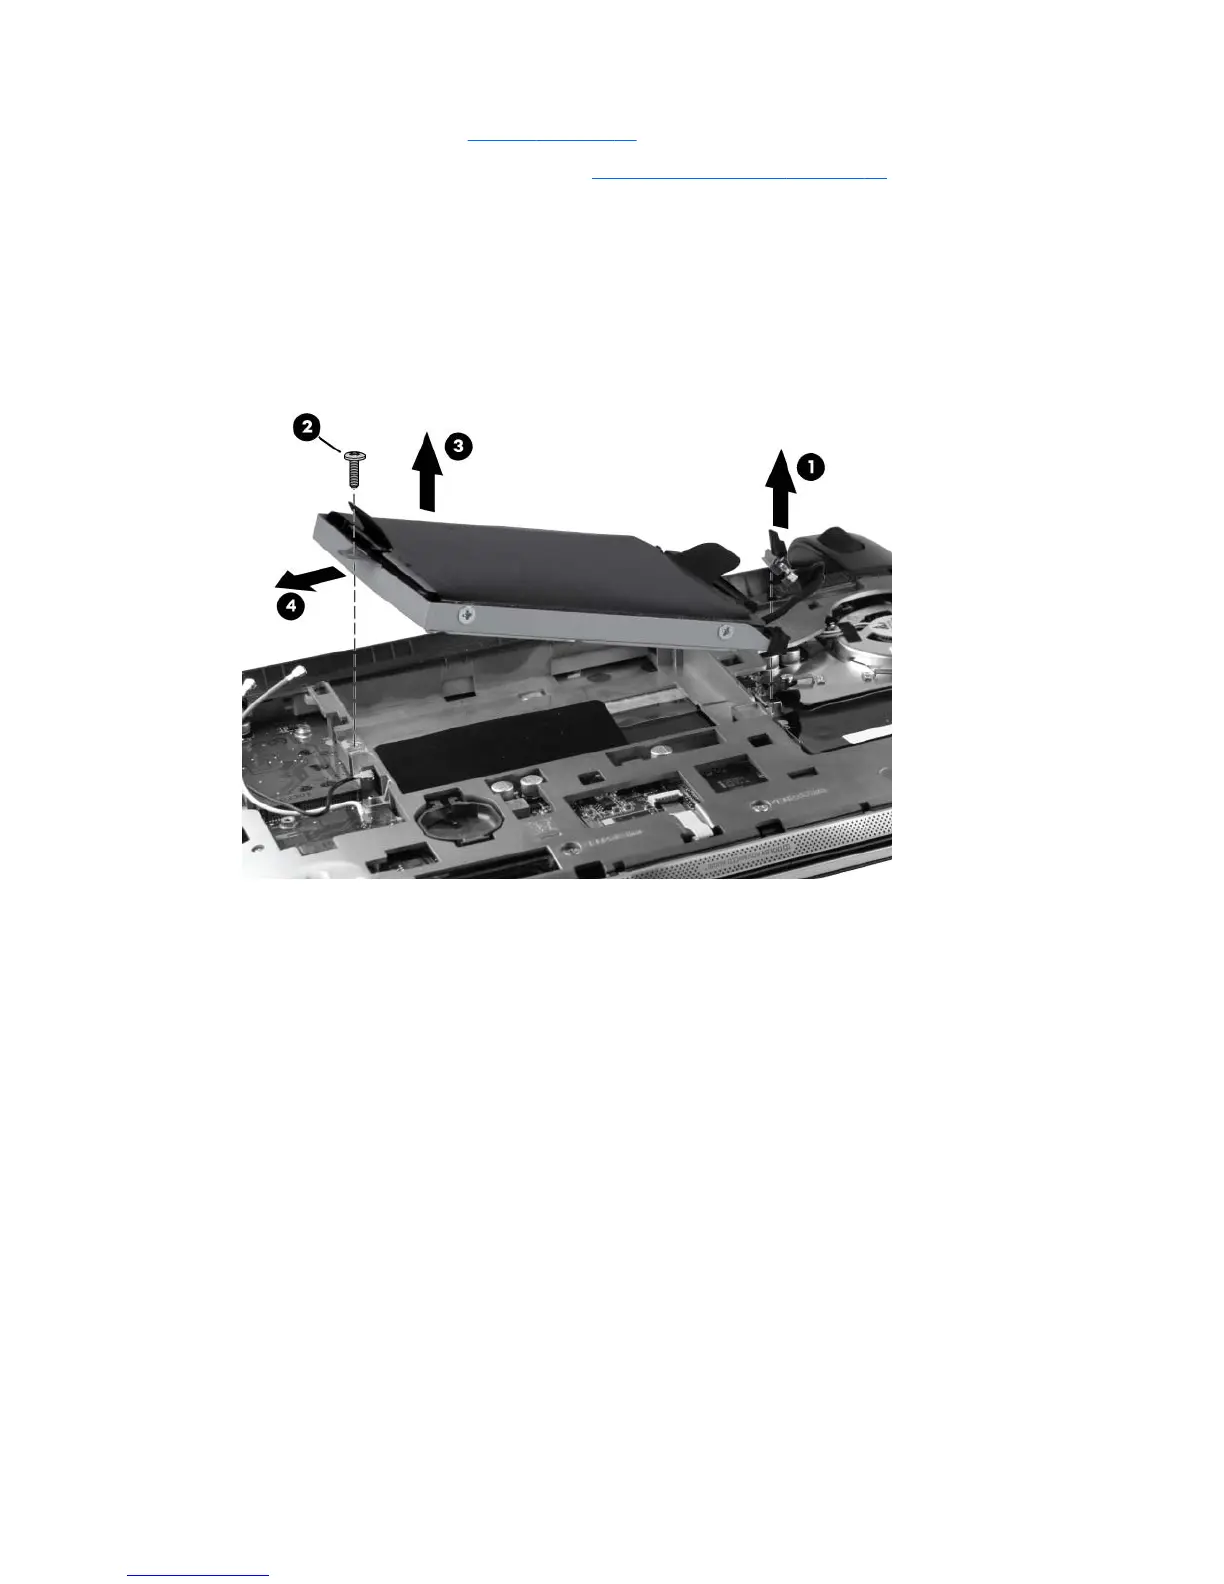
Remove the hard drive:
1. Remove the Phillips PM2.0x5.0 screw (1) that secures the hard drive to the computer.
2. Disconnect the hard drive connector cable (2).
3. Pull up on the hard drive tab (3), and then remove the hard drive from the hard drive bay at an
angle.
4. If it is necessary to replace the hard drive bracket, follow these steps:
a. Disconnect the cable adapter (1) from the hard drive.
b. Remove the four Phillips PM3.0×3.0 screws (2) that secure the hard drive bracket to the
drive.
46 Chapter 4 Removal and replacement procedures
 Loading...